
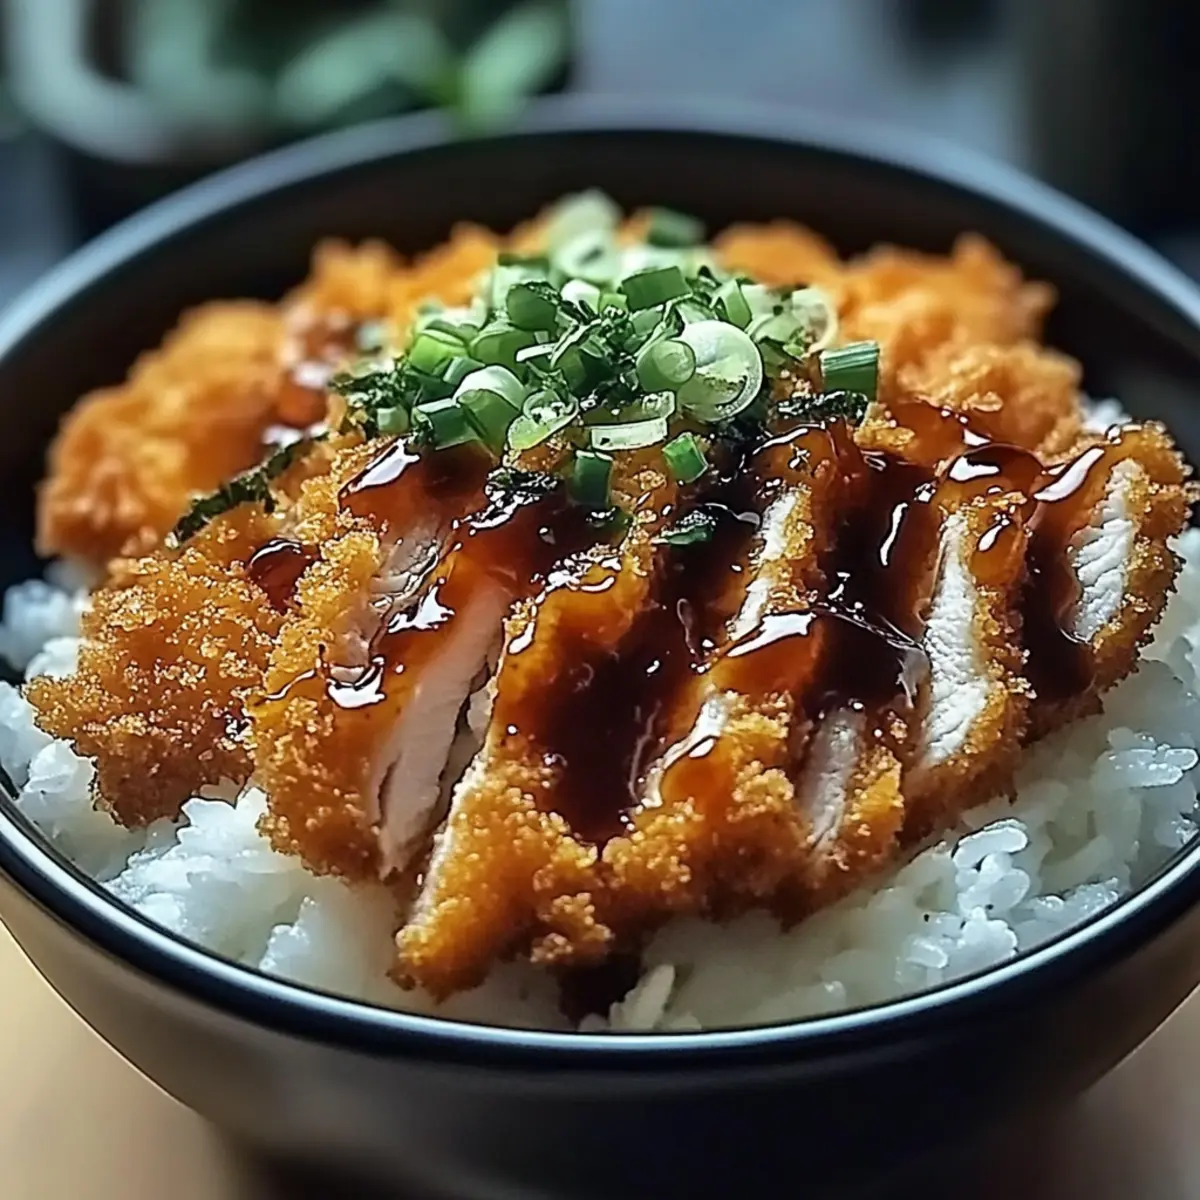
As I stood in my kitchen, the sizzle of meat hitting hot oil filled the air, instantly transporting me to the bustling streets of Japan. Japanese Katsu Bowls are nothing short of culinary magic, offering a warm embrace of crispy, golden-brown cutlets—be it chicken or pork—served atop fluffy rice and finished with a tangy sauce. The beauty of this dish lies in its comforting nature and customizable options, making it perfect for a quick dinner or a special family gathering. With just a handful of ingredients and simple steps, you’ll whip up a meal that’s not only satisfying but also a delightful departure from takeout. Are you ready to uncover the secrets of this delicious comfort food?
Why are Japanese Katsu Bowls a Must-Try?
Comforting Delight: Japanese Katsu Bowls are the epitome of comfort food—crispy breaded cutlets laid over fluffy rice bring a symphony of textures and flavors to your table.
Customizable Options: Whether you prefer chicken, pork, or even a vegetarian twist with eggplant or tofu, this recipe allows for personal touches!
Quick & Easy: Perfect for busy nights, you can prepare this satisfying meal in no time, plus it’s a breeze to whip up using staple ingredients from your pantry.
Crowd-Pleasing Appeal: Impress your family or guests with a dish that looks and tastes gourmet—everyone will love its unique Japanese flair!
Perfect Pairing: For an extra crunch, serve alongside pickled vegetables or a fresh salad to elevate your meal experience. Enjoy a delightful and cozy night in without the hassle of takeout!
Japanese Katsu Bowls Ingredients
For the Katsu
• Chicken or Pork – Main protein component for the katsu; choose according to your preference for a satisfying meal.
• Salt and Pepper – Essential for seasoning, ensuring the meat is flavorful.
• All-Purpose Flour – For dredging the meat to create a delicious crust; feel free to use gluten-free flour for a gluten-free version.
• Eggs – Acts as a binder for the breadcrumbs, keeping that crispy coating intact.
• Panko Breadcrumbs – Offers a light, airy texture for the coating; opt for high-quality panko for the best crunch.
For the Rice
• Japanese Short-Grain Rice – The fluffy base of the dish; you can substitute with sushi rice if needed.
• Rice Vinegar, Sugar, Salt – These ingredients season the rice with a slight tang and sweetness; adjust to suit your taste.
For the Sauce
• Tonkatsu Sauce – The key flavor component that works wonders with the katsu; consider homemade versions for a unique touch.
• Soy Sauce, Worcestershire Sauce, Ketchup – These add depth and richness to the sauce; modify according to your sweetness preference.
For Toppings
• Shredded Cabbage – Adds freshness and crunching texture; other greens can work as substitutes.
• Green Onions, Sesame Seeds, Pickled Ginger (optional) – These garnishes enhance flavor and presentation, though you can skip pickled ginger for simplicity.
Step‑by‑Step Instructions for Japanese Katsu Bowls
Step 1: Prepare the Rice
Begin by rinsing 1 cup of Japanese short-grain rice under cold water until the water runs clear, removing excess starch. Soak the rice in water for 30 minutes, then drain. In a pot, add the soaked rice with 1.5 cups of water; bring to a boil, then cover and simmer on low heat for 15 minutes. Remove from heat and let it steam for an additional 10 minutes. Finally, season with a mixture of rice vinegar, sugar, and salt to taste.
Step 2: Prepare the Katsu
While the rice is cooking, pound 2 chicken breasts or pork loin to an even ½-inch thickness, ensuring even cooking. Season the meat generously with salt and pepper. Set up a breading station with three shallow dishes: one for all-purpose flour, one for beaten eggs, and one for panko breadcrumbs. Dredge the meat in flour, dip in egg, and coat with panko, pressing down slightly for adherence.
Step 3: Fry the Katsu
Heat a generous amount of vegetable oil in a skillet over medium-high heat until shimmering, about 350°F (175°C). Carefully place the breaded meat in the hot oil, ensuring not to overcrowd the pan. Fry for 4-5 minutes on each side, or until golden brown and cooked through, reaching an internal temperature of 165°F (75°C). Once cooked, transfer the katsu to a paper towel-lined plate to drain excess oil.
Step 4: Make the Sauce
In a mixing bowl, combine ¼ cup of tonkatsu sauce with a tablespoon each of soy sauce, Worcestershire sauce, and ketchup. Whisk until well-blended, adjusting the ingredients based on your preferred taste. This tangy sauce will elevate your Japanese Katsu Bowls, adding an irresistible layer of flavor.
Step 5: Assemble the Katsu Bowls
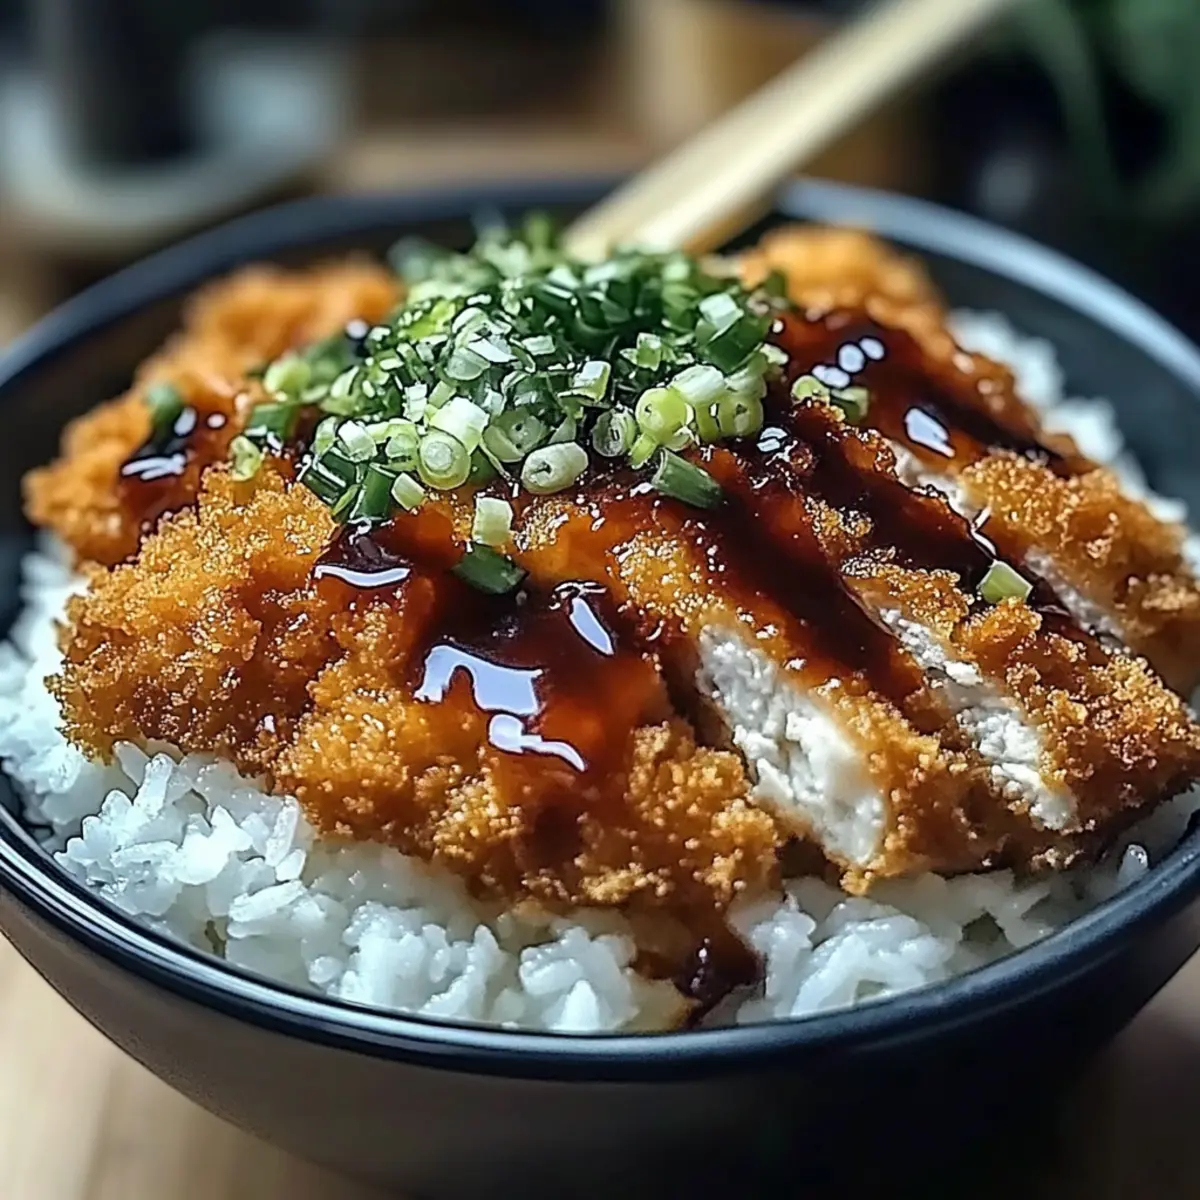
To assemble, scoop a generous portion of the seasoned rice into each bowl, forming a base. Top the rice with slices of the crispy katsu, arranging them nicely. Drizzle the prepared sauce over the katsu, allowing it to seep into the rice, enhancing the flavors.
Step 6: Add Garnishes
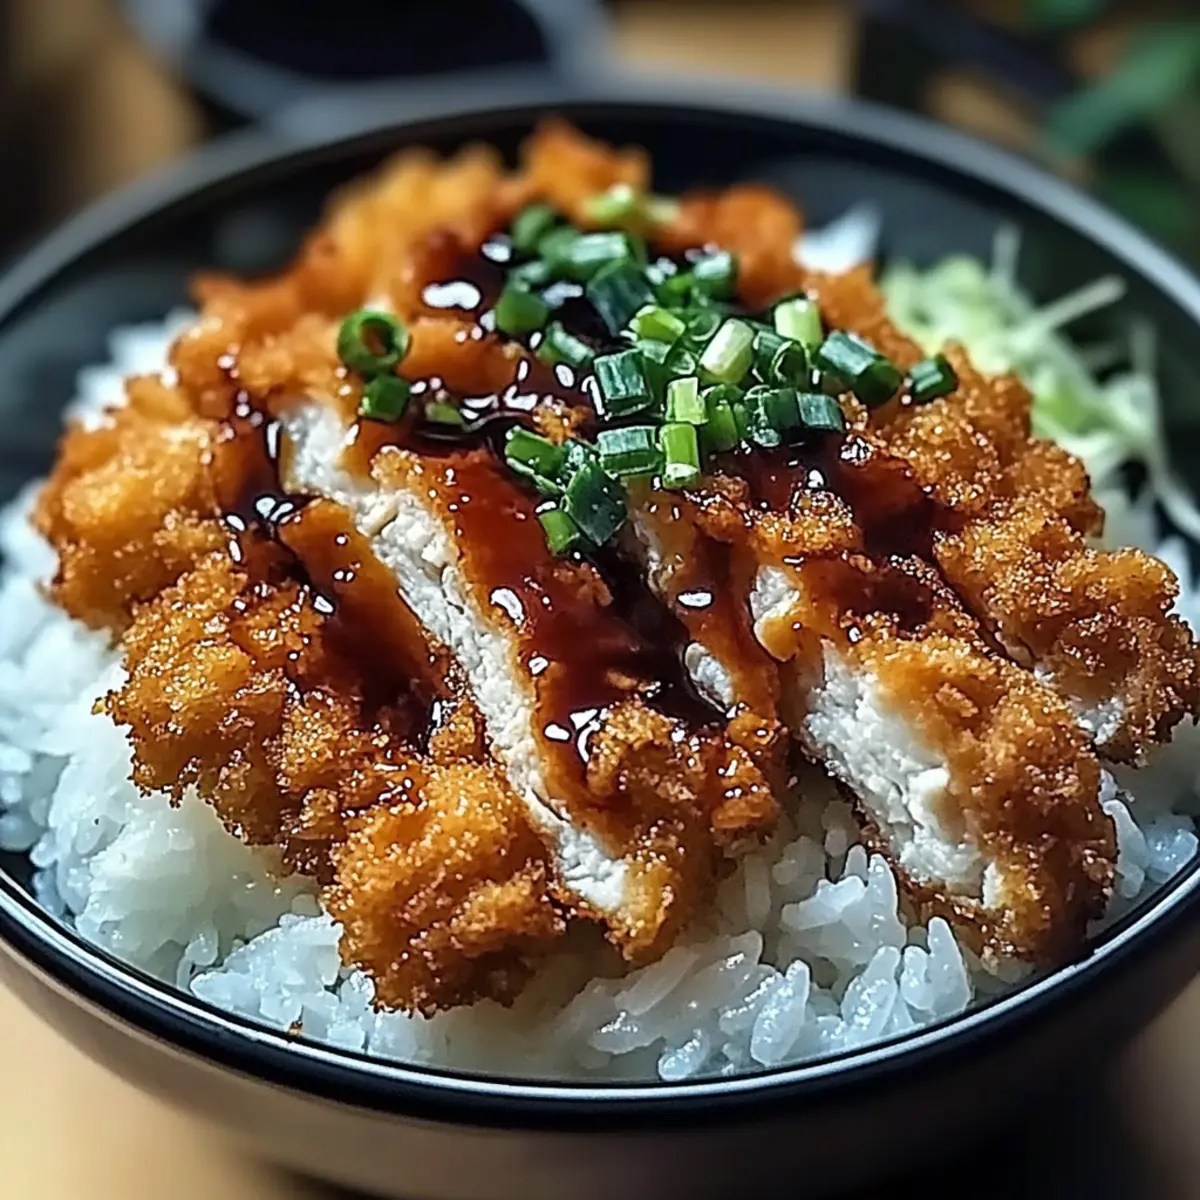
For a fresh and crunchy touch, sprinkle shredded cabbage on top of the katsu. Garnish with sliced green onions, sesame seeds, and pickled ginger if desired. These toppings not only add flavor but also create a beautiful presentation for your Japanese Katsu Bowls.
Step 7: Serve
Serve the assembled Japanese Katsu Bowls immediately while the katsu is warm and crispy. Pair with a side of pickled vegetables or a fresh salad for a complete meal. Relish the delightful combination of crispy cutlets, fluffy rice, and flavorful toppings that make this dish a true comfort food favorite!
Make Ahead Options
Japanese Katsu Bowls are perfect for those busy weeknights! You can prepare the katsu components up to 24 hours in advance by breading the chicken or pork and storing it in the refrigerator. For even better results, place the breaded meat on a parchment-lined baking sheet, cover it tightly with plastic wrap, and refrigerate. The rice can also be made ahead of time—just store it in an airtight container for up to 3 days. When you’re ready to eat, simply fry the katsu until golden and warm the rice in the microwave. This way, you’ll serve a delicious meal with minimal fuss, retaining all the flavors and textures that make this dish a delight!
Japanese Katsu Bowls Variations & Substitutions
Feel free to get creative with your Japanese Katsu Bowls; there are so many ways to customize this comforting dish to suit your taste buds!
- Vegetarian Option: Swap out chicken or pork for eggplant or tofu for a delicious meat-free version. Simply slice, dredge, and fry just like the original!
- Gluten-Free: Use gluten-free panko and flour to make this dish suitable for gluten-sensitive diners; the crunch will remain delightful.
- Spicy Kick: Add a touch of heat by mixing Sriracha or chili flakes into your tonkatsu sauce, giving your meal a fiery twist!
- Flavorful Sauces: Experiment with different sauces, such as spicy mayo or ponzu, for a refreshing flavor change that will keep dinner exciting.
- Creamy Addition: Top with a soft-boiled egg or creamy avocado to enhance richness and add texture, elevating your bowl to new heights.
- Different Proteins: Consider using shrimp or fish as an alternative to chicken or pork for a seafood-inspired take on this classic dish.
- Savory Rice: Mix in some cooked peas or finely chopped carrots with your rice for extra color and nutrition, making your meal even more wholesome.
- Crispy Toppings: Sprinkle crispy shallots or toasted garlic over the top for an extra layer of crunch that complements the tender cutlet beautifully.
With these variations, you’ll make your Japanese Katsu Bowls your own masterpiece! Don’t forget to check out ideas for adding pickled vegetables or a fresh salad for a bright side dish—you’ll love how it all comes together!
Expert Tips for Japanese Katsu Bowls
-
Oil Temperature: Make sure your oil is hot enough before frying. A temperature of around 350°F will give you that crispy, golden-brown katsu that isn’t soggy.
-
Bread Crumb Quality: Use high-quality panko breadcrumbs for the best texture. Cheaper brands may not achieve the same crunch, leading to a disappointing katsu experience.
-
Season Generously: Don’t skimp on salt and pepper when seasoning the meat. Proper seasoning enhances the flavor of your Japanese Katsu Bowls and ensures every bite is delicious.
-
Avoid Overcrowding: Fry the katsu in batches if necessary to avoid overcrowding the pan. This helps maintain the oil temperature and ensures even cooking.
-
Rest Before Slicing: Allow the fried katsu to rest for a couple of minutes before slicing. This helps keep the juices in, making the meat tender and flavorful.
What to Serve with Authentic Japanese Katsu Bowls
Elevate your dining experience by pairing these comforting bowls with delightful sides that enhance every bite.
-
Crispy Tempura Vegetables: The light, airy texture of tempura adds a lovely crunch that complements the katsu’s crispy nature. A medley of sweet potato, zucchini, and bell peppers creates a colorful and flavorful side.
-
Miso Soup: This warm, savory broth offers a wonderful contrast to the crispy katsu, lightening the meal. The umami flavors of miso play beautifully alongside the rich tonkatsu sauce, invigorating your palate.
-
Pickled Daikon: The crisp and tangy notes of pickled daikon provide a refreshing balance to the hearty katsu bowls. This traditional Japanese condiment cleanses the palate and enhances the overall experience.
-
Sesame Cucumber Salad: The cooling crunch of cucumber tossed with sesame dressing brings a fresh, vibrant bite. This salad balances the richness of the katsu while adding extra nutrients to your meal.
-
Steamed Edamame: A bowl of lightly salted edamame offers a satisfying, protein-rich side that’s easy to prepare. These tender beans provide a fun, finger-food element that complements your cozy night in.
-
Green Tea: Pair your katsu bowls with a fragrant cup of green tea for a calming beverage that softens the meal’s richness. Its slightly bitter notes contrast beautifully with the savory flavors of your dish.
These accompanying dishes will enhance your dining experience, making your Japanese Katsu Bowls even more memorable!
How to Store and Freeze Japanese Katsu Bowls
Fridge: Store leftover katsu in an airtight container for up to 3 days. It’s best to keep the rice and katsu separate to maintain the texture.
Freezer: For longer storage, freeze the cooked katsu by wrapping it tightly in plastic wrap, then placing it in a freezer bag. It can last for up to 2 months.
Reheating: When you’re ready to enjoy your Japanese Katsu Bowls, reheat the katsu in the oven at 350°F (175°C) for about 10-15 minutes to restore its crispiness. Warm the rice in the microwave or on the stovetop with a splash of water.
Re-assembling: To serve, place the reheated katsu over fresh or reheated rice and drizzle with tonkatsu sauce once again for that deliciously warm experience!
Japanese Katsu Bowls Recipe FAQs
What type of meat is best for Katsu?
Absolutely! Traditionally, chicken and pork are the most common choices for katsu. When selecting your meat, look for chicken breasts or pork loin, as they are tender and cook beautifully. For a vegetarian twist, you can even use eggplant or tofu, which can be just as delicious when breaded.
How should I store leftover Katsu?
Very good question! You can store leftover katsu in an airtight container in the fridge for up to 3 days. However, for the best texture, I recommend keeping the katsu separate from the rice. This way, the katsu stays crispy without absorbing moisture.
Can I freeze Japanese Katsu Bowls?
Absolutely! To freeze, wrap your cooked katsu tightly in plastic wrap, then place it in a freezer bag. It can be stored for up to 2 months. When you’re ready to enjoy it, simply reheat the katsu in the oven at 350°F (175°C) for about 10-15 minutes to regain its crispy texture, while warming the rice separately.
How can I ensure my Katsu stays crispy after frying?
Great question! After frying, allow the katsu to rest on a paper towel to absorb excess oil before slicing. This helps maintain its crispiness. Additionally, avoid overcrowding the pan when frying, as this can lower the oil temperature and result in soggy katsu.
What dietary considerations should I keep in mind?
When preparing Japanese Katsu Bowls, it’s essential to take into account dietary preferences and allergies. For gluten-free needs, substitutes like gluten-free flour and panko can work wonderfully. If preparing for vegans, you can easily replace eggs with flax eggs, and stick with plant-based proteins like tofu or eggplant. Always ensure that other ingredients like sauces are free of allergens as well.
How long can I keep the rice for Katsu Bowls?
You can store cooked Japanese short-grain rice in an airtight container in the fridge for up to 4 days. To reheat, add a splash of water and microwave or warm on the stovetop over low heat to prevent it from drying out.
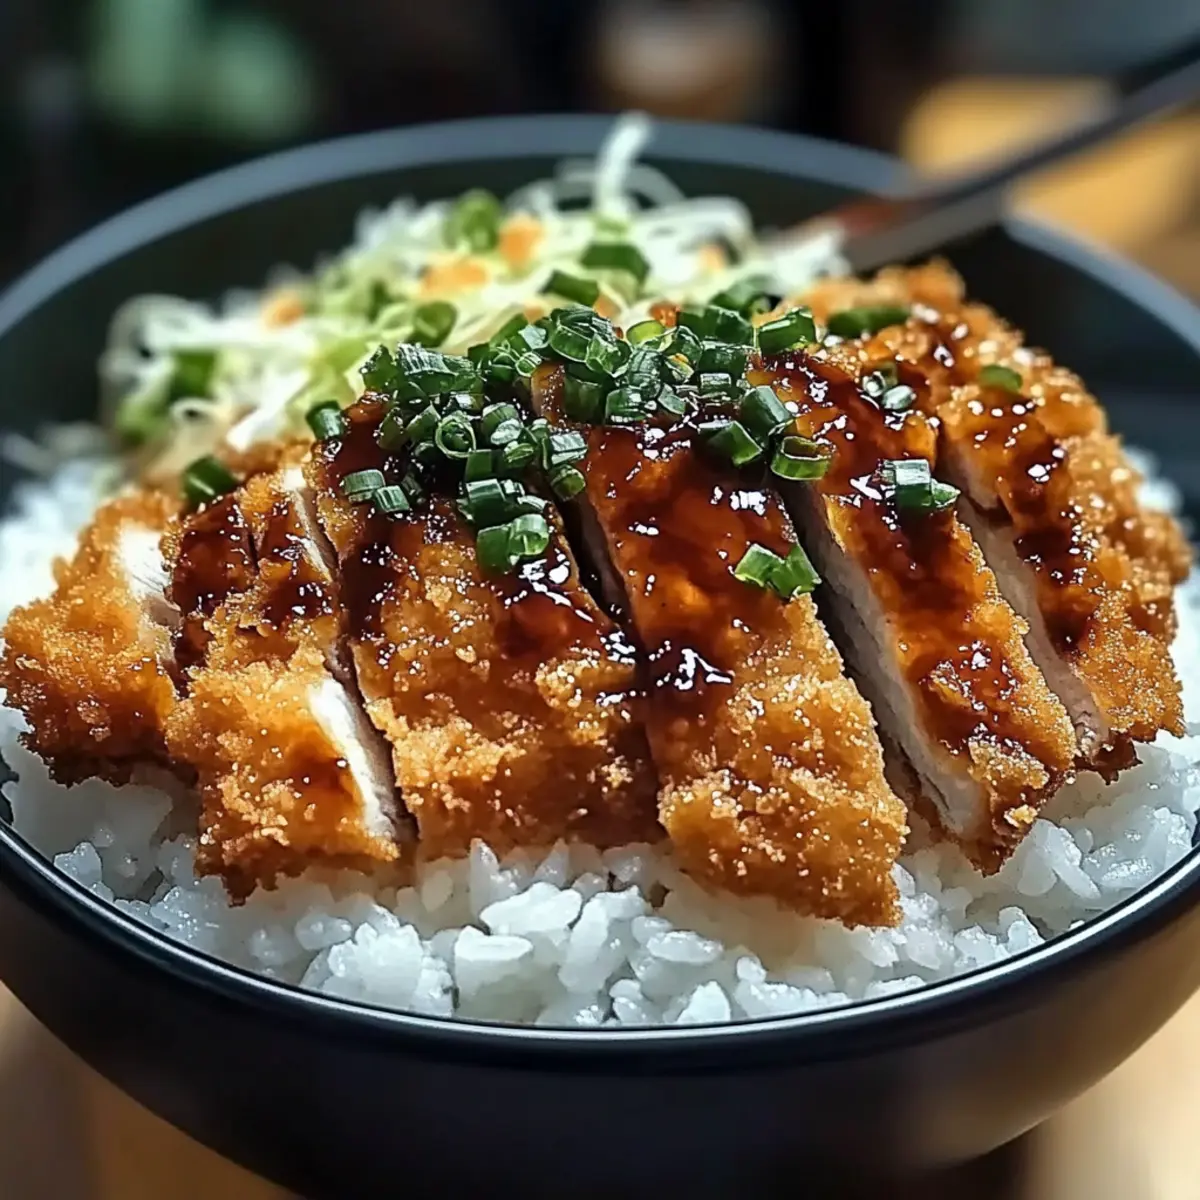
Crispy Japanese Katsu Bowls for Cozy Nights In
Ingredients
Equipment
Method
- Rinse the short-grain rice under cold water until clear. Soak for 30 minutes, then drain.
- In a pot, combine soaked rice and water; bring to a boil, cover, and simmer for 15 minutes. Remove from heat and let steam for 10 minutes.
- Season rice with rice vinegar, sugar, and salt to taste.
- Pound the meat to ½-inch thickness and season with salt and pepper.
- Set up a breading station: flour, beaten eggs, and panko breadcrumbs.
- Dredge the meat in flour, dip in egg, and coat with panko.
- Heat vegetable oil in a skillet and fry the breaded meat until golden brown, approximately 4-5 minutes per side.
- Transfer to a paper towel-lined plate to drain excess oil.
- Combine tonkatsu sauce, soy sauce, Worcestershire sauce, and ketchup in a bowl and mix.
- Scoop seasoned rice into bowls and top with sliced katsu.
- Drizzle sauce over the katsu and allow it to seep into the rice.
- Garnish with shredded cabbage, green onions, sesame seeds, and pickled ginger if desired.
- Serve immediately while warm and crispy, optionally with pickled vegetables or a fresh salad.
Leave a Reply