
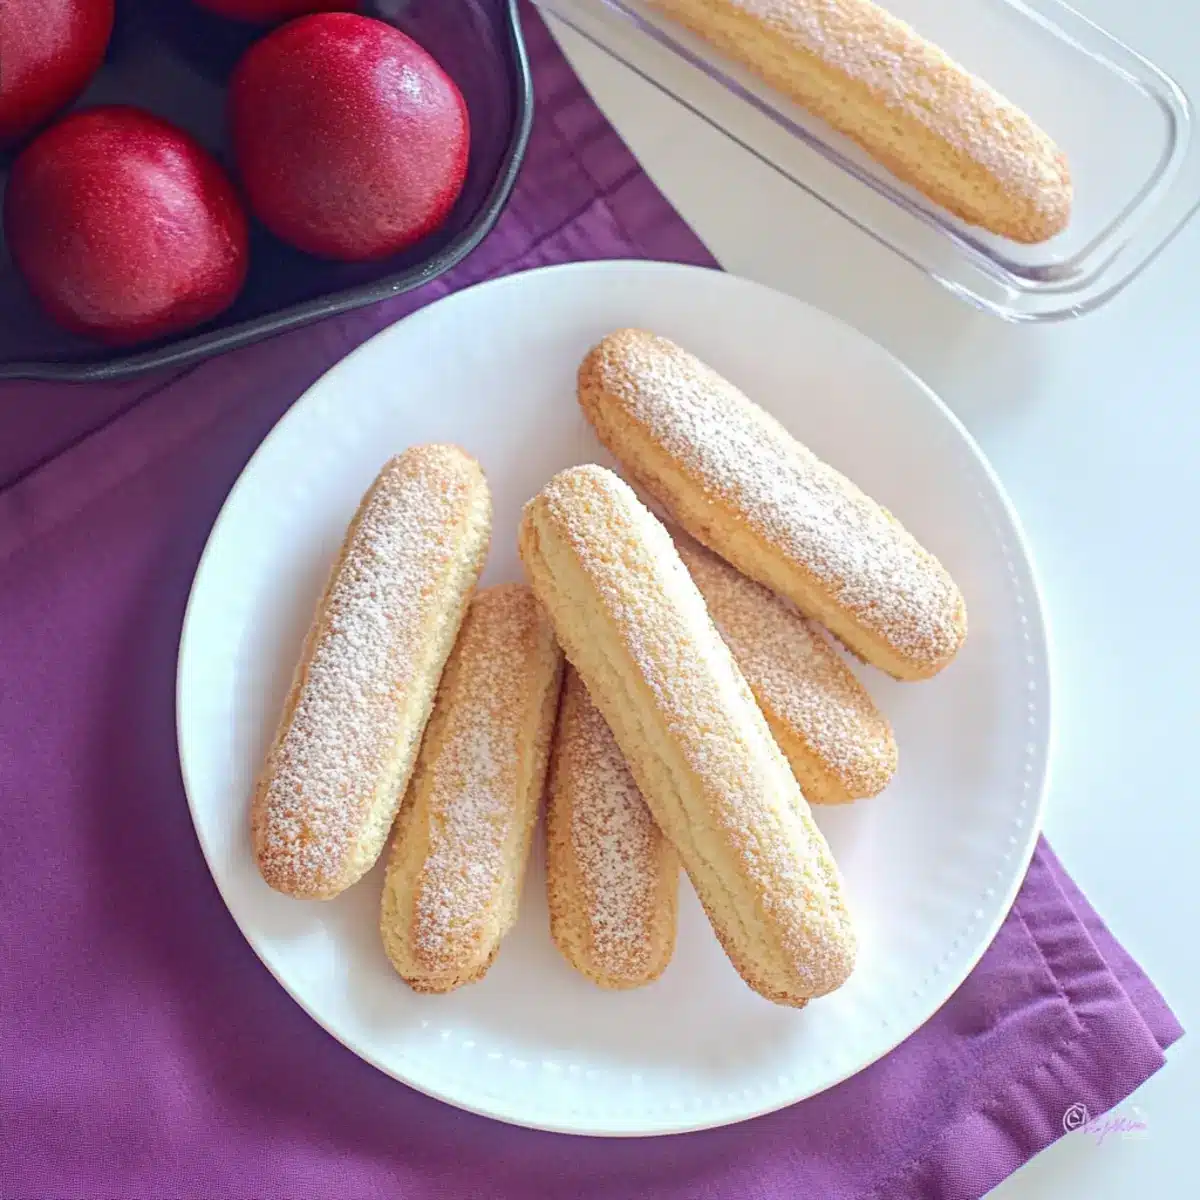
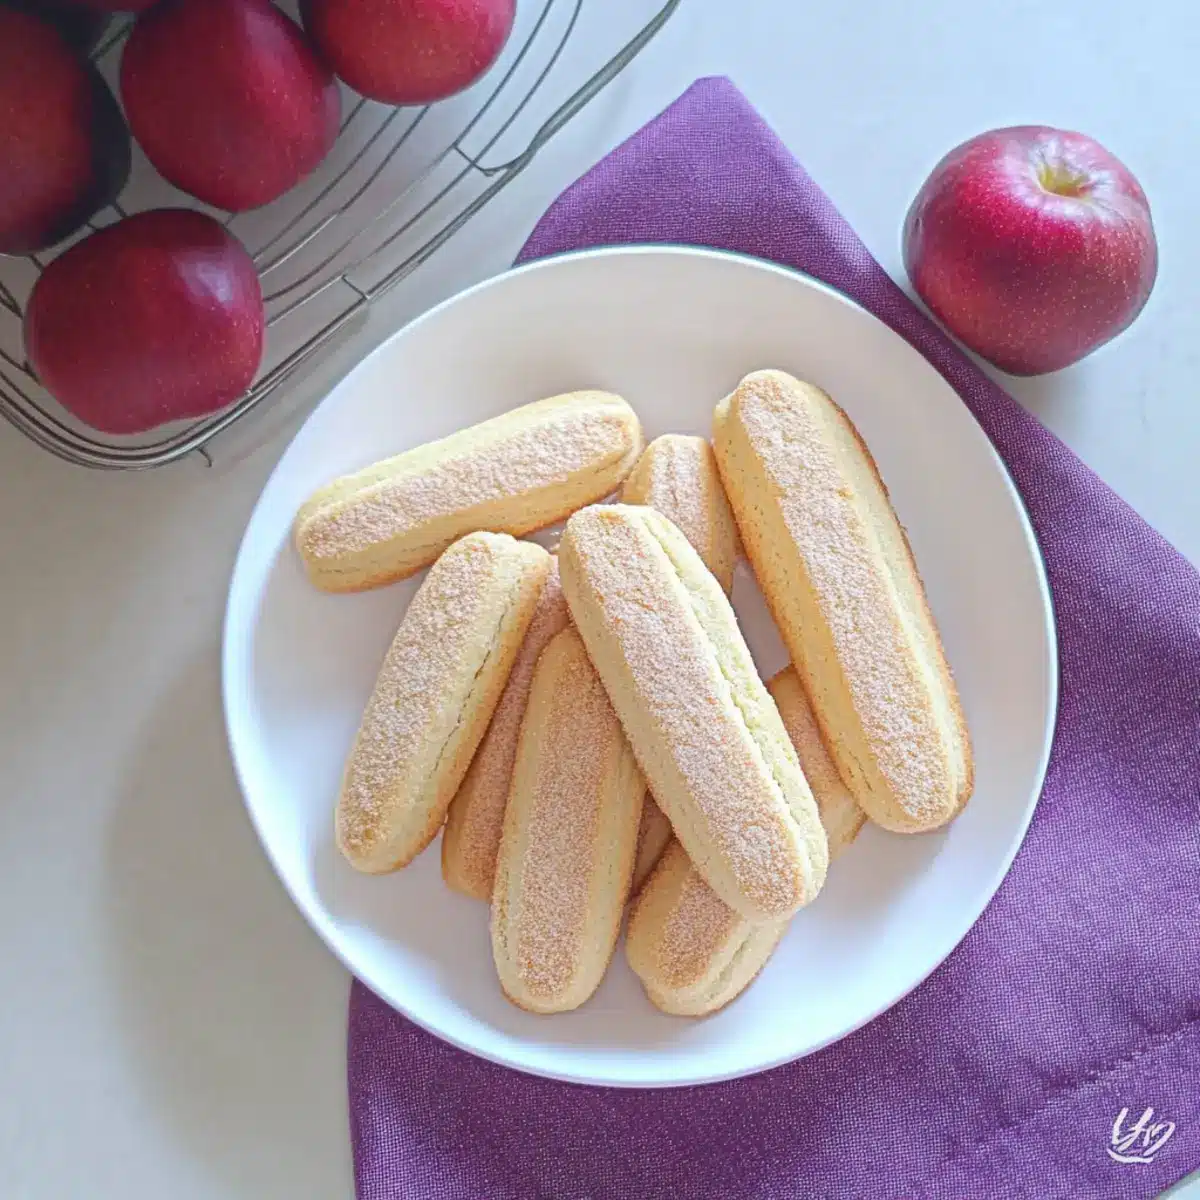
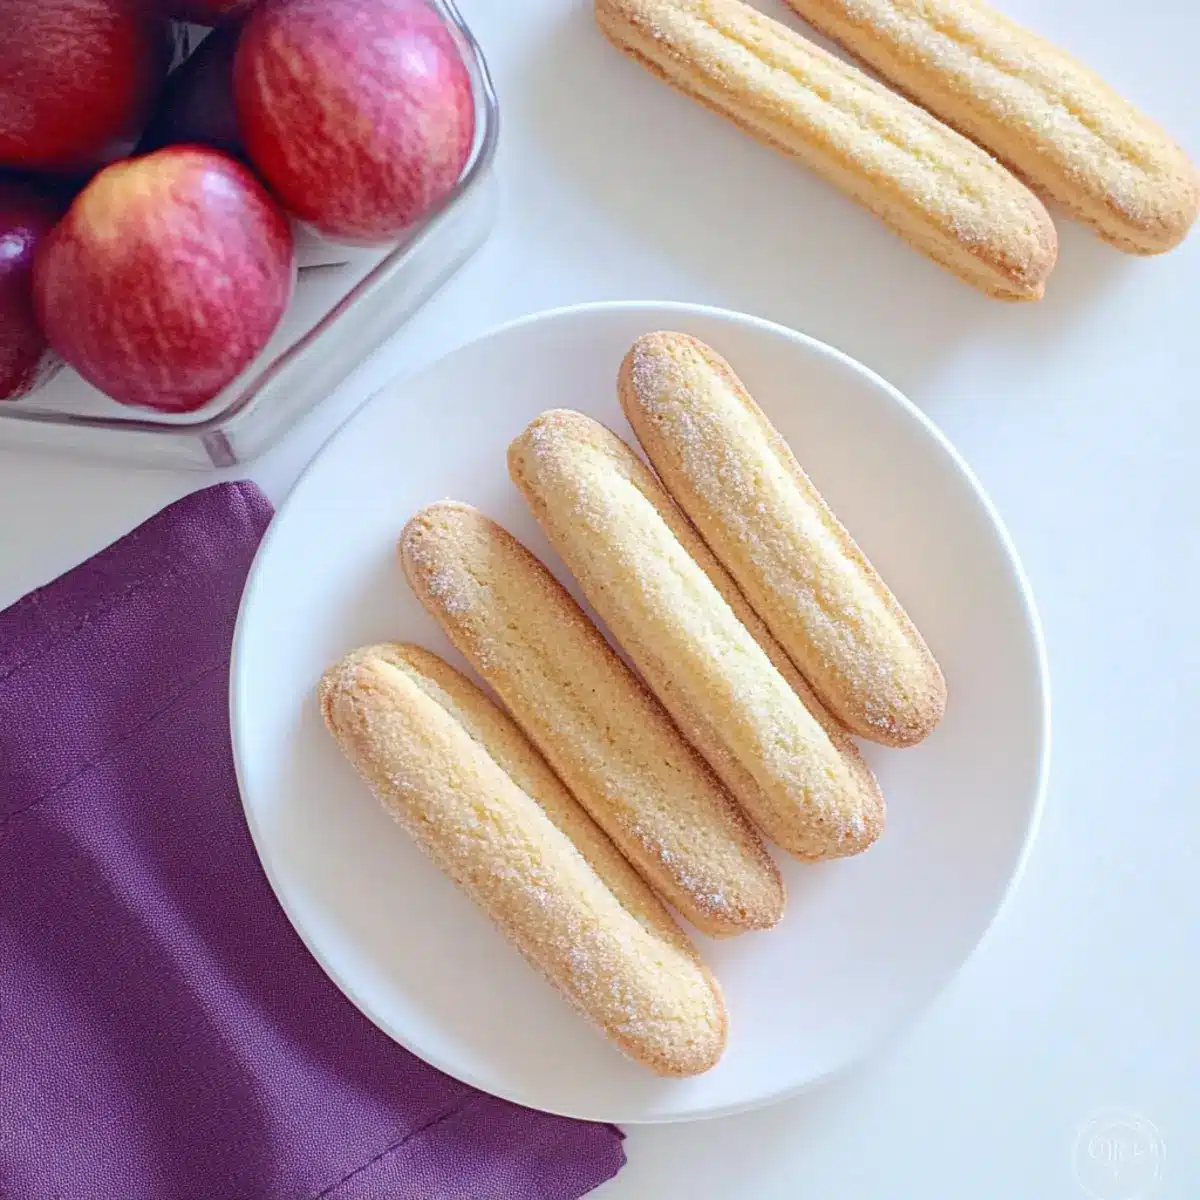
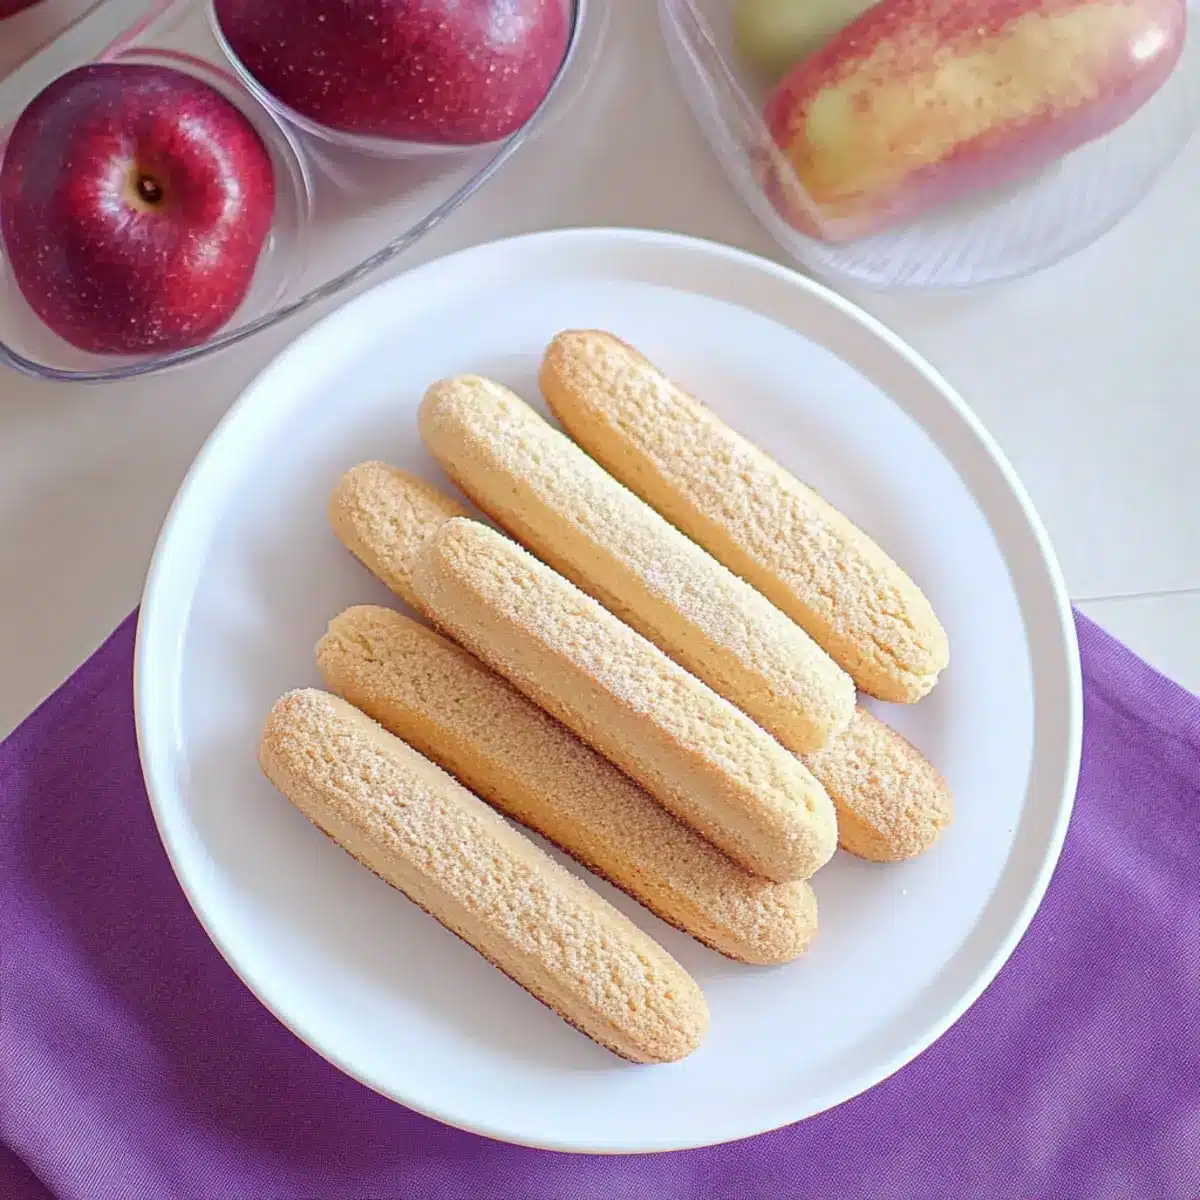
The sweet aroma of a bustling Italian bakery fills the air as I recall the first time I created homemade ladyfinger cookies for tiramisu. These light, crisp wonders form the heart of this timeless dessert, offering a delightful contrast to the rich cream layers and coffee that make tiramisu a delectable indulgence. What I adore about this recipe is the ease of preparation—using simple, everyday ingredients, you can whip up these versatile cookies in no time. Not only do they elevate your tiramisu to new heights, but they also shine on their own, perfect for pairing with a warm cup of espresso. Curious to bring a taste of Italy into your home? Let’s dive into making these tasty treats!
Why are homemade ladyfinger cookies special?
Simplicity at Its Finest: Crafting homemade ladyfinger cookies for tiramisu is a breeze, making it perfect for both novice and seasoned bakers.
Versatile Delight: Enjoy them as a standalone snack with coffee or use them as a base for various desserts, from trifles to charlottes.
Unique Texture: Experience a delightful contrast between the crisp exterior and the soft, sponge-like center that soaks up flavors brilliantly.
Elevates Any Dessert: These ladyfingers transform your tiramisu into a masterpiece, comparable to dessert from a quaint Italian café.
Crowd-Pleasing Goodness: Impress your family and friends with these cookies; they’ll definitely come back for seconds! If you love baking, you should also try making Winter Wonderland Cookies or Pumpkin Pie Cookies.
Homemade Ladyfinger Cookies Ingredients
For the Batter
- Eggs – Provides structure and richness; using fresh, large free-range eggs will yield the best results.
- Granulated Sugar – Adds essential sweetness and helps achieve the desired texture; no substitutions recommended.
- Salt – Enhances flavor; just a pinch is all that’s needed.
- Vanilla Extract – Infuses an aromatic flavor; you can substitute it with almond extract for a unique twist.
- All-Purpose Flour – Forms the cookie’s base, crucial for structure; gluten-free flour might yield different results.
- Cornstarch – Lightens the texture, contributing to the airy quality of the cookies; it’s not advisable to omit this.
- Lemon Zest (optional) – Adds a refreshing citrus note that brightens flavors; you can eliminate it if you prefer a simpler taste.
Serving Ideas
- Powdered Sugar – Dust on top for a sweet finish, enhancing the presentation and flavor of your homemade ladyfinger cookies for tiramisu.
Step‑by‑Step Instructions for Homemade Ladyfinger Cookies for Tiramisu
Step 1: Preheat the Oven
Begin by preheating your oven to 350°F (175°C). While the oven warms up, line two baking sheets with parchment paper to prevent sticking—this will be where you pipe your cookies. It’s essential to prepare these sheets before mixing the batter to ensure a smooth baking process.
Step 2: Separate the Eggs
In two separate bowls, carefully separate the egg yolks from the whites. This step is crucial for achieving the right texture for your homemade ladyfinger cookies for tiramisu. Make sure no yolk gets into the egg whites, as this can affect their ability to whip up properly later.
Step 3: Whip the Egg Yolks
In the bowl with the egg yolks, add half of the granulated sugar and whip them together using an electric mixer until the mixture becomes pale and fluffy—this should take about 4-5 minutes. Next, stir in the vanilla extract and optional lemon zest until fully combined, creating a flavorful base for your cookies.
Step 4: Whip the Egg Whites
In the second bowl with the egg whites, use an electric mixer to whip them on medium-high speed. Gradually add the remaining sugar while continuing to whip until you achieve stiff peaks—this should take about 5-7 minutes. The egg whites should be glossy and hold their shape when you lift the whisk.
Step 5: Combine the Mixtures
Gently fold the whipped egg whites into the yolk mixture using a rubber spatula. It’s crucial to do this with care to maintain the airy texture of the batter. Use a figure-eight motion to gently incorporate the whites, ensuring that you don’t deflate the mixture.
Step 6: Add Dry Ingredients
In a separate bowl, sift together the all-purpose flour, cornstarch, and a pinch of salt. Gradually fold this dry mixture into the wet batter, being careful not to overmix. You want the final mix to be smooth yet still light and airy, as this will give your ladyfinger cookies their delightful texture.
Step 7: Pipe the Cookies
Transfer the batter into a piping bag fitted with a large round tip. Carefully pipe out 3-inch long and 1-inch wide ladyfingers onto the prepared baking sheets, spacing them about 1 inch apart. This spacing is important for even baking and allowing the cookies to rise properly.
Step 8: Dust and Bake
Once piped, lightly dust the ladyfingers with powdered sugar to enhance their sweetness and appearance. Place the trays in the preheated oven and bake for 12-15 minutes, or until the cookies are lightly golden and puffed up. Keep an eye on them to avoid overbaking.
Step 9: Cool Completely
After baking, remove the trays from the oven and allow the ladyfinger cookies to cool completely on the baking sheets. This cooling process is essential; if stored too soon, they may lose their delightful crispness. Once cooled, they’re ready for use in your tiramisu or to enjoy on their own!
How to Store and Freeze Homemade Ladyfinger Cookies for Tiramisu
Room Temperature: Keep your homemade ladyfinger cookies in an airtight container at room temperature for up to 3 weeks. This will help maintain their crisp texture.
Freezer: For longer storage, you can freeze the cookies for up to 3 months. Place them in a single layer in a freezer-safe container, separated by parchment paper to avoid sticking.
Reheating: If you want to enjoy the cookies warm, you can reheat them in a preheated oven at 300°F (150°C) for about 5-7 minutes. This will restore their crispness, perfect for pairing with your favorite coffee.
Dough Storage: If you prefer, prepare the cookie dough in advance and store it in the refrigerator for up to 48 hours. This is a great way to whip up fresh cookies whenever you desire!
What to Serve with Homemade Ladyfinger Cookies for Tiramisu?
Pairing homemade ladyfinger cookies with the right accompaniments turns a sweet treat into an unforgettable experience.
- Rich Espresso: The strong, bold flavors of espresso perfectly contrast with the sweetness of ladyfingers, enhancing their taste.
- Decadent Mascarpone Cream: Layered with fresh mascarpone, this adds creaminess that complements the airy texture of the cookies.
- Fresh Berries: Juicy strawberries or raspberries provide a burst of freshness that cuts through the richness of tiramisu.
- Chocolate Sauce: Drizzled over the cookies, this velvety addition enriches the flavors, making for an indulgent pairing.
- Chilled Prosecco: The effervescence of Prosecco adds a light, refreshing finish, balancing the sweetness beautifully.
- Whipped Cream: Lightly sweetened whipped cream enhances the fluffiness, creating a delightful experience with every bite.
- Nutty Biscotti: Complement the texture with crunchy biscotti for double the delight during your coffee break.
- Vanilla Ice Cream: The cool creaminess of vanilla ice cream makes for a decadent dessert when served alongside the ladyfingers.
- Limoncello: A splash of this zesty Italian liqueur can brighten your palate after enjoying the sweetness, perfect for a light finish.
Homemade Ladyfinger Cookies for Tiramisu: Variations & Substitutions
Feel free to get creative and personalize your homemade ladyfinger cookies for tiramisu with these delightful twists!
-
Citrus Twist: Substitute lemon zest with orange zest for a sweeter, floral flavor that brightens every bite. The delightful aroma will fill your kitchen!
-
Chocolate Delight: For a decadent version, incorporate a couple of tablespoons of cocoa powder into the flour. These chocolate ladyfingers will pair beautifully with coffee or cream!
-
Nutty Flavor: Add finely ground almond or hazelnut flour to the mix for a nutty undertone. This enhances texture and adds a wonderful depth to your cookies.
-
Dairy-Free Option: Swap out the eggs with aquafaba (the liquid from canned chickpeas) for an egg-free version. Whip it until frothy and treat your vegan friends to something special!
-
Spicy Kick: Mix in a dash of cinnamon or nutmeg for a warm spice profile. This slight heat will make your ladyfingers truly unique—perfect for cozy gatherings.
-
Matcha-Infused: For a trendy twist, add matcha powder to the batter. The vibrant green color and slight bitterness of matcha will create an unforgettable contrast with the sweet cream.
-
Herbal Touch: Stir in a hint of dried lavender or rosemary for an aromatic surprise. This will infuse your cookies with a fragrant note, making them incredible with tea.
-
Extra Crunch: Fold in finely chopped nuts or toasted coconut flakes before piping. The added texture will elevate your cookies while adding a tasty surprise in every bite!
Try out any of these variations, and remember that homemade ladyfinger cookies are just the start. If you’re looking for more inspirations, don’t miss out on making Homemade Granola Bars or indulge in the seasonal flavors of Pumpkin Pie Cookies. Enjoy your baking adventure!
Make Ahead Options
These homemade ladyfinger cookies for tiramisu are a fantastic choice for meal prep, allowing you to enjoy baking without the last-minute rush! You can prepare the batter up to 48 hours in advance by storing it in the refrigerator to keep it fresh. To do this, simply transfer your mixed batter into a piping bag, squeeze out any air, and seal it tightly. When you’re ready to bake, just take it out, pipe the cookies onto a baking sheet, and dust them with powdered sugar before baking. This process helps maintain their light, airy texture and flavor, ensuring they come out just as delicious as if they were made fresh. Prepare ahead and whisk your family into a piecing moment of flavor-filled joy!
Expert Tips for Homemade Ladyfinger Cookies
-
Stiff Peaks Are Key: Ensure your egg whites reach stiff peaks. This is crucial for keeping the ladyfingers light and airy, a vital feature of homemade ladyfinger cookies for tiramisu.
-
No Peeking Allowed: Avoid opening the oven door while baking. This can cause temperature fluctuations, leading to deflation of your cookies.
-
Gentle Mixing: When combining your mixtures, avoid overmixing after folding in the flour. You want to maintain all that precious air for a lovely texture.
-
Cool Completely: Allow your cookies to cool fully on the baking trays. Storing them before they’re cool can cause them to soften and lose their desired crispness.
-
Fresh Ingredients Matter: Always use fresh eggs and good-quality ingredients for the best flavor and texture in your ladyfingers. Quality matters!
Homemade Ladyfinger Cookies for Tiramisu Recipe FAQs
How do I select the best ingredients for my homemade ladyfinger cookies?
Absolutely! When choosing ingredients, opt for fresh, large free-range eggs; they provide the best structure and richness. For granulated sugar, stick with the regular type as it’s essential for achieving the cookies’ specific texture. If you decide to add lemon zest, make sure it’s from a fresh lemon to enrich the flavor profile!
How should I store my homemade ladyfinger cookies?
To keep your cookies fresh, store them in an airtight container at room temperature for up to 3 weeks. This will help maintain their delightful crispiness. If you find yourself with an abundance, consider freezing them! Just place them in a single layer in a freezer-safe container with parchment paper in between, and they can last for up to 3 months.
Can I freeze the dough for my ladyfinger cookies?
Yes, indeed! You can prepare the ladyfinger cookie dough and store it in the refrigerator for up to 48 hours before baking. For longer storage, roll the dough into logs, wrap it tightly in plastic wrap, and freeze for up to 3 months. When you’re ready to bake, simply thaw the dough overnight in the refrigerator before piping and baking.
What should I do if my cookies spread during baking?
If your homemade ladyfinger cookies spread too much, it may be due to overmixing the batter or not whipping the egg whites to stiff peaks. To prevent this, ensure that the egg whites are whipped until glossy and firm. Additionally, avoid overmixing when incorporating the dry ingredients as this can deflate the air you’ve carefully whipped in.
Are there any dietary considerations for my homemade ladyfinger cookies?
Definitely! For those with gluten sensitivities, consider using a gluten-free flour blend, but keep in mind it may alter the texture. Also, since these cookies are made with eggs, they are not suitable for vegans or individuals with egg allergies. If that’s a concern, you could experiment with egg replacements, but results may vary.
Homemade Ladyfinger Cookies for Tiramisu: Light and Irresistible
Ingredients
Equipment
Method
- Preheat the oven to 350°F (175°C) and line two baking sheets with parchment paper.
- Separate the egg yolks from the whites into two bowls.
- Whip egg yolks with half of the sugar until pale and fluffy, then stir in vanilla and lemon zest.
- In a separate bowl, whip egg whites, adding remaining sugar, until stiff peaks form.
- Gently fold whipped egg whites into yolk mixture without deflating.
- Sift and fold together flour, cornstarch, and salt into the wet batter gently.
- Transfer batter to a piping bag and pipe ladyfingers on prepared sheets, spacing them 1 inch apart.
- Dust piped cookies with powdered sugar and bake for 12-15 minutes until golden.
- Cool completely on baking sheets before using or storing.
Leave a Reply