
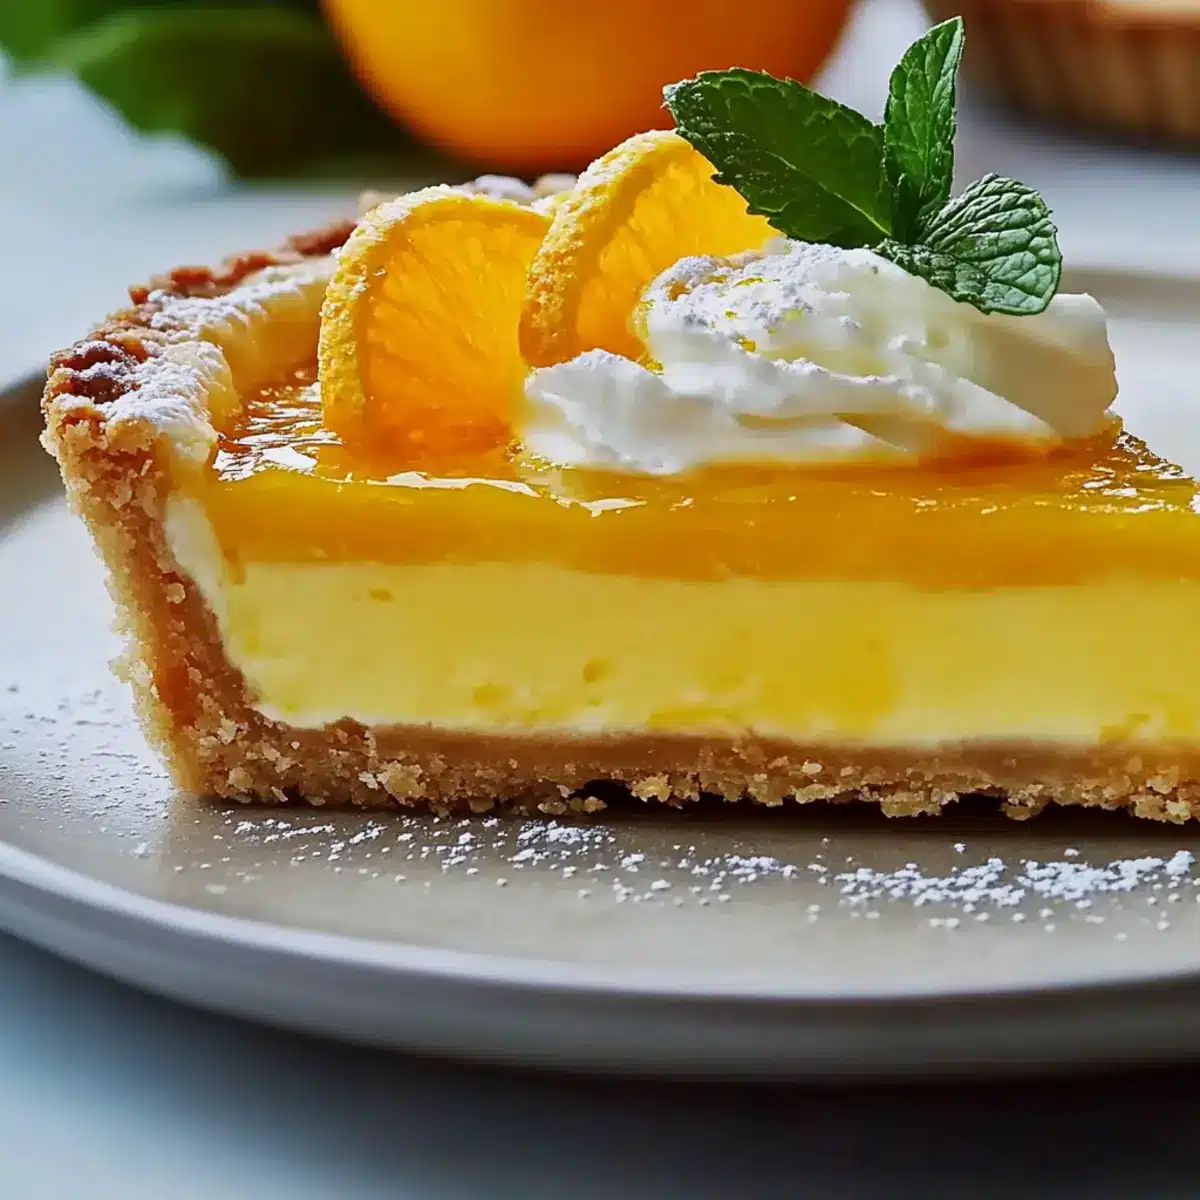
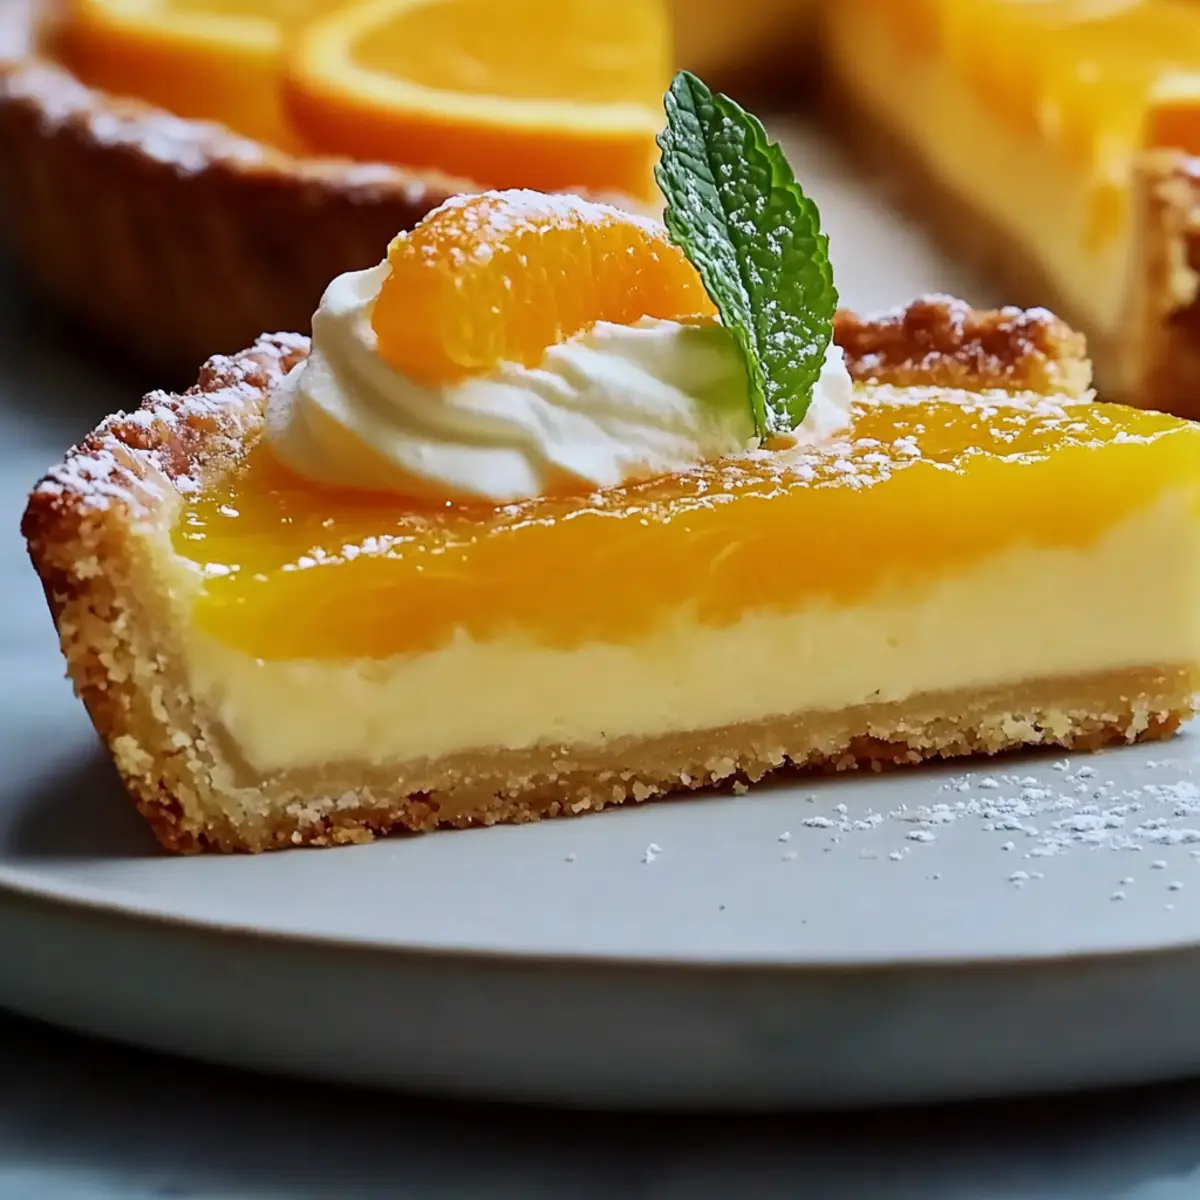
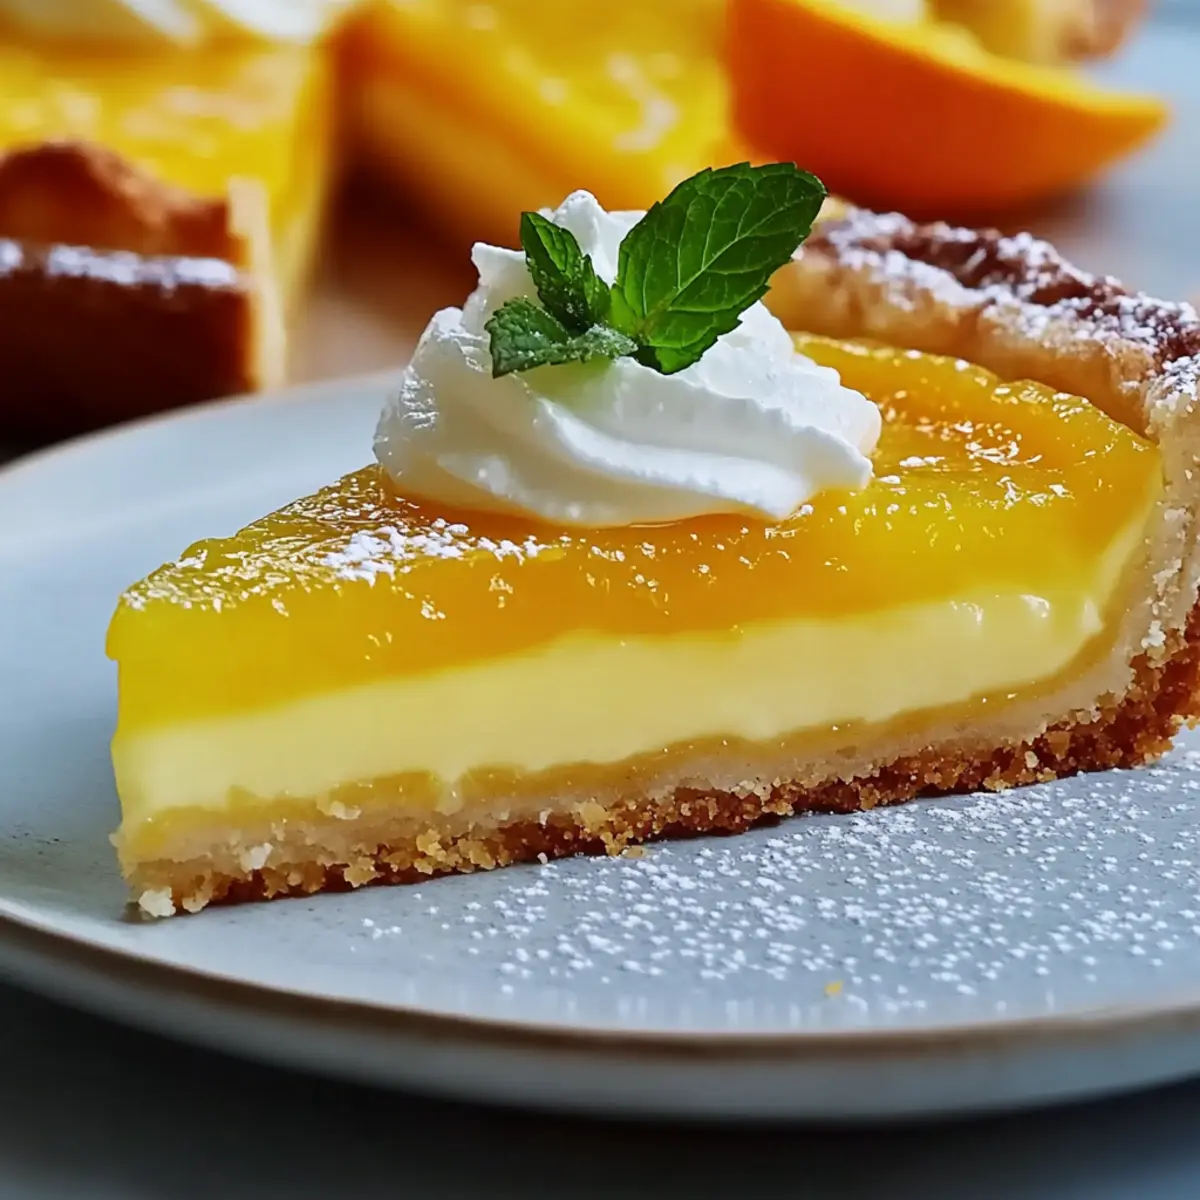
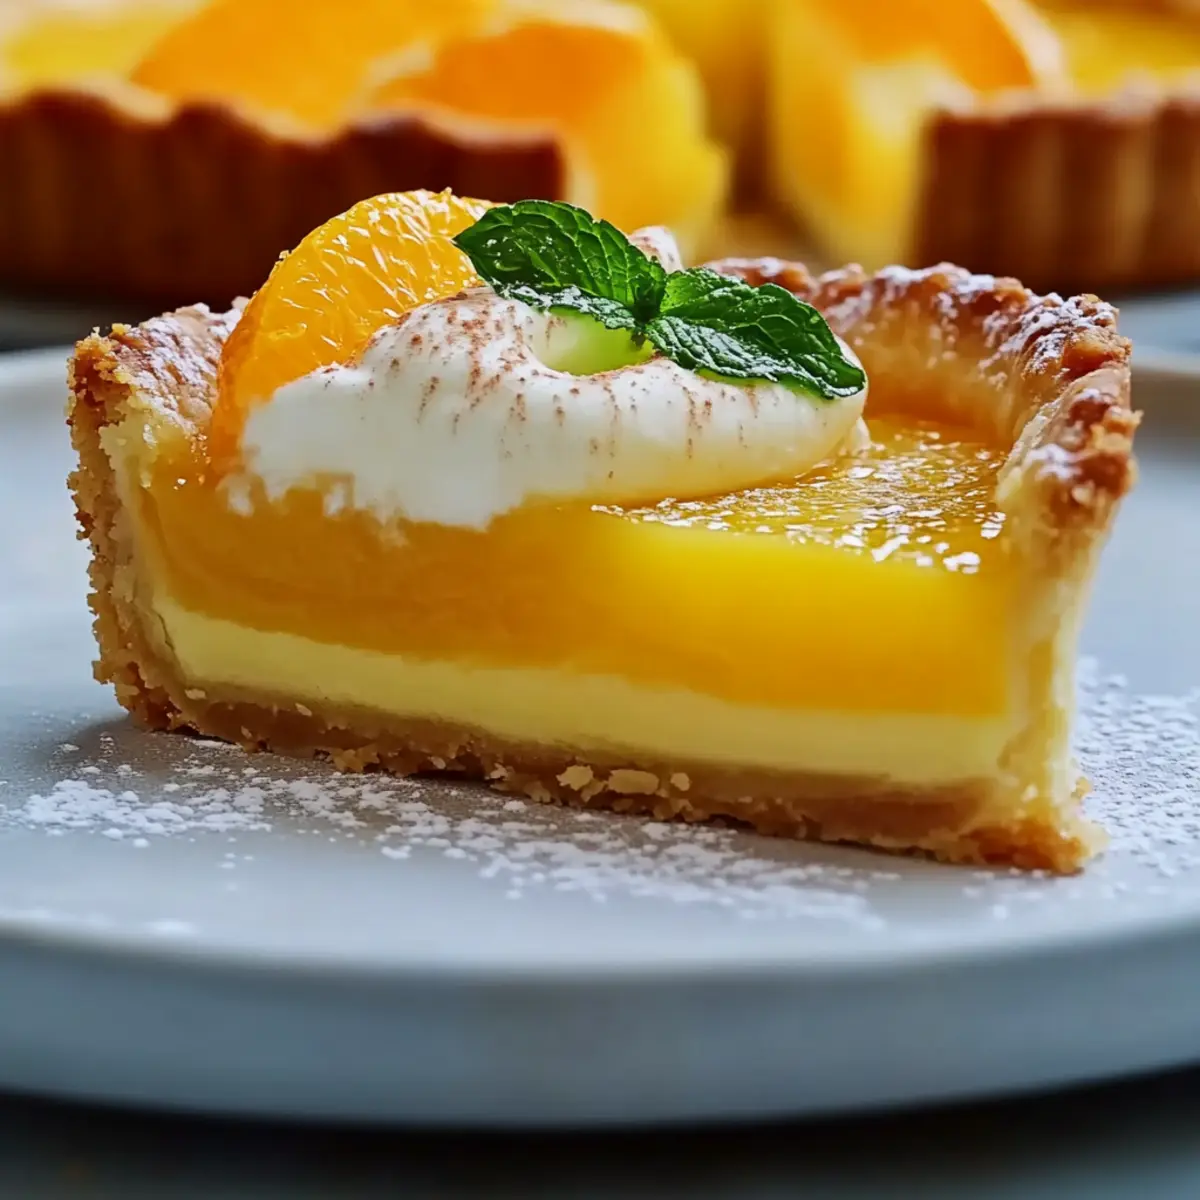
The vibrant aroma of freshly zested oranges fills the air, instantly transporting me to a sunny afternoon in my grandmother’s kitchen. Today, I’m excited to share my twist on a beloved family favorite: the Classic Orange Tart. This simple dessert not only showcases the bright, citrusy flavors of ripe oranges but also promises a creamy filling nestled in a flaky pastry shell—perfect for any occasion. What makes this recipe even more enticing is that it can be made ahead, allowing you to savor the moment instead of stressing in the kitchen. Plus, with its no-bake elements, it’s an effortless treat to impress your friends and family. Are you ready to elevate your dessert game? Let’s dive into the delightful world of this luscious Orange Tart!
Why Choose a Classic Orange Tart?
Simplicity at Its Best: This recipe is refreshingly easy, perfect for home cooks looking to impress without intricate techniques.
Bright, Citrus Flavor: The natural sweetness and zest of oranges shine through, creating a dessert that’s both refreshing and indulgent.
Make-Ahead Marvel: Prepare the tart in advance, freeing up your time for other party tasks or just relaxing with friends.
Versatile Presentation: Dress it up with whipped cream, fresh berries, or even a drizzle of chocolate for a touch of elegance. For a modern twist, consider pairing it with a side of Cranberry Orange Custard for an unforgettable dessert experience.
All Ages Appreciate It: Its delightful balance of flavors appeals to everyone—it’s sure to be a crowd favorite at any gathering!
Classic Orange Tart Ingredients
For the Crust
• Flour – Provides structure for the tart crust; consider using gluten-free flour for an alternative.
• Powdered Sugar – Sweetens the tart shell without grittiness; ideal for smooth dough.
• Almond Flour – Adds a nutty flavor and delicate texture; enhances the overall taste.
• Salt – Enhances flavor; never skip it for a balanced crust.
• Butter – Creates flakiness; make sure it’s chilled for best results.
• Egg Yolk – Adds richness and binds the crust; vital for texture.
• Cold Water – Helps moisten the dough; adjust quantities to achieve the right consistency.
For the Orange Curd
• Oranges – Freshly juiced for a bright flavor; use juicy varieties like Navel for the best taste.
• Superfine Sugar – Sweetens the curd filling and dissolves easily; can substitute with granulated sugar.
• Cornstarch – Thickens the curd; essential for achieving desired consistency.
• Gelatin – Stabilizes the curd for a silky texture; optional but recommended for better results.
For the Topping
• Heavy Cream – Whipped for a lush topping; adds a rich contrast to the tart filling.
Step‑by‑Step Instructions for Classic Orange Tart
Step 1: Prepare Crust
In a food processor, combine flour, powdered sugar, almond flour, salt, and the zest of one orange. Pulse in chilled butter until the mixture resembles coarse crumbs. Next, add the egg yolk and cold water, combining just until a dough forms. Wrap the dough in plastic wrap and chill it in the refrigerator for at least 15 minutes.
Step 2: Bake Crust
Preheat your oven to 200°C (390°F). Roll out the chilled dough on a lightly floured surface until it’s about ¼ inch thick. Carefully fit the rolled dough into a 9-inch tart pan, ensuring it covers the edges. Chill in the freezer for 10 minutes, then bake with pie weights for 22-27 minutes or until the edges are lightly golden. Let the crust cool completely.
Step 3: Make Orange Curd
In a saucepan, heat fresh orange juice over medium heat. In a separate bowl, whisk together eggs, superfine sugar, and cornstarch until smooth. Gradually pour the hot orange juice into the egg mixture to temper it. Return this mixture to the saucepan and cook over low heat, stirring constantly, for about 5-7 minutes until thickened. Stir in gelatin and let the curd cool slightly.
Step 4: Assemble Tart
Once the orange curd has cooled, pour it into the prepared tart crust, spreading it evenly. Cover the tart with plastic wrap and refrigerate for at least 3 hours, or overnight for best results, until fully set. This chilling time enhances the flavors and ensures a beautifully sliceable tart.
Step 5: Serve
To prepare the topping, whip the heavy cream until soft peaks form, then fold in a touch of sweetener if desired. Remove the set Classic Orange Tart from the fridge, dollop the whipped cream on top, and garnish with fresh orange segments and mint leaves. Slice the tart and serve chilled for a refreshing finish to any meal.
Expert Tips for Classic Orange Tart
-
Mix Lightly: Avoid overworking the pastry dough; mixing just until combined ensures a tender crust that melts in your mouth.
-
Perfect Blind Baking: Use enough weights when blind baking to prevent puffing; it keeps your crust beautifully even for the perfect Classic Orange Tart.
-
Watch the Curd Temperature: Cook the orange curd on medium-low heat, stirring constantly; this prevents curdling and achieves a smooth consistency.
-
Chill for Flavor: Allow the tart to chill for at least 2 hours intact; this step melds the flavors beautifully and makes slicing easier.
-
Zest Matters: Use fresh orange zest; it amplifies the citrus flavor and adds a vibrant aroma to the dessert, enhancing your Classic Orange Tart experience.
Classic Orange Tart Variations
Feel free to explore these delightful twists on the Classic Orange Tart that add fun, flavor, and flair to your dessert!
-
Chocolate-Orange Fusion:
Spread a thin layer of melted dark chocolate on the crust before adding the orange curd for a decadent twist. This combination is utterly indulgent and makes for an irresistible treat. -
Nutty Crust Alternative:
Swap out almond flour for pecan or hazelnut flour in the crust for a unique flavor profile. The nutty essence provides a delightful contrast to the citrusy filling, making each bite memorable. -
Fruit Medley Twist:
Mix in a variety of citrus juices, such as grapefruit or lemon, for a refreshing medley. This variation brings complexity and a bright burst of flavor that captivates the palate. -
Blood Orange Option:
Use blood oranges in place of regular oranges for a stunningly vibrant color and a unique tangy flavor. This visually striking dessert leaves a lasting impression and tastes divine. -
Herb-Infused Curd:
Infuse your orange curd with fresh herbs, like basil or thyme, during cooking for an unexpected flavor twist. The herbaceous notes elevate the tart, creating a gourmet experience. -
Spicy Kick:
Add a pinch of cayenne or crushed red pepper flakes to the orange curd for an exciting heat. This bold choice balances the sweetness and brings warmth to the dessert. -
Coconut Cream Topping:
Instead of whipped cream, top your tart with light and fluffy coconut cream for a tropical flair. The subtle coconut flavor pairs beautifully with the citrus. -
Adventurous Garnish:
Complement your tart with a drizzle of honey or a sprinkle of toasted coconut on top. These garnishes not only add texture but also enhance the overall flavor and presentation.
Experiment with these variations, and perhaps follow up with a side of Cranberry Orange Custard to impress your guests. You’ll create a dessert experience that’s exciting, mouthwatering, and unforgettable!
What to Serve with Classic Orange Tart
Transform your dessert into a delightful feast by pairing the vibrant Classic Orange Tart with a few complementary dishes.
-
Creamy Mashed Potatoes: Their buttery texture acts as the perfect foil to the tart, creating a satisfying contrast for your palate.
-
Greek Yogurt with Honey: A scoop of creamy yogurt drizzled with honey provides a silky richness that harmonizes with the zing of the orange.
-
Fresh Berries: A medley of strawberries, blueberries, and raspberries adds a burst of freshness, brightening each bite of the tart while enhancing its presentation.
-
Mint Tea: This refreshing herbal drink cleanses the palate between bites, embodying the essence of a sunny garden while echoing the tart’s brightness.
-
Spiced Almond Cookies: The nutty crunch with a hint of warmth complements the tart’s citrus flavor beautifully, creating a delightful dessert duo with every mouthful.
-
Dark Chocolate Shavings: A sprinkle of rich, dark chocolate on the tart provides a luxurious finish, balancing the sweetness and elevating your classic dessert to a new level.
-
Lemon Sorbet: The icy, tart sorbet refreshes your taste buds, making it a refreshing accompaniment without overshadowing the flavors of the tart.
-
Pistachio Crumble: The nutty crunch adds texture and a nutty depth, enhancing both the flavor and visual appeal of the Classic Orange Tart.
-
Coconut Whipped Cream: This dairy-free option adds a tropical twist that pairs beautifully with citrus, bringing a light creaminess to each bite of your delightful tart.
Make Ahead Options
These Classic Orange Tart preparations are perfect for busy home cooks looking to save time without compromising on flavor! You can prepare the tart shell and orange curd up to 3 days in advance. Just blind bake the crust, then wrap it tightly in plastic wrap to keep it fresh. For the curd, let it cool completely before covering and refrigerating—this keeps it silky and delicious. When you’re ready to serve, pour the orange curd into the chilled crust, allow it to set in the fridge for at least 3 hours (or overnight), and whip the cream just before adding as a topping. This way, your tart will taste just as delightful as if made fresh, allowing you to enjoy the moment with your loved ones instead of stressing in the kitchen!
How to Store and Freeze Classic Orange Tart
Fridge: Store the Classic Orange Tart in the refrigerator for up to 3 days. Cover it loosely with plastic wrap or foil to prevent it from absorbing odors and to maintain its freshness.
Make-Ahead: You can prepare the tart shell and orange curd a day in advance. Assemble the tart just before serving to keep the crust crispy and the curd vibrant.
Freezer: If you wish to freeze, wrap the unassembled tart (shell only) tightly in plastic wrap and then foil. It can last up to 2 months. Defrost in the refrigerator before filling with curd.
Reheating: If the tart has been stored, serve it chilled or at room temperature for the best flavor. Refrain from reheating as it may alter the texture and integrity of the filling.
Classic Orange Tart Recipe FAQs
What type of oranges should I use for the Classic Orange Tart?
Absolutely! For the best flavor, I recommend using juicy Navel or Valencia oranges, as they have the perfect balance of sweetness and acidity. If these aren’t available, any plump, juicy orange will work just as well!
How should I store the Classic Orange Tart?
The tart can be safely stored in the refrigerator for up to 3 days. Be sure to cover it loosely with plastic wrap or foil. This prevents it from absorbing any unwanted odors while helping maintain its freshness and creamy texture.
Can I make the Classic Orange Tart in advance?
Very! You can prepare the tart shell and orange curd a day ahead of time. Just keep them stored separately in the refrigerator. Assemble the tart right before serving to keep that crust nice and crisp, ensuring the orange filling stays vibrant.
How do I freeze the Classic Orange Tart?
To freeze, wrap the unassembled tart shell tightly in plastic wrap followed by a layer of foil. It can be stored in the freezer for up to 2 months. When you’re ready to use it, simply defrost the shell in the refrigerator and fill it with curd just before serving.
What should I do if the orange curd is too runny?
If your orange curd doesn’t thicken as expected, it might need a bit more cooking time. Heat it gently over low heat and stir continuously. You can also add a bit more cornstarch mixed with water, and cook it for a minute or two longer until it reaches the right consistency. Remember, patience is key!
Are there any dietary considerations for this tart?
Absolutely! If you have dietary restrictions, you can easily make this tart gluten-free by using a gluten-free flour blend in the crust. Additionally, always check your orange juice and sugar for any allergens, especially if serving to guests with allergies.
Classic Orange Tart: A Refreshing No-Bake Delight
Ingredients
Equipment
Method
- In a food processor, combine flour, powdered sugar, almond flour, salt, and the zest of one orange. Pulse in chilled butter until the mixture resembles coarse crumbs. Next, add the egg yolk and cold water, combining just until a dough forms. Wrap the dough in plastic wrap and chill it in the refrigerator for at least 15 minutes.
- Preheat your oven to 200°C (390°F). Roll out the chilled dough on a lightly floured surface until it's about ¼ inch thick. Carefully fit the rolled dough into a 9-inch tart pan, ensuring it covers the edges. Chill in the freezer for 10 minutes, then bake with pie weights for 22-27 minutes or until the edges are lightly golden. Let the crust cool completely.
- In a saucepan, heat fresh orange juice over medium heat. In a separate bowl, whisk together eggs, superfine sugar, and cornstarch until smooth. Gradually pour the hot orange juice into the egg mixture to temper it. Return this mixture to the saucepan and cook over low heat, stirring constantly, for about 5-7 minutes until thickened. Stir in gelatin and let the curd cool slightly.
- Once the orange curd has cooled, pour it into the prepared tart crust, spreading it evenly. Cover the tart with plastic wrap and refrigerate for at least 3 hours, or overnight for best results, until fully set.
- To prepare the topping, whip the heavy cream until soft peaks form, then fold in a touch of sweetener if desired. Remove the set Classic Orange Tart from the fridge, dollop the whipped cream on top, and garnish with fresh orange segments and mint leaves. Slice the tart and serve chilled.
Leave a Reply