
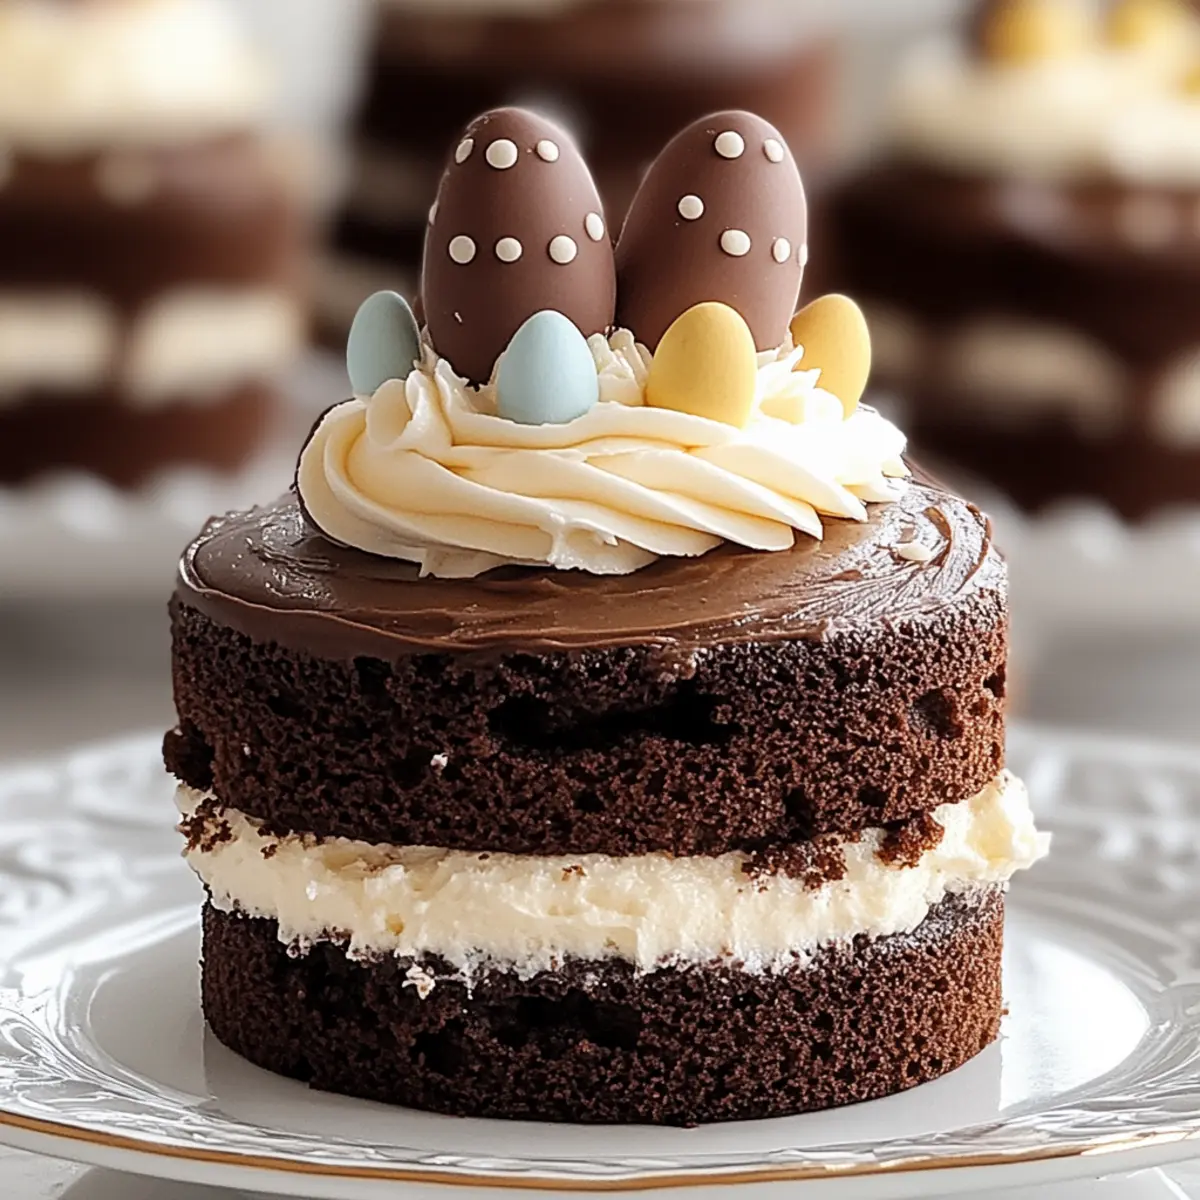
With pastel colors blooming everywhere and the scent of spring in the air, nothing says celebration quite like Mini Easter Layer Cakes. These delightful treats are not just visually stunning; their rich chocolate flavor paired with fluffy buttercream frosting makes them a standout addition to any Easter brunch or spring gathering. What I love most about these cakes is that they’re perfectly sized for indulging—no need to feel guilty about a second slice when they are mini! Plus, the customizable decorations allow you to get creative, making each cake a personal masterpiece that reflects the joy of the season. Ready to impress your guests with a sweet treat that brings smiles and warmth to your table? Let’s dive into the recipe!
Why Make Mini Easter Layer Cakes?
Delightfully Customizable: These cakes are perfect for showcasing your creativity! Decorate with vibrant pastel colors and festive toppings like mini chocolate eggs or jelly beans to truly capture the spirit of spring.
Rich Chocolate Indulgence: With Ghirardelli cocoa in the mix, each bite offers a deep, rich flavor that chocolate lovers will adore.
Perfect for Sharing: Their mini size makes them ideal for portion control—perfect for Easter brunch, allowing everyone to indulge without overdoing it.
Quick to Make: The straightforward process means you can whip these up in no time, making them a great last-minute dessert option.
Crowd-Pleasing Appeal: Whether you’re celebrating with family or friends, these cakes are sure to impress and delight, much like our Mini Beef Wellington Bites do at gatherings!
Let’s get started on creating these adorable treats that are bound to brighten your spring celebrations!
Mini Easter Layer Cakes Ingredients
• Get ready to bake a springtime delight!
For the Cake
- Ghirardelli Sweet Ground Chocolate and Cocoa – Provides a rich chocolate flavor; prefer this for a deep taste or substitute with regular cocoa powder (add ¼ cup sugar).
- All-Purpose Flour – Adds structure; ensure it’s sifted for a lighter texture.
- Granulated Sugar – Sweetens the cake, enhancing flavor.
- Baking Soda – Acts as a leavening agent; make sure it’s fresh for the best rise.
- Cream of Tartar – Stabilizes the batter and adds volume.
- Salt (optional) – Enhances overall flavor.
- Buttermilk – Adds moisture and tenderness; can substitute with milk + 1 tsp vinegar.
- Butter (softened) – Provides flavor and texture; use unsalted for better control over saltiness.
- Eggs – Allow the cake to rise, providing structure and moisture; ensure they are at room temperature for best results.
- Pure Vanilla Extract – Adds depth of flavor; always choose high-quality extract for the best taste.
For the Frosting
- Shortening – Creates a fluffy texture; can be substituted with all butter.
- Confectioners’ Sugar – Sweetens and thickens the frosting; sift before use to avoid lumps.
- Milk – Adjusts the frosting consistency for easy spreading.
Dive into making these delightful Mini Easter Layer Cakes and experience the joy of spring in every bite!
Step‑by‑Step Instructions for Mini Easter Layer Cakes
Step 1: Preheat and Prepare Pans
Begin by preheating your oven to 350°F (175°C). While it warms up, prepare your cake pans by greasing them thoroughly and lining with wax paper. This step ensures easy removal of your delightful Mini Easter Layer Cakes after baking, allowing the layers to maintain their beautiful shapes.
Step 2: Combine Dry Ingredients
In a large mixing bowl, sift together all-purpose flour, Ghirardelli sweet ground chocolate and cocoa, granulated sugar, baking soda, cream of tartar, and optional salt. Use a whisk to blend these ingredients well until they appear light and airy, ensuring every bite of your Mini Easter Layer Cakes is rich in flavor and perfectly balanced.
Step 3: Mix Wet Ingredients
Next, add buttermilk and softened butter to your dry mixture. Using a hand mixer, beat on medium speed for about 2 minutes until the mixture is smooth and well combined. Afterward, incorporate the room-temperature eggs and pure vanilla extract, mixing until the batter is silky and free of lumps for a resilient cake structure.
Step 4: Bake the Cakes
Once your batter is ready, divide it evenly across the prepared pans. Place them in the preheated oven and bake for 30-45 minutes, or until a toothpick inserted in the center comes out clean. The cakes should rise beautifully and develop a slightly domed top, signaling they are ready for cooling.
Step 5: Cool and Transfer
After baking, let the cakes cool in the pans for 10-15 minutes. Once slightly cooled, carefully run a knife around the edges to loosen them and turn the cakes out onto a wire rack. Allow the cakes to cool completely, as this will help ensure your frosting adheres nicely.
Step 6: Prepare the Frosting
To make the fluffy buttercream frosting, beat softened butter and shortening in a mixing bowl until creamy. Gradually add sifted confectioners’ sugar and blend in milk until you reach your desired consistency. Light and airy, this frosting will perfectly complement your Mini Easter Layer Cakes.
Step 7: Assemble the Cakes
Once the cakes are fully cool, use a sharp metal cookie cutter to cut mini layers from each cake. Stack the layers with frosting in between, ensuring there’s a generous spread to create that delightful contrast in chocolatey richness.
Step 8: Frost and Decorate
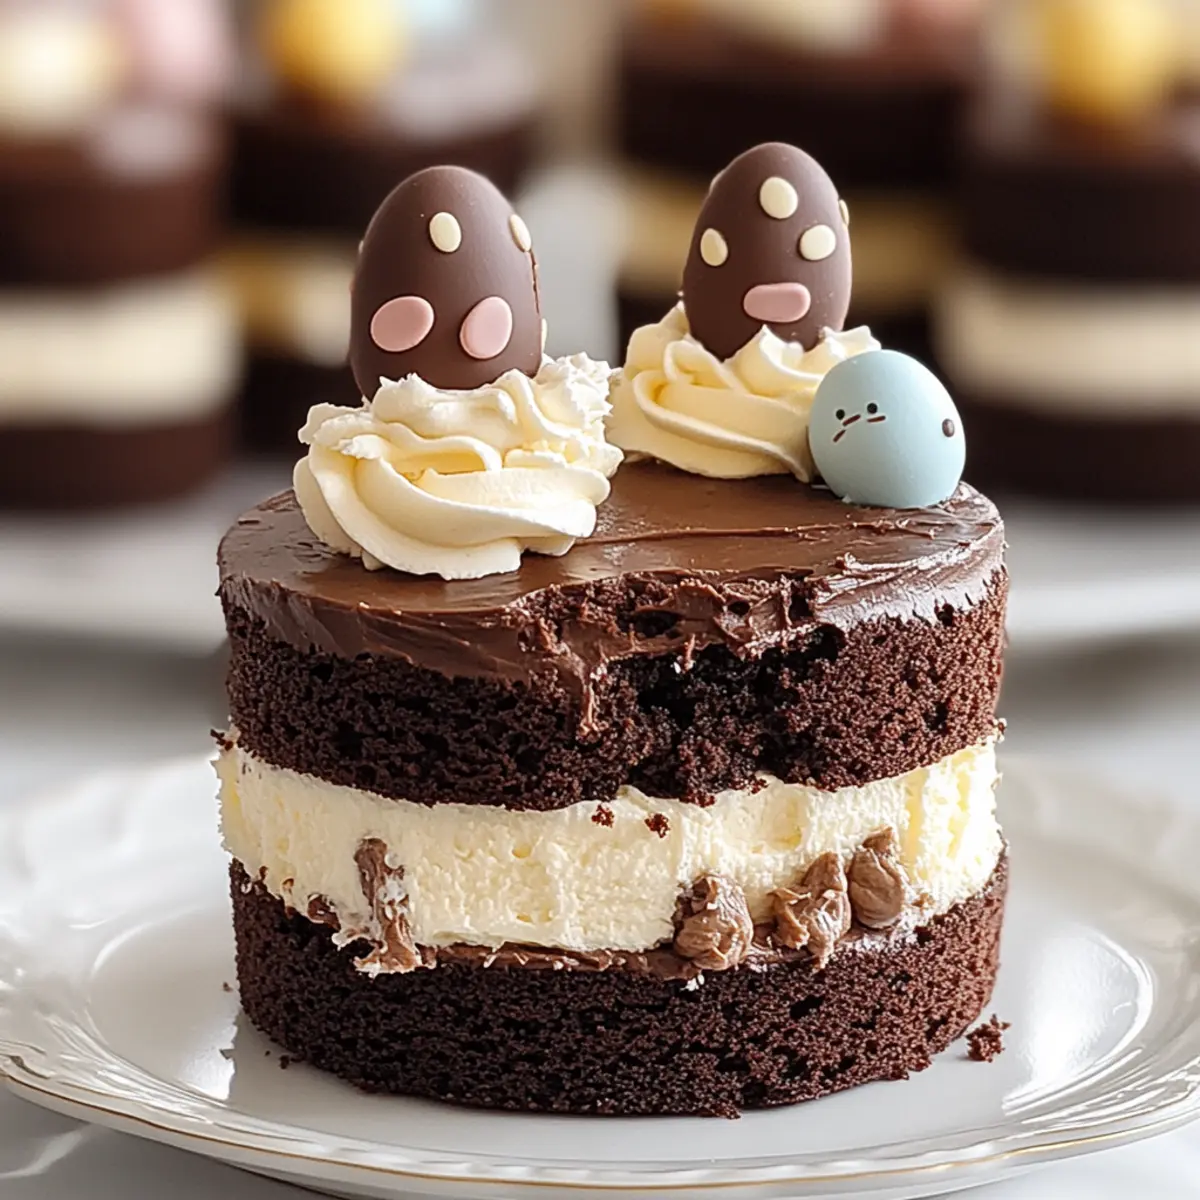
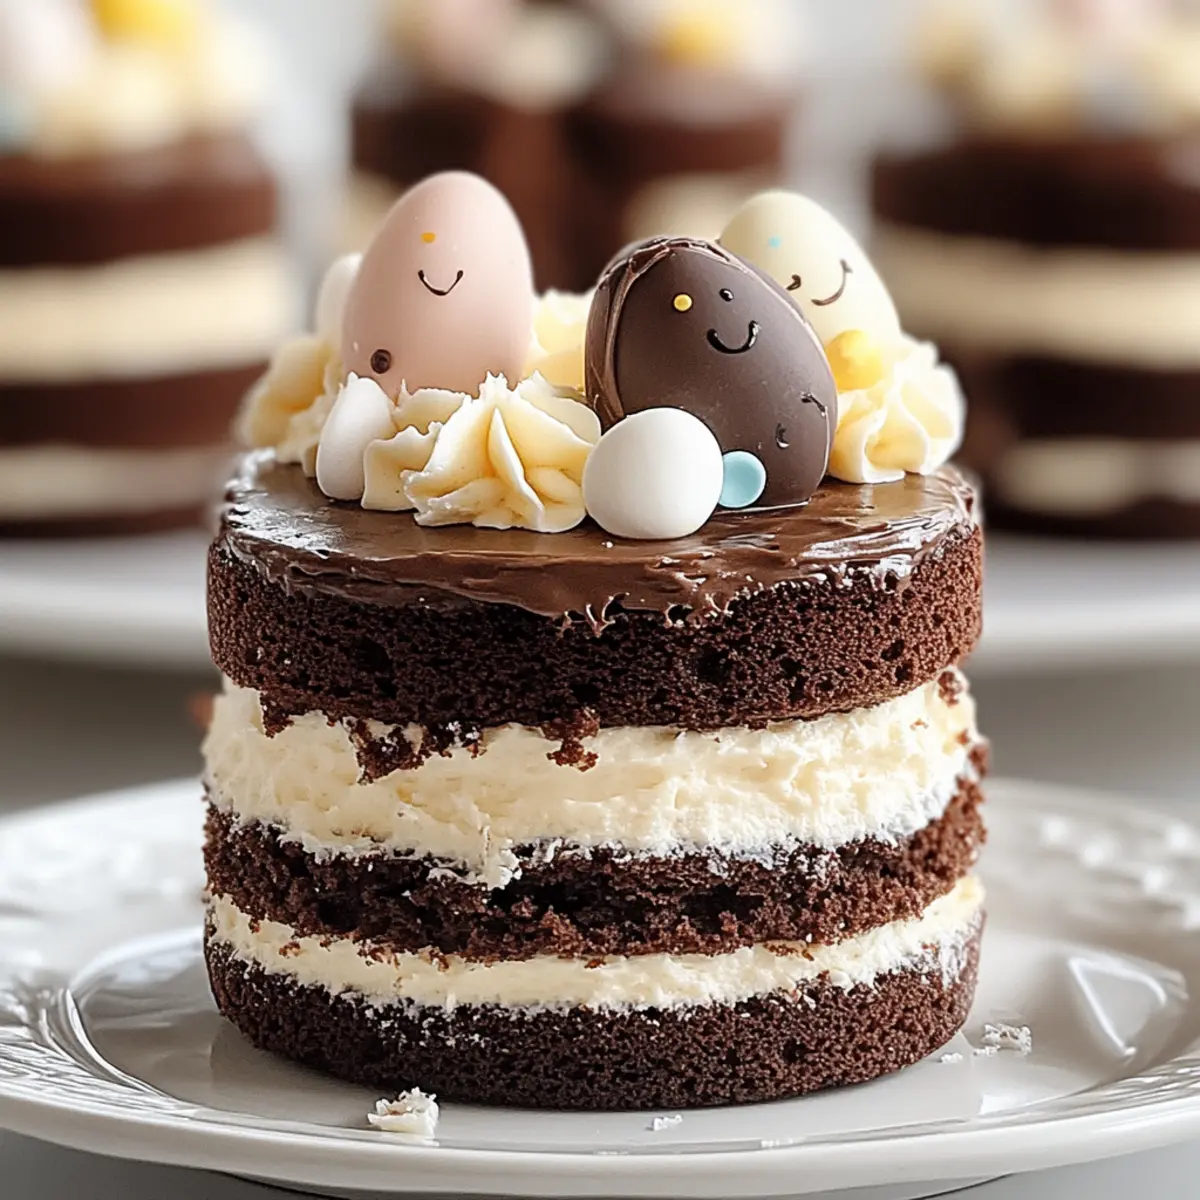
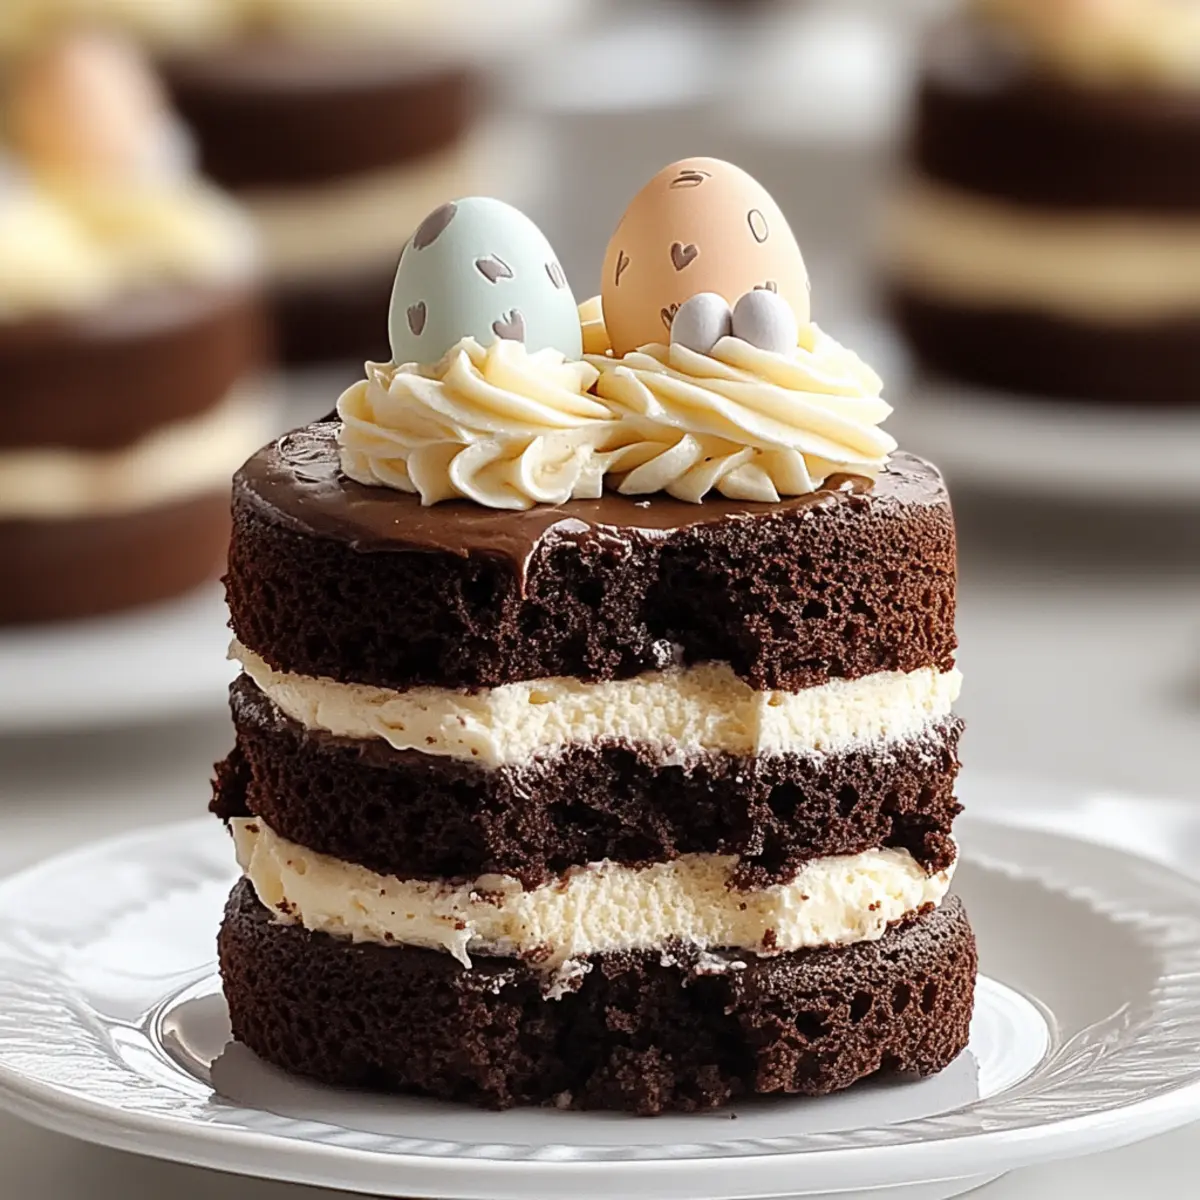
Using an offset spatula, frost the outsides of each stacked mini cake, smoothing down to give a polished finish. Let your creativity shine by decorating with whimsical pastel colors or festive toppings such as mini chocolate eggs or jelly beans, turning these Mini Easter Layer Cakes into beautiful festive desserts.
Expert Tips for Mini Easter Layer Cakes
-
Uniform Layers: Use a sharp metal cookie cutter for even-sized cake layers. This ensures all your mini cakes have the same height, making for a more appealing presentation.
-
Chill Before Frosting: If the cakes feel too soft, chill them for 30 minutes before frosting. This step helps the layers hold their shape and makes the frosting process smoother.
-
Smooth Frosting Finish: An offset spatula is your best friend for achieving a smooth frosted finish. Glide it gently around the cake to create that professional look.
-
Make Ahead: You can bake the mini cakes up to two days in advance. Just store them securely to maintain freshness; the frosting can be made ahead and stored in the fridge for up to five days.
-
Dust the Sugar: Sift your confectioners’ sugar before adding it to the frosting. This helps avoid lumps and results in a creamier, more delightful frosting for your Mini Easter Layer Cakes.
Mini Easter Layer Cakes Variations
Feel inspired to personalize your Mini Easter Layer Cakes and let your creativity shine with every bite!
-
Dairy-Free: Substitute buttermilk with almond or coconut milk mixed with 1 tsp vinegar for a dairy-free treat.
Transform the flavor profile while keeping the moist texture everyone loves. -
Gluten-Free: Use a 1:1 gluten-free baking mix instead of all-purpose flour for a gluten-free option.
Your guests won’t even miss the gluten with the rich chocolate flavor still shining through! -
Nutty Twist: Add 1/2 cup of finely chopped nuts to the batter for a delightful crunch.
Almonds or walnuts pair beautifully with chocolate, elevating the texture and taste. -
Citrus Zest: Incorporate 1 tablespoon of orange or lemon zest into the cake batter for a fresh, zesty punch.
This unexpected twist adds a refreshing note that pairs perfectly with chocolate. -
Fun Decorations: Replace traditional frosting with whipped cream for a lighter, fluffier finish.
Top with fresh fruit for an elegant alternative that adds vibrant color and flavor! -
Heat It Up: Mix in a pinch of cayenne pepper or espresso powder for a subtle kick of warmth.
The addition of spice will deepen the chocolate flavor, creating a surprising twist that chocolate lovers will adore! -
Mini Cupcakes: Transform your batter into mini cupcakes by baking for 20-25 minutes instead of layering.
Perfect portion sizes that are just as festive and fun for any spring gathering. -
Fruity Surprise: Add a layer of fruit preserves like raspberry or strawberry between the cakes for a burst of tartness.
This simple addition can balance the sweetness and enhance the overall flavor profile.
These variations are not only fun to try but can also help you create memorable moments during your spring celebrations—just like our delightful Apple Cinnamon Mini or luscious Apple Cinnamon Pancakes! Enjoy customizing your treats!
How to Store and Freeze Mini Easter Layer Cakes
Room Temperature: Keep your Mini Easter Layer Cakes in an airtight container for up to 1 day at room temperature. This helps maintain their freshness if you’re planning to serve them soon.
Fridge: Store leftover cakes in the refrigerator in an airtight container for up to 3 days. This helps keep the frosting intact and the cake moist while preserving flavor.
Freezer: For longer storage, wrap the individual mini cakes tightly in plastic wrap and then in aluminum foil. They can be frozen for up to 2 months. Thaw overnight in the fridge before enjoying.
Reheating: If you prefer your cakes slightly warm, pop them in the microwave for about 10-15 seconds. Be sure to keep a close eye to prevent overdoing it and drying them out.
Make Ahead Options
These Mini Easter Layer Cakes are perfect for busy home cooks looking to save time during the spring festivities! You can bake the cakes up to 2 days in advance; simply let them cool completely, then wrap tightly in plastic wrap and refrigerate to maintain their moisture. The frosting can be prepared and stored in an airtight container for up to 5 days, keeping it fresh and ready for assembly. When you’re ready to serve, cut out the mini layers and stack them with frosting, then frost the outsides. This way, you achieve deliciously simple, impressive desserts with minimal effort, allowing you to enjoy your celebrations without stress!
What to Serve with Mini Easter Layer Cakes?
Treat your guests to an unforgettable meal with delightful pairings that enhance the magic of the season.
-
Light Spring Salad: A crisp salad with mixed greens and a tangy vinaigrette balances the richness of the cakes, refreshing the palate between bites.
-
Lemonade Sparkler: This bubbly citrus drink adds a zesty twist, perfectly complementing the chocolatey sweetness with a spark of refreshing brightness.
-
Fruit Platter: An assortment of seasonal fruits brings a burst of freshness to the table, contrasting beautifully with the decadence of the layer cakes.
-
Coffee or Espresso: The bold flavors of coffee elevate the chocolate, creating a harmonious blend that’s comforting and satisfying.
-
Chocolate-Dipped Strawberries: For a touch of elegance, these treats mirror the chocolatey theme and provide a luscious, juicy complement to the cakes.
-
Mini Cheesecakes: Keep the dessert options in tandem. A creamy cheesecake adds a different texture while allowing guests to sample an alternate sweet.
-
Whipped Cream: A dollop atop each mini cake enhances its presentation and adds a creamy, airy texture that perfectly balances the chocolate richness.
-
Sparkling White Wine: For a celebratory touch, this bubbly drink offers a delightful pairing that adds a sophisticated note to your Easter gathering.
Mini Easter Layer Cakes Recipe FAQs
What type of cocoa is best for Mini Easter Layer Cakes?
Absolutely! I recommend using Ghirardelli Sweet Ground Chocolate and Cocoa for a rich chocolate flavor. If you can’t find it, regular cocoa powder works too—just be sure to add ¼ cup of sugar to maintain the sweetness.
How should I store Mini Easter Layer Cakes?
To keep your Mini Easter Layer Cakes fresh, store them in an airtight container in the refrigerator for up to 3 days. This ensures the frosting remains intact and the cakes stay moist and flavorful.
Can I freeze Mini Easter Layer Cakes?
Yes, you can freeze these delightful treats! Wrap each mini cake tightly in plastic wrap, then cover with aluminum foil to protect against freezer burn. They will keep well for up to 2 months. To thaw, simply place them in the refrigerator overnight before enjoying, or you can warm them up in the microwave for 10-15 seconds.
What if my cakes domed while baking?
It’s very common for cakes to rise and dome slightly during baking. If this happens, don’t worry! Simply use a sharp serrated knife to level the tops once the cakes have completely cooled. This will give you a nice, flat surface for stacking and frosting.
Can I make these cakes dairy-free?
Absolutely! To make your Mini Easter Layer Cakes dairy-free, substitute buttermilk with a non-dairy milk mixed with 1 teaspoon of vinegar (allow it to sit for 5 minutes to curdle). Additionally, choose a dairy-free butter alternative for the frosting and check your confectioners’ sugar to ensure it’s free of any allergens.
Mini Easter Layer Cakes for a Sweet Spring Celebration
Ingredients
Equipment
Method
- Preheat your oven to 350°F (175°C) and prepare your cake pans by greasing them and lining with wax paper.
- In a large mixing bowl, sift together flour, cocoa, sugar, baking soda, cream of tartar, and salt.
- Add buttermilk and butter to the dry mixture; mix on medium speed for about 2 minutes. Incorporate eggs and vanilla, mixing until smooth.
- Divide the batter evenly across the prepared pans and bake for 30-45 minutes, until a toothpick comes out clean.
- Let the cakes cool in the pans for 10-15 minutes before transferring them to a wire rack to cool completely.
- Beat together softened butter and shortening until creamy. Gradually add sifted confectioners' sugar and milk until desired consistency.
- Once cakes are cool, cut mini layers with a cookie cutter and stack them with frosting in between.
- Frost the outsides of each stacked cake and decorate with pastel colors or toppings like mini chocolate eggs or jelly beans.
Leave a Reply