
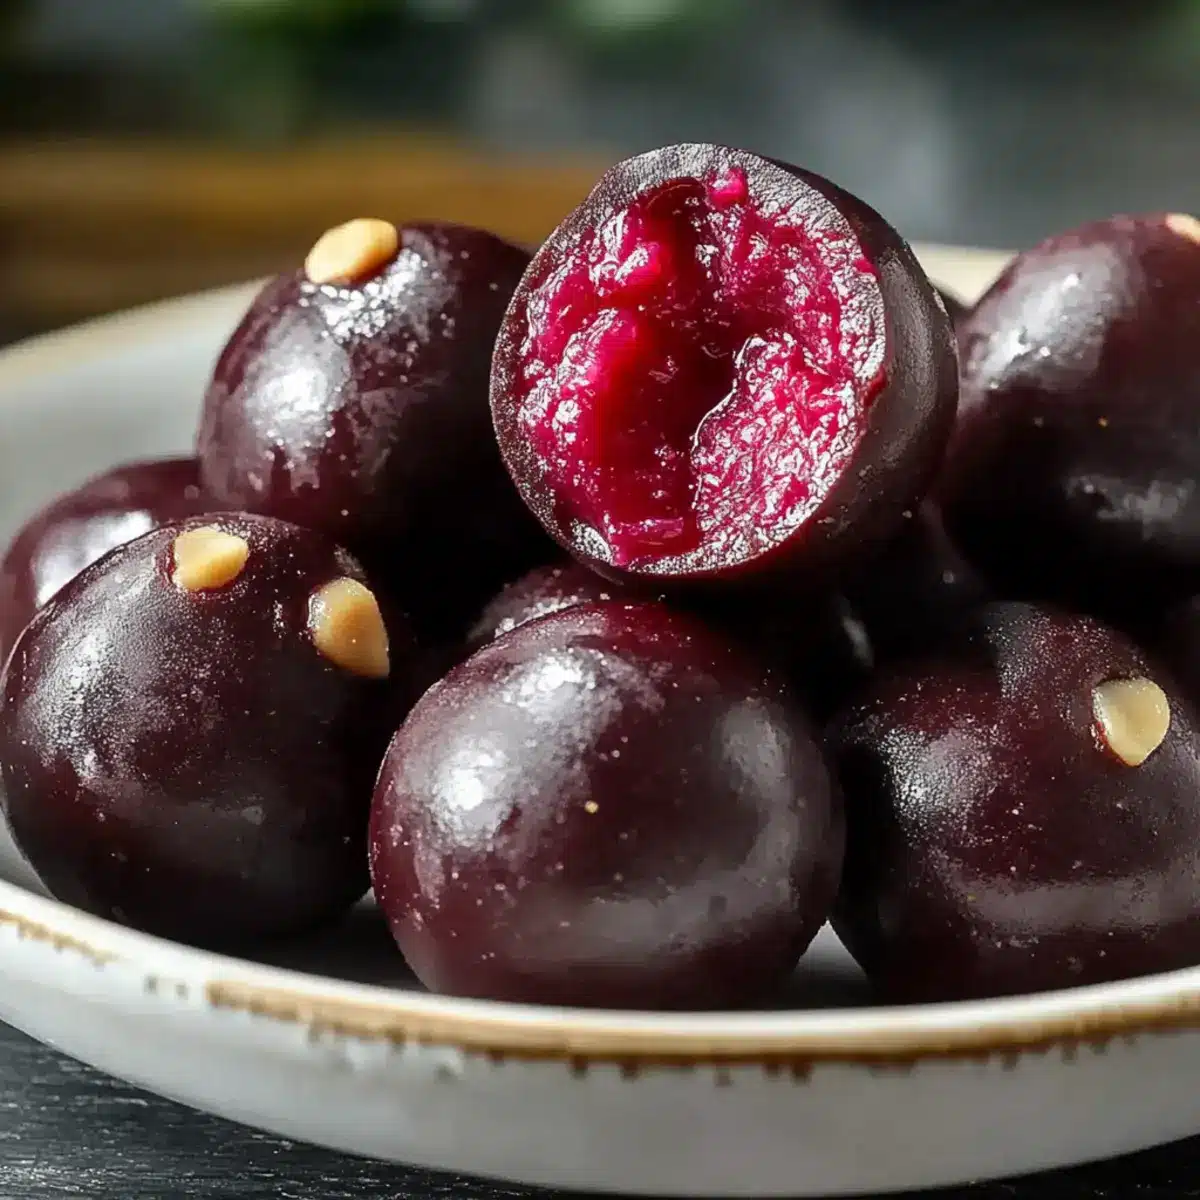
I could feel the joy bubbling up as I dipped my first spoon into the colorful jar of maraschino cherries. On that unforgettable day, a simple jar transformed into a delightful Cherry Mash Truffles Recipe that would become one of my go-to treats. Combining the sweet chewiness of those cherries with creamy peanut butter and a decadent chocolate coating, these no-bake truffles are sure to delight anyone craving a satisfying dessert. Not only are they easy to whip up using pantry staples, but they also make for an impressive crowd-pleaser that can be prepped in advance. Just picture serving these little indulgences at your next gathering, where everyone will be coming back for seconds! Are you ready to discover how to create these sweet bites of nostalgia?
Why are Cherry Mash Truffles unforgettable?
Nostalgic Delight: These truffles capture the essence of childhood treats, combining chewy maraschino cherries with a creamy peanut butter filling.
No-Bake Convenience: With a simple preparation process, you can whip these up in no time, perfect for those busy days when you want something sweet without the oven hassle.
Versatile Flavor: Feel free to swap out the peanut butter for sunflower seed butter for a nut-free version or experiment with flavored extracts for a personalized twist.
Crowd-Pleasing Treats: Bring these delightful bites to your next gathering, and you’ll be the star of the show! They’re sure to impress, even among discerning dessert lovers.
Make Ahead Magic: Ideal for preparing in advance, just freeze and let them thaw overnight for an effortless last-minute dessert option. And if you love easy treats, you might also enjoy our Sticky Toffee Pudding or Sugar Cookie Shots!
Cherry Mash Truffles Recipe Ingredients
For the Truffle Filling
- Maraschino Cherries – These provide a sweet and chewy center; fresh cherries can be used if pitted and dried thoroughly.
- Cherry Juice – Adds a burst of natural cherry flavor and moisture to the filling.
- Softened Butter – Acts as a binder, giving the filling a rich, creamy texture.
- Almond Extract – Enhances flavor complexity; you can substitute this with vanilla extract if needed.
- Vanilla Extract – Complements the cherry and chocolate flavors beautifully.
- Salt – A pinch balances sweetness and enhances the overall flavor.
- Powdered Sugar – Sweetens the filling and helps it hold its shape; be sure to sift it for best results.
For the Chocolate Coating
- Semisweet Chocolate Chips – These form the luscious outer layer; melt them smoothly for easy coating.
- Peanut Butter – Adds a creamy, nutty flavor; consider using crunchy peanut butter for added texture.
- Chopped Salted Peanuts – Gives a delightful crunch; omit this for a nut-free variation.
These Cherry Mash Truffles are more than just treats; they’re a nostalgic blast from the past that you can easily create at home!
Step‑by‑Step Instructions for Cherry Mash Truffles Recipe
Step 1: Prepare the Filling
In a large mixing bowl, combine the chopped maraschino cherries, cherry juice, softened butter, almond extract, vanilla extract, and a pinch of salt. Mix these ingredients until they are well combined and creamy. Gradually sift in the powdered sugar, stirring continuously until a thick, cohesive dough forms. The mixture should still be slightly sticky but workable, resembling a thick batter.
Step 2: Chill the Mixture
Cover the bowl with plastic wrap and place it in the refrigerator for 20–30 minutes. This chilling time is crucial as it helps the mixture firm up, making it easier to handle. After chilling, the dough should be more solid and easier to roll into truffle shapes. You can check its consistency by gently pressing it; it should hold its shape without being mushy.
Step 3: Form Truffles
Once the mixture is firm, take small portions and roll them into 1-inch balls using your hands. Place the formed truffles on a parchment-lined baking sheet to prevent sticking. It’s important to ensure they’re spaced adequately apart to allow for coating later. After rolling all the truffles, transfer the baking sheet to the freezer for another 15–20 minutes to firm them up further.
Step 4: Melt Chocolate Coating
In a microwave-safe bowl, combine the semisweet chocolate chips and peanut butter. Microwave the mixture in 20-second intervals, stirring in between until the chocolate and peanut butter are completely melted and smooth. The consistency should be silky and easy to dip. If needed, stir continuously until fully melted to avoid any overheating and burning of the chocolate.
Step 5: Coat the Truffles
Using a fork or toothpick, carefully dip each chilled truffle ball into the melted chocolate-peanut butter mixture. Allow any excess to drip off before placing them back on the parchment-lined baking sheet. Ensure they are thoroughly coated for that rich chocolate experience. Chill the truffles again for 15 minutes to set the chocolate coating firmly.
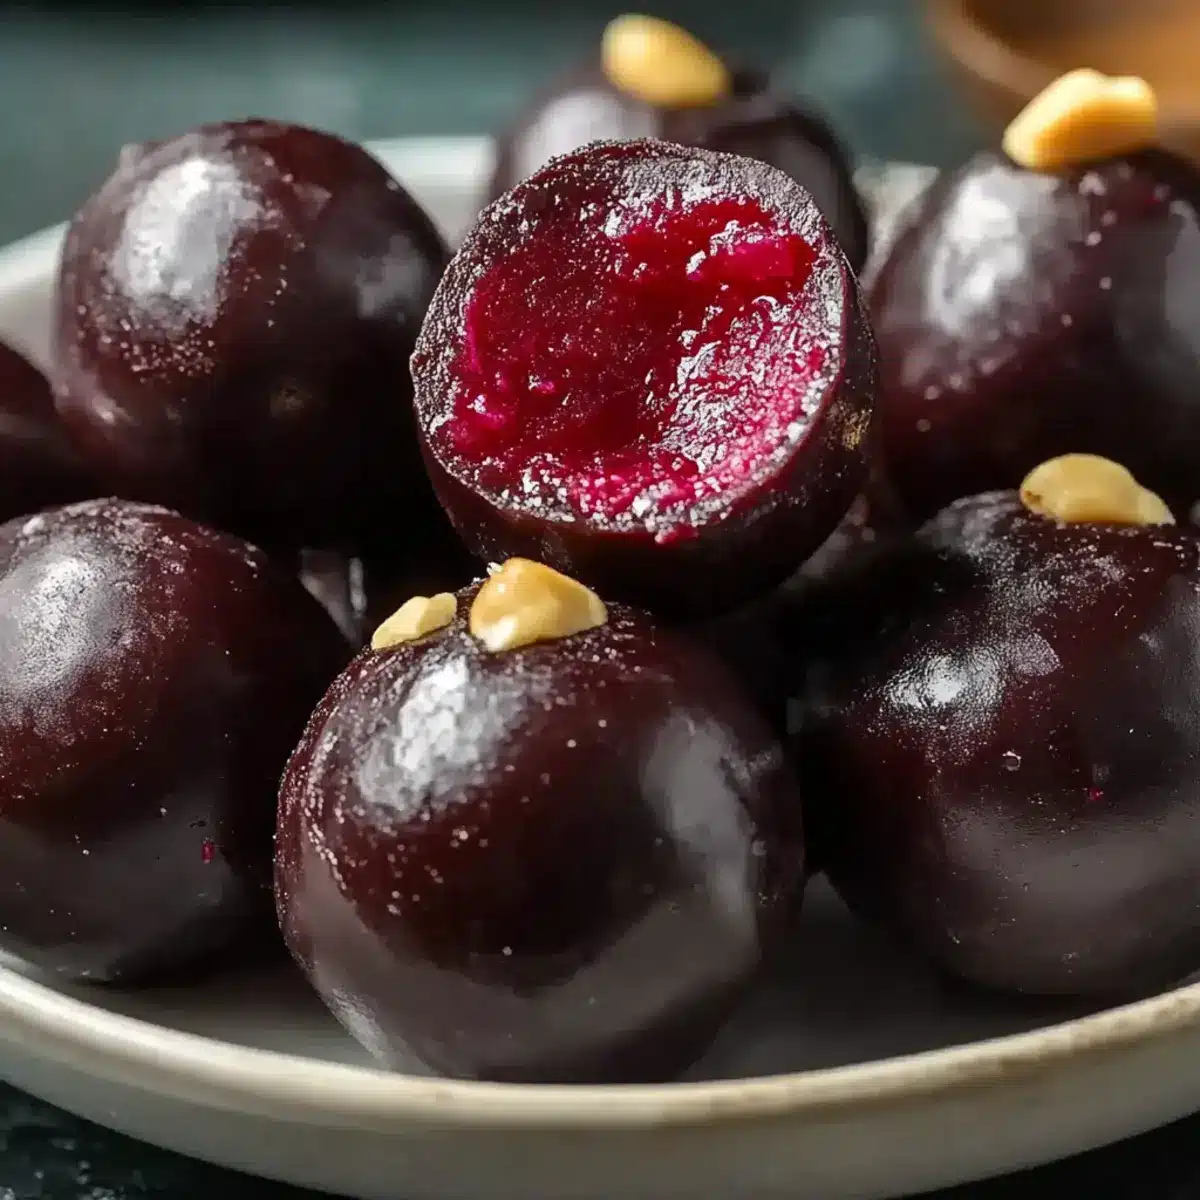
Step 6: Garnish (optional)
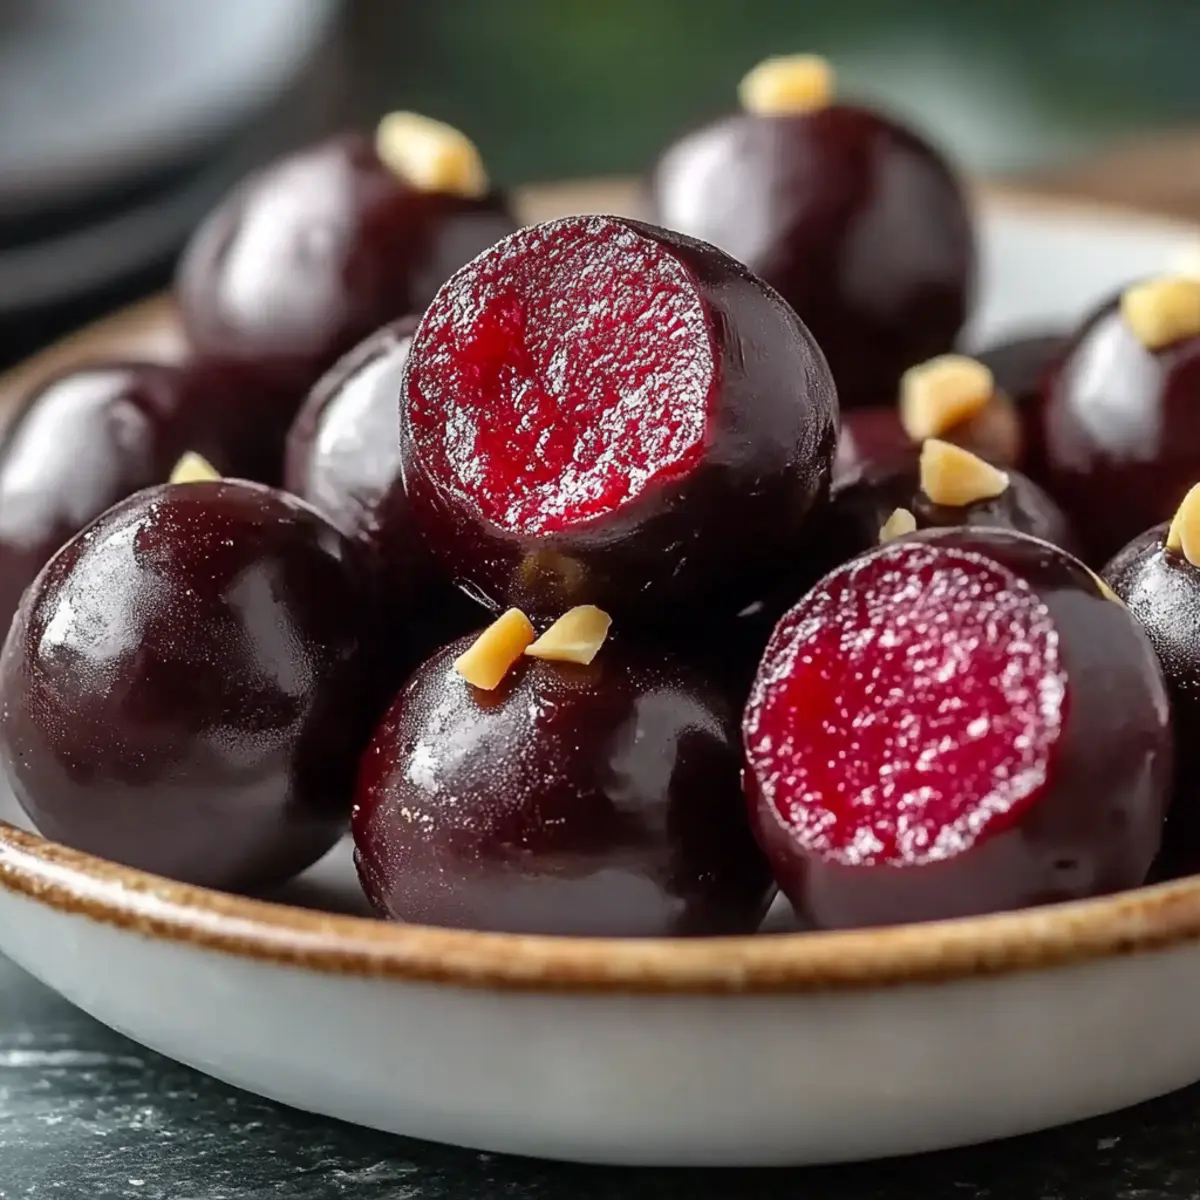
For an extra touch, consider garnishing your Cherry Mash Truffles with chopped peanuts, a delicate drizzle of white chocolate, or a single piece of maraschino cherry on top. This will enhance not only the visual appeal but also add textures and flavors that elevate the truffles. Serve them once the chocolate has completely set, and enjoy each delectable bite!
What to Serve with Cherry Mash Truffles
Elevate your dessert experience by pairing these sweet bites with options that complement their rich, chewy delight.
- Creamy Vanilla Ice Cream: The cool, smooth texture of ice cream enhances the truffle’s richness and offers a delightful contrast.
- Fresh Fruit Platter: Serve with a mix of berries and citrus for a refreshing contrast that balances the sweetness of cherry and chocolate.
- Chocolate-Dipped Strawberries: Another indulgent treat, these can mirror the chocolate coating of the truffles, creating a luscious dessert spread.
- Gourmet Coffee: A rich espresso or mocha pairs beautifully, enhancing the flavors in the truffles while providing a lovely warm contrast.
- Cheese Board: Soft cheeses like brie or goat cheese add creaminess that complements the sweetness and richness of the truffles.
- Nutty Trail Mix: A crunchy nut and dried fruit blend offers delightful texture, creating a well-rounded platter that balances sweet and salty.
- Rich Red Wine: Opt for a fruity red like a Merlot; its flavors can complement the chocolate and enhance the overall experience.
- Caramel Sauce: Drizzling warm caramel can add an extra layer of sweetness and a luxurious touch to each truffle bite.
- Mocha Cupcakes: Pairing these two decadent desserts makes for an irresistibly delightful coffee-chocolate combo.
Combining these elements with your Cherry Mash Truffles will not only impress your guests but also take your dessert spread to new heights!
How to Store and Freeze Cherry Mash Truffles
Room Temperature: Store unwrapped truffles at room temperature for up to 2 days, but keep them away from direct sunlight or heat to maintain texture.
Fridge: Place your Cherry Mash Truffles in an airtight container and refrigerate for up to 1 week. This helps maintain their chewy center and fresh flavor.
Freezer: For longer storage, freeze the truffles in a single layer on a baking sheet, then transfer to a freezer-safe container with wax paper between layers. Enjoy within 1 month.
Reheating: Thaw frozen truffles in the fridge overnight before serving. Avoid microwaving, as this can affect their texture.
Cherry Mash Truffles Recipe Variations
Feel free to explore these delightful twists on the classic Cherry Mash Truffles, where each version adds its own unique flair!
- Nut-Free: Swap peanut butter with sunflower seed butter and omit peanuts for a safe and delicious option for those with nut allergies.
- Flavor Boost: Add flavored extracts like coconut or hazelnut in place of almond extract to give your truffles a whole new identity. Imagine a tropical cherry treat that transports you to a sunny beach!
- Dark Chocolate Delight: For rich chocolate lovers, use dark chocolate chips instead of semisweet for a deeper flavor that’s truly irresistible. The intensity of dark chocolate pairs beautifully with the sweetness of the cherries.
- White Chocolate Wonder: Want something sweeter? Coat your truffles in white chocolate for a beautiful contrast and a sweeter bite. This variation also looks stunning on dessert platters!
- Caramel Drizzle: Elevate the presentation and taste by drizzling warm caramel sauce over the cooled truffles for an extra layer of decadence. This addition creates a perfect balance of flavors and textures.
- Texture Twists: Experiment with crunchy granola or crushed graham crackers mixed into the filling for delightful texture contrasts throughout. Each bite will surprise and please your taste buds!
- Spiced Up: Add a hint of cinnamon or even a touch of cayenne to the chocolate coating for a surprising heat that compliments the cherry sweetness. The kick of spice creates a memorable flavor profile.
- Mini Truffles: Roll smaller ½-inch truffles for bite-sized treats that are perfect for parties or as sweet snacks. These little gems make sharing easy and fun, keeping everyone coming back for more!
For more sweet inspirations, try pairing your Cherry Mash Truffles with a refreshing Christmas Cherry Fizz or enjoy them with a classic Sticky Toffee Pudding. Happy cooking!
Make Ahead Options
These Cherry Mash Truffles are perfect for meal prep enthusiasts! You can prepare the truffle filling up to 24 hours in advance. Simply follow the initial steps of mixing the ingredients and chilling the mixture, then cover it and refrigerate it until you’re ready to roll the truffles. The formed truffles can also be frozen for up to three months—just ensure they are well-wrapped in plastic and stored in an airtight container. When you’re ready to enjoy, thaw them overnight in the fridge, then proceed with the chocolate coating. This prep-ahead strategy saves you time and ensures your truffles are just as delicious as if you made them fresh that day!
Expert Tips for Cherry Mash Truffles
-
Chill for Shape: Ensure the cherry mixture is well-chilled before rolling to maintain truffle shape during dipping.
-
Choose Peanut Butter Wisely: For a smoother finish, opt for creamy peanut butter instead of crunchy; it coats evenly and enhances texture.
-
Moisture Matters: If using fresh cherries, make sure to dry them thoroughly to avoid excess moisture in your filling.
-
Sifting is Key: Always sift powdered sugar before adding it; this prevents lumps and ensures a smooth truffle consistency.
-
Storage Tips: Keep your Cherry Mash Truffles in an airtight container in the fridge for up to one week to maintain their chewy texture.
Cherry Mash Truffles Recipe FAQs
How do I select the best maraschino cherries for my truffles?
Absolutely! Look for bright red cherries with a firm texture and no dark spots. The more vibrant the color, the better the flavor will be. If you prefer fresh cherries, ensure they are pitted and dried thoroughly to reduce moisture, which is essential for keeping your truffles from becoming too soggy.
How should I store my Cherry Mash Truffles?
Very! Store your truffles in an airtight container in the fridge for up to one week. If you want to keep them longer, the freezer is a great option! Just layer the truffles with wax paper in a freezer-safe container and they can last for up to 1 month. When you’re ready to enjoy, simply thaw them overnight in the fridge.
Can I freeze Cherry Mash Truffles? How do I do it?
Certainly! To freeze, first place the truffles in a single layer on a baking sheet and allow them to freeze for about an hour. Once they are firm, transfer them to a freezer-safe container, placing wax paper between layers to prevent sticking. This way, your truffles remain perfectly preserved and ready to enjoy for up to a month!
What should I do if my truffle mixture is too sticky or loose?
No worries! If your mixture is too sticky to roll, try adding a bit more sifted powdered sugar to thicken it up. If it’s too loose, chill it a little longer in the fridge, around 10 minutes, until it firms up. Just remember, a well-chilled mixture is key for easy handling!
Are there any dietary considerations for Cherry Mash Truffles?
Yes! For nut allergies, simply substitute peanut butter with sunflower seed butter and omit the chopped peanuts. If you’re concerned about sugar content, consider using sugar alternatives like coconut sugar or monk fruit sweetener, but be mindful to adjust quantities accordingly for sweetness.
Is there a way to make these truffles gluten-free?
Absolutely! The ingredients in this Cherry Mash Truffles Recipe are naturally gluten-free. Just double-check any packaged items, like chocolate chips or powdered sugar, to ensure they are certified gluten-free. Enjoying these delicious bites is easy, regardless of dietary preferences!
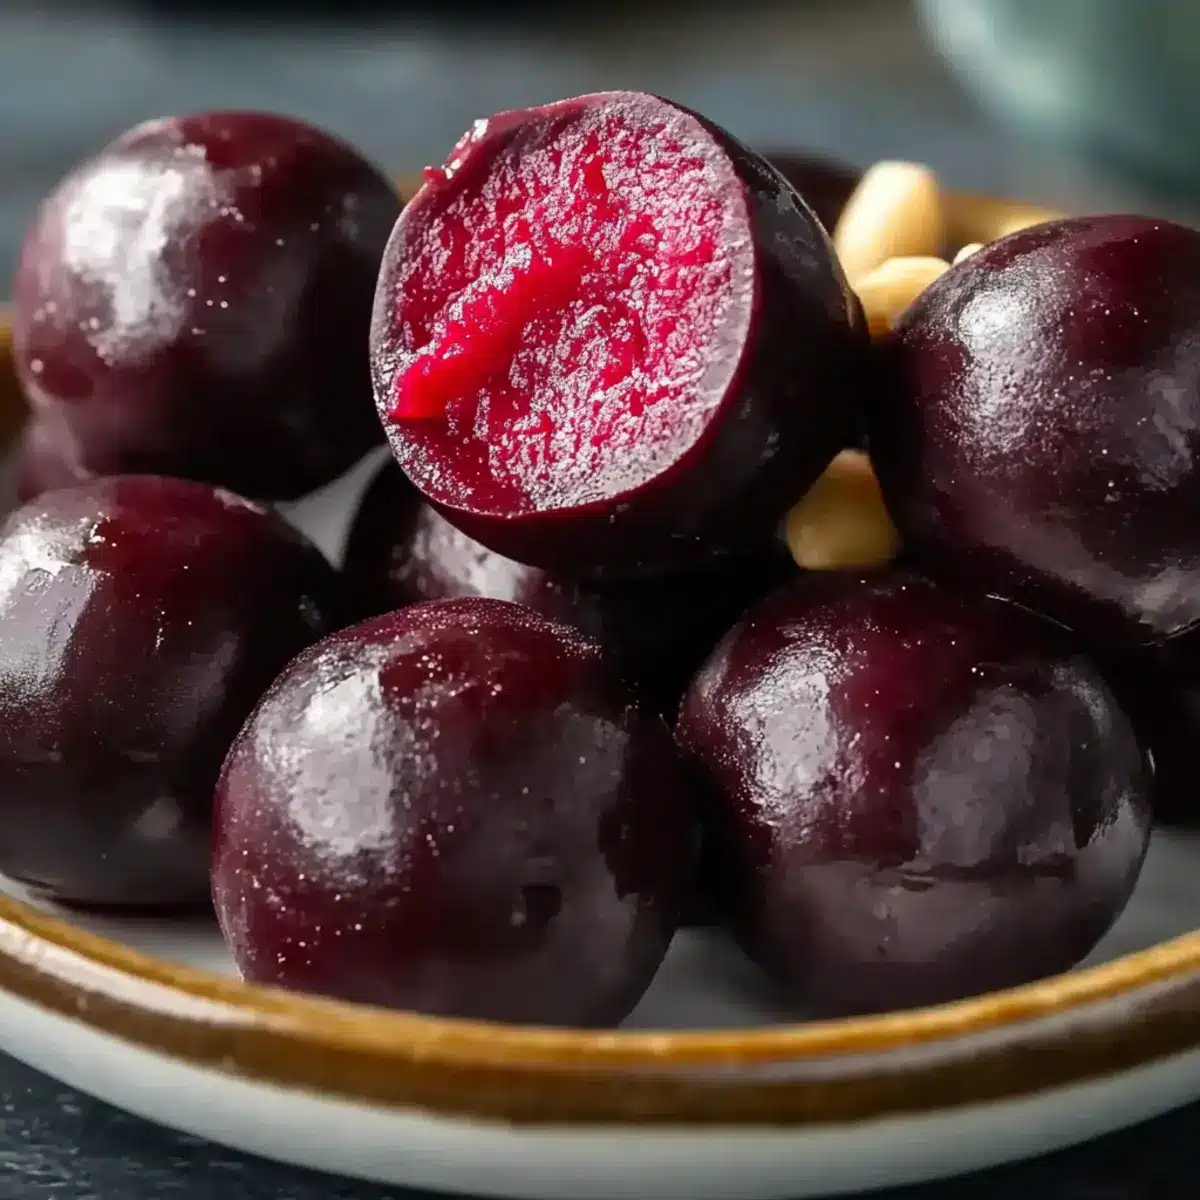
Cherry Mash Truffles Recipe: A Chewy No-Bake Treat to Savor
Ingredients
Equipment
Method
- In a large mixing bowl, combine the chopped maraschino cherries, cherry juice, softened butter, almond extract, vanilla extract, and a pinch of salt. Mix until creamy.
- Gradually sift in the powdered sugar, stirring continuously until a thick, cohesive dough forms.
- Cover the bowl with plastic wrap and refrigerate for 20–30 minutes.
- Once firm, roll the mixture into 1-inch balls and place on a parchment-lined baking sheet.
- Freeze the truffles for another 15–20 minutes.
- In a microwave-safe bowl, combine semisweet chocolate chips and peanut butter. Microwave in 20-second intervals until melted.
- Dip each chilled truffle into the chocolate mixture, allowing excess to drip off.
- Chill the coated truffles for an additional 15 minutes.
- Optionally garnish with chopped peanuts or a drizzle of white chocolate.
Leave a Reply