
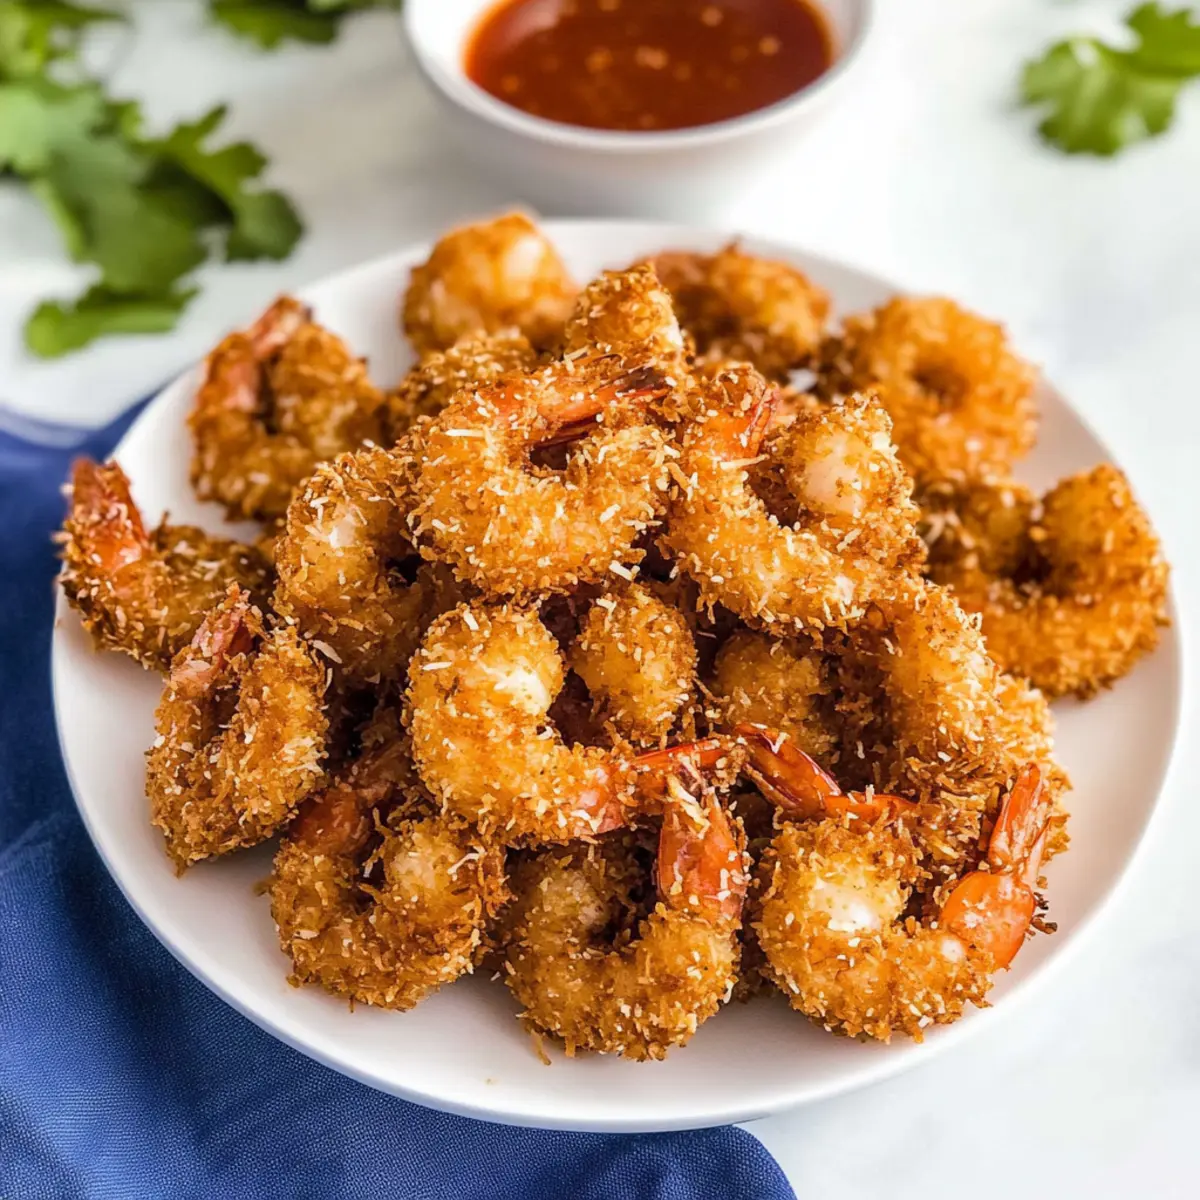
Stepping into the kitchen, I almost hear the waves crashing as I prepare my Crispy Coconut Shrimp with Sweet Chili Dipping Sauce. This delightful dish transports me straight to a tropical seaside restaurant, where the scent of crunchy coconut mingles with salt air. My Coconut Shrimp Recipe is a fantastic route to stunning restaurant-quality results right at home. Not only is this dish incredibly easy to whip up, but it also offers a satisfying crispy texture that’s sure to be a crowd-pleaser at any gathering. Perfect for those who are navigating a busy schedule, this recipe allows you to enjoy a delicious meal without compromising on flavor or quality. Ready to tantalize your taste buds? Let’s dive into these crispy bites that make every occasion feel special!
Why is Coconut Shrimp a Must-Try?
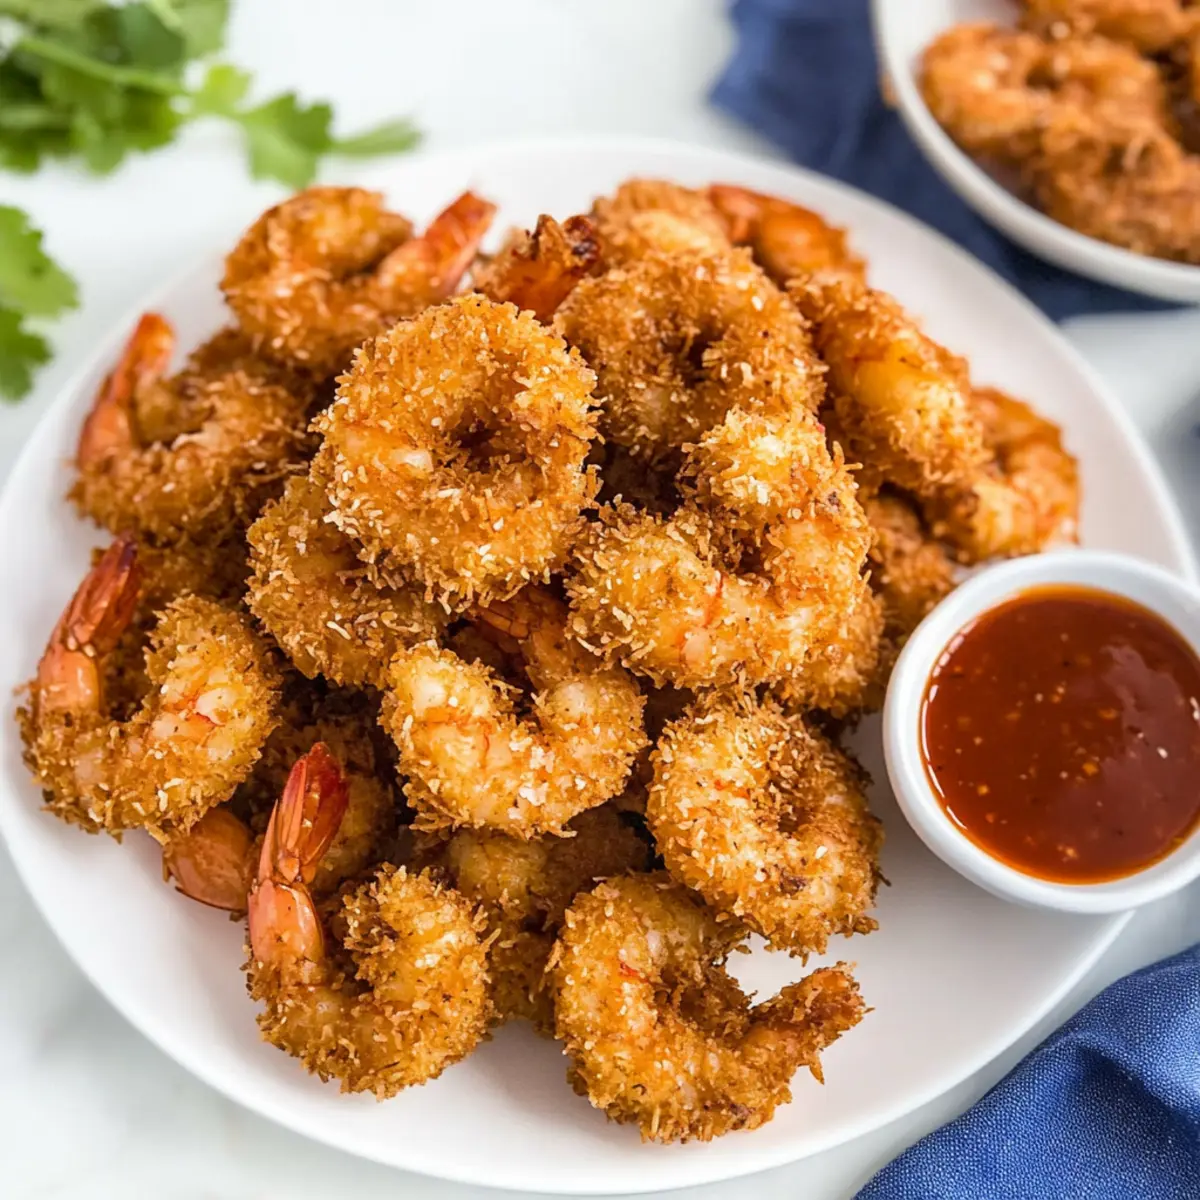
Irresistible Flavor: The blend of coconut and panko creates a sweet, crunchy coating that’s absolutely addictive!
Quick and Easy: This recipe takes minimal prep time, making it ideal for weeknight dinners or last-minute gatherings.
Versatile Cooking Methods: Whether you prefer frying, air frying, or baking, this coconut shrimp recipe offers flexibility to suit your kitchen style.
Crowd-Pleasing: These crispy bites are a hit at parties, pairing wonderfully with sauces like sweet chili or even spicy mayo for an exciting twist.
Gluten-Friendly Options: With easy substitutions, you can cater to gluten sensitivities without sacrificing taste. For more delicious recipes, check out my Baked Cod Coconut or Shrimp Corn Bisque for a delightful seafood experience!
Coconut Shrimp Recipe Ingredients
For the Breading
- Jumbo Shrimp – These provide the main protein; use deveined shrimp for quicker prep.
- All-Purpose Flour – This coats the shrimp initially to help the egg wash adhere; you can substitute with gluten-free flour if needed.
- Seafood Seasoning – Adds flavor; Old Bay is a classic option, but feel free to adjust based on your taste preferences.
- Salt & Black Pepper – Essential for boosting the overall taste of the shrimp.
For the Coating
- Large Eggs – These create a binding layer for the crunchy coating to stick perfectly.
- Coconut Milk – Adds richness and moisture; non-dairy milk can be used as an alternative if necessary.
- Sweetened Flaked Coconut – Provides sweetness and unique texture; consider using unsweetened flakes for a less sweet option.
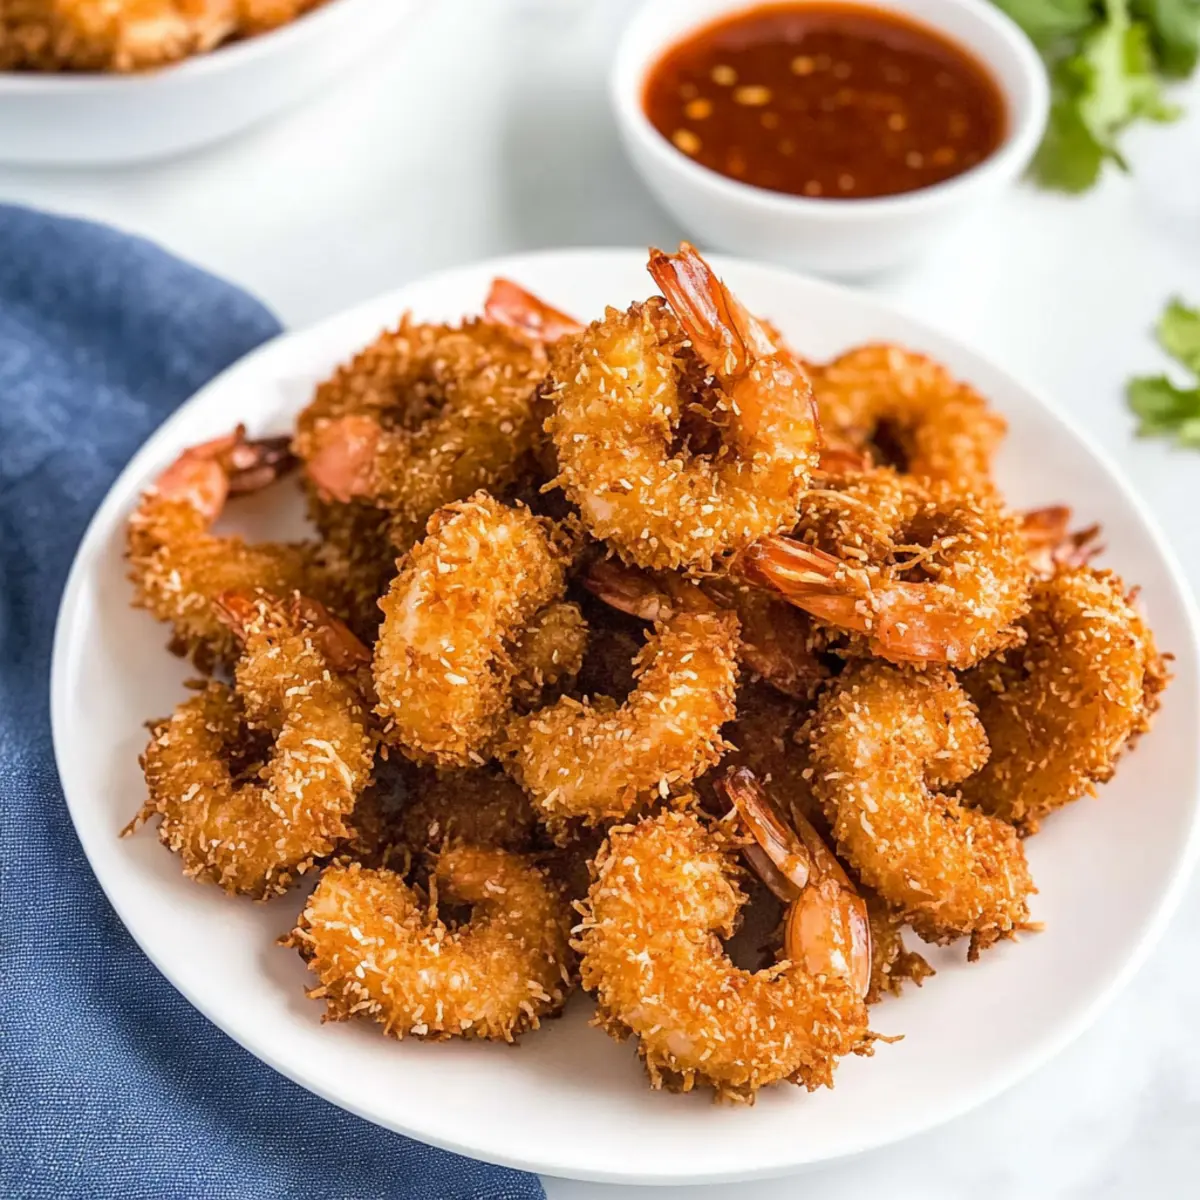
- Panko Breadcrumbs – These give that light, crispy texture that sets this Coconut Shrimp recipe apart from regular breadcrumbs.
For Frying
- Peanut or Vegetable Oil – Choose your preferred frying oil for achieving a golden, crispy finish.
Prepare these ingredients, and soon you’ll be diving into the delightful crunch of homemade Coconut Shrimp!
Step‑by‑Step Instructions for Coconut Shrimp Recipe
Step 1: Prep Shrimp
Start by placing the deveined jumbo shrimp in a large Ziploc bag. Add all-purpose flour, seafood seasoning, salt, and black pepper. Seal the bag and shake it vigorously until each shrimp is well coated. This initial coating helps the egg wash adhere later, creating a crispy Coconut Shrimp that’s full of flavor.
Step 2: Prepare Egg Wash
In a shallow bowl, whisk together the large eggs and coconut milk until smooth. This egg wash serves as the crucial binding agent for the coatings. Set it aside and get ready to dive into a flavorful assembly that will take your Coconut Shrimp Recipe to the next level as you prepare for the next step.
Step 3: Mix Coconut Panko
In another bowl, combine sweetened flaked coconut with panko breadcrumbs. Stir well to ensure an even mix, which will create the deliciously crunchy coating for your shrimp. This mixture will provide that signature texture and flavor that makes this Coconut Shrimp so irresistible, enhancing your dish beautifully.
Step 4: Coat Shrimp
Take each floured shrimp and dip it into the egg wash, allowing any excess to drip off before proceeding. Next, dredge the shrimp in the coconut-panko mixture, pressing gently to ensure an even coat sticks well. This layering will result in a heavenly crispy exterior when fried, creating the ideal Coconut Shrimp.
Step 5: Freeze
Arrange the coated shrimp on a wax paper-lined pan and place them in the freezer for about 20 minutes. This step is crucial, as it helps the coating adhere better during cooking. While you wait, preheat your frying oil to achieve that golden, crispy perfection for your Coconut Shrimp Recipe later on.
Step 6: Fry
In a heavy Dutch oven, heat peanut or vegetable oil to 350°F. Carefully add the frozen shrimp, frying for about 2 minutes per side or until they are golden brown and crispy. Avoid overcrowding the pot, as this can lower the oil temperature and lead to soggy results. Monitor the color closely to ensure a perfect fry.
Step 7: Drain
Once cooked, use a slotted spoon to transfer each Coconut Shrimp to a paper towel-lined plate. This helps to soak up any excess oil, ensuring that your shrimp stay light and crispy. This little extra step is key to serving up a delightful appetizer or main dish that everyone will love.
Step 8: Serve
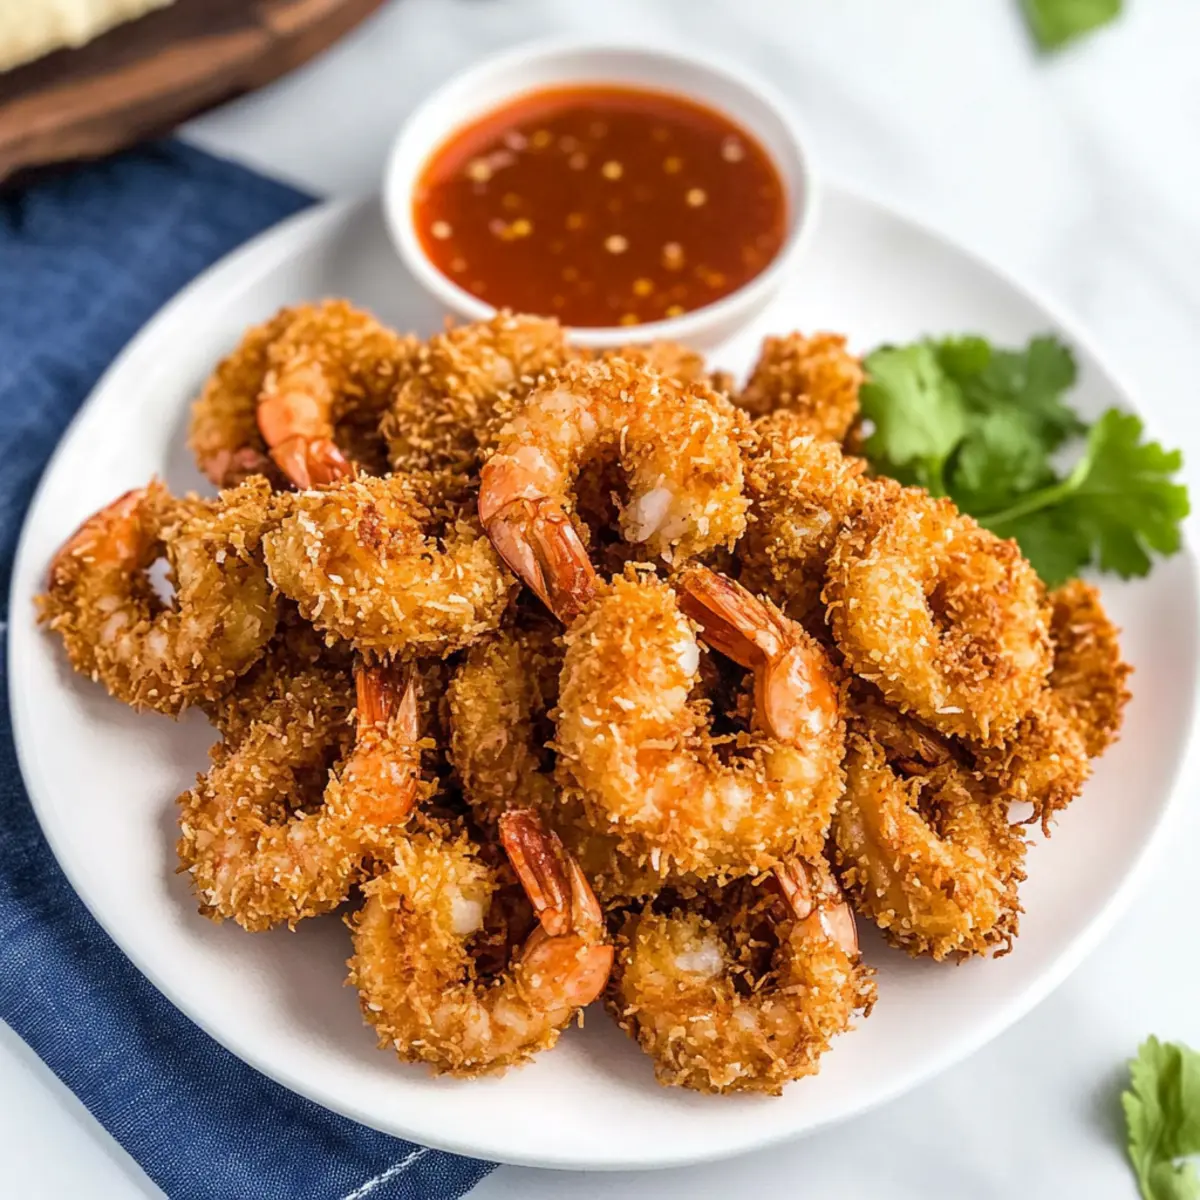
Enjoy your Coconut Shrimp immediately while they’re still hot and crispy, ideally paired with a sweet chili dipping sauce. Each bite delivers a burst of flavor and crunch, making this Coconut Shrimp Recipe the perfect crowd-pleaser at any gathering or snack time!
Make Ahead Options
These Coconut Shrimp are perfect for meal prep enthusiasts! You can coat the shrimp up to 24 hours in advance. Start by following the initial steps of the recipe until the coating process is complete, then arrange the coated shrimp on a wax paper-lined pan and freeze them. Once frozen, transfer the shrimp to an airtight container or freezer bag, keeping them for up to 3 months. When you’re ready to enjoy your Coconut Shrimp, simply heat oil and fry from frozen, cooking each piece for about 2 minutes per side. This method ensures they remain just as delicious and crispy, saving you valuable time on busy weeknights!
Expert Tips for Coconut Shrimp Recipe
- Choose the Right Shrimp: Use jumbo shrimp for a satisfying bite, ensuring they’re deveined for easy preparation. This sets the perfect foundation for your Coconut Shrimp.
- Monitor Oil Temperature: Keep the frying oil at 350°F to achieve that crispy, golden finish. Too hot can burn the shrimp, while too cool can lead to sogginess.
- Don’t Skimp on Freezing: Freezing the coated shrimp for 20 minutes before frying is crucial; it helps the coating adhere better during cooking, ensuring crispy results.
- Experiment with Coating: Feel free to adjust the amount of coconut or panko breadcrumbs for varying textures. This Coconut Shrimp recipe allows for creative tweaks without sacrificing flavor.
- Try Different Cooking Methods: If frying isn’t your style, this recipe can easily be adapted for air frying or baking, ensuring you can enjoy Coconut Shrimp your way!
- Serve Immediately: For the best texture and taste, serve your Coconut Shrimp right after frying. They taste best fresh, hot, and crispy, especially with that sweet chili dipping sauce!
What to Serve with Crispy Coconut Shrimp with Sweet Chili Dipping Sauce
To create a complete culinary experience, pairing your Coconut Shrimp with vibrant sides and drinks will elevate your meal to new heights.
- Crispy Asian Slaw: Adds a refreshing crunch and complements the shrimp’s richness with tangy dressing. The bright colors are a feast for the eyes!
- Coconut Rice: This subtly sweet side mirrors the coconut in the shrimp, providing a delightful fullness to your plate while staying effortlessly delicious.
- Mango Salsa: A burst of tropical fruitiness enhances the dish, creating a lovely contrast to the crispiness of the shrimp. The freshness brightens each bite!
- Grilled Pineapple: The caramelized sweetness from grilling pairs beautifully with the shrimp, transporting your taste buds to a sunny beach setting.
- Chili-Lime Quinoa: This light and zesty dish brings a punch of flavor while remaining healthy and filling, perfectly balancing the richness of fried shrimp.
- Sweet Potato Fries: Their natural sweetness and crispy texture make a satisfying accompaniment, providing a delightful contrast to the crunchy shrimp exterior.
- Cocktail: Try a refreshing mojito or piña colada; the tropical notes harmonize with the flavors of the shrimp, enhancing your meal’s theme!
- Key Lime Pie: The tart and creamy dessert completes the meal beautifully, refreshing the palate after savory bites. It’s a perfect finish to your feast!
How to Store and Freeze Coconut Shrimp
Fridge: Store leftover Coconut Shrimp in an airtight container for up to 2 days to maintain its crispiness. Avoid stacking to prevent sogginess.
Freezer: If you want to freeze uncooked Coconut Shrimp, place the coated shrimp in a single layer on a wax paper-lined tray and freeze for up to 1 month.
Reheating: To reheat, bake the shrimp in a preheated oven at 375°F for about 10-12 minutes, ensuring they regain their crispiness before serving.
Make-Ahead: Prepare the shrimp ahead of time and freeze them before frying; this not only saves time but also helps ensure the coating stays intact during cooking.
Coconut Shrimp Recipe Variations
Feel free to get creative with your Coconut Shrimp and customize it to suit your tastes!
- Air Fryer: Use your air fryer for a healthier alternative; preheat to 375°F and cook for about 8 minutes, turning halfway for even crispiness.
- Baked Version: Arrange shrimp on a sprayed baking sheet and bake at 400°F for 12-15 minutes until golden. This method still creates a delightful crunch!
- Gluten-Free: Swap regular breadcrumbs for gluten-free alternatives to make your dish suitable for gluten sensitivities. This way, nobody has to miss out on the deliciousness!
- Unsweetened Coconut: If you prefer a less sweet finish, use unsweetened coconut flakes instead of sweetened; it adds a unique flavor profile that complements the shrimp beautifully.
- Spicy Twist: Add a pinch of cayenne pepper to your seafood seasoning for a zesty kick! It’s a fantastic way to elevate the heat level if you enjoy a little spice.
- Different Dipping Sauces: Instead of sweet chili sauce, try pairing your shrimp with spicy mayo or a tangy pineapple mango salsa for a fresh twist that enhances the tropical vibe!
- Coconut Curry Flavor: Infuse your shrimp with the flavors of coconut curry by mixing some curry powder into the egg wash for an exciting new take. Pair this with my Coconut Curry Soup with Dumplings for a hearty meal!
- Pineapple Addition: For a fun flavor surprise, mix in some crushed pineapple into your coconut-panko mixture. This sweet addition will provide bursts of tropical goodness in every bite!
No matter how you choose to customize your coconut shrimp, each variation brings its unique twist to a beloved classic!
Coconut Shrimp Recipe FAQs
How do I select the best shrimp for this Coconut Shrimp Recipe?
Absolutely! Look for large, plump shrimp that are firm to the touch and have a mild ocean scent. Deveined jumbo shrimp is ideal for ease of prep, but if you opt for smaller sizes, be mindful to adjust your cooking time accordingly. When purchasing, try to choose shrimp with a uniform color and no signs of dark spots, as this indicates freshness.
What’s the best way to store leftover Coconut Shrimp?
You can store leftover Coconut Shrimp in an airtight container in the fridge for up to 2 days. To maintain their crispy texture, avoid stacking the shrimp or covering them tightly. For a delightful reheat, place them in a preheated oven at 375°F for about 10-12 minutes until they regain their crunch.
Can I freeze the coated shrimp before cooking?
Yes! For best results, after coating your shrimp, place them in a single layer on a wax paper-lined tray and freeze them for up to 1 month. Once frozen, you can transfer them to a freezer-safe bag or container. When you’re ready to cook, there’s no need to thaw; just fry them directly from frozen, adding an extra minute to the cooking time for perfect results.
What should I do if my Coconut Shrimp coating is not sticking?
If you find the coating is not adhering, it often helps to freeze the shrimp for about 20 minutes before frying. This sets the coating better. Additionally, ensure you thoroughly coat the shrimp in flour, then dip them in the egg wash, followed by pressing firmly into the coconut-panko mixture. If all else fails, a bit more egg in the wash or an additional dusting of flour can help create a better binding layer.
Are there gluten-friendly alternatives for this Coconut Shrimp Recipe?
Very! You can substitute all-purpose flour with gluten-free flour or almond flour, and ensure that the panko breadcrumbs are labeled gluten-free as well. This way, you can enjoy crispy Coconut Shrimp without the gluten, making it suitable for those with sensitivities or dietary restrictions.
Can I use alternative cooking methods like air frying or baking?
Absolutely! If you prefer to air fry, preheat your air fryer to 375°F and cook the shrimp for about 8 minutes, flipping halfway through. For baking, arrange the shrimp on a greased baking sheet and bake at 400°F for about 12-15 minutes until golden brown. Both methods yield delicious results while giving you options to fit any lifestyle or preference.
Coconut Shrimp Recipe: Crispy Bites to Wow Your Tastebuds
Ingredients
Equipment
Method
- Start by placing the deveined jumbo shrimp in a large Ziploc bag. Add all-purpose flour, seafood seasoning, salt, and black pepper. Seal the bag and shake it vigorously until each shrimp is well coated.
- In a shallow bowl, whisk together the large eggs and coconut milk until smooth. Set it aside.
- In another bowl, combine sweetened flaked coconut with panko breadcrumbs. Stir well to ensure an even mix.
- Take each floured shrimp and dip it into the egg wash, allowing any excess to drip off before dredging in the coconut-panko mixture.
- Arrange the coated shrimp on a wax paper-lined pan and place them in the freezer for about 20 minutes.
- In a heavy Dutch oven, heat the peanut or vegetable oil to 350°F. Carefully add the frozen shrimp, frying for about 2 minutes per side.
- Once cooked, use a slotted spoon to transfer each Coconut Shrimp to a paper towel-lined plate to soak up any excess oil.
- Enjoy your Coconut Shrimp immediately while they're still hot and crispy, ideally paired with a sweet chili dipping sauce.
Leave a Reply