
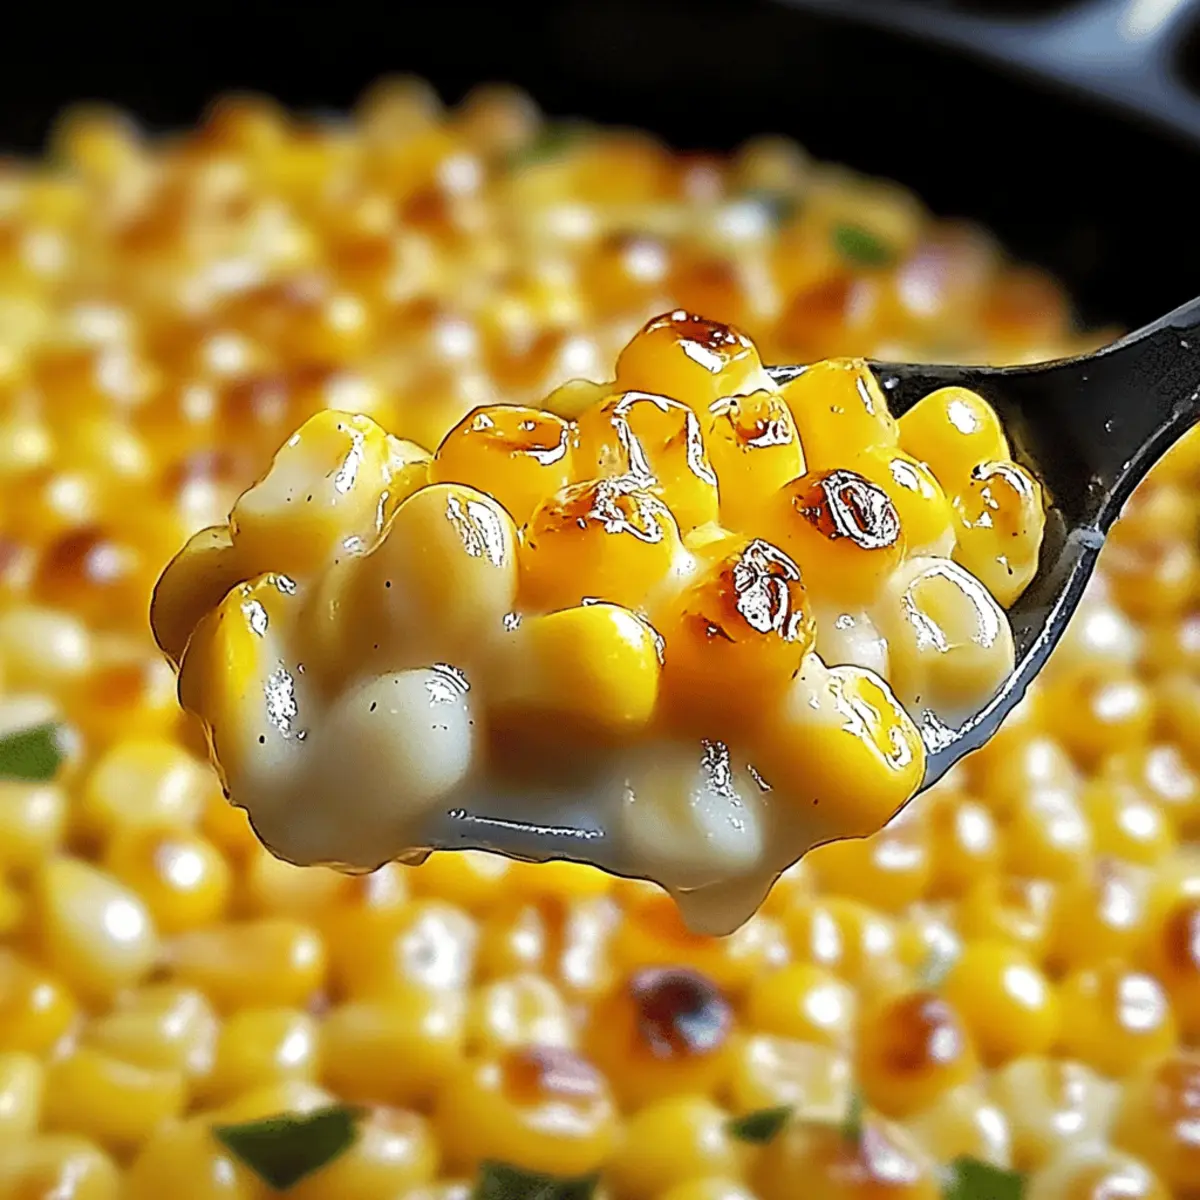
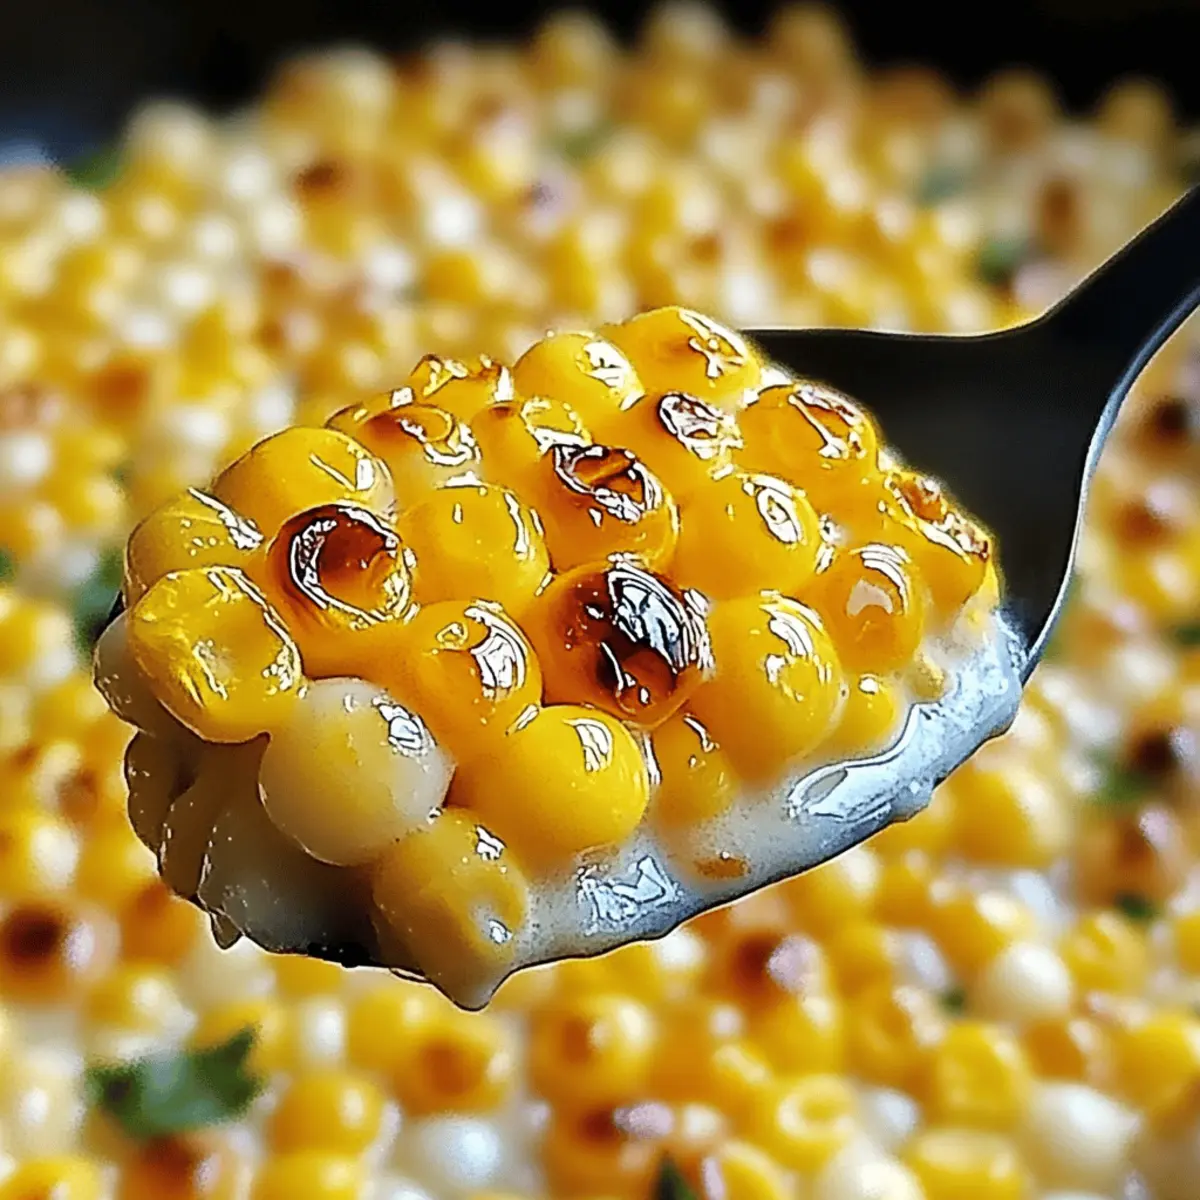
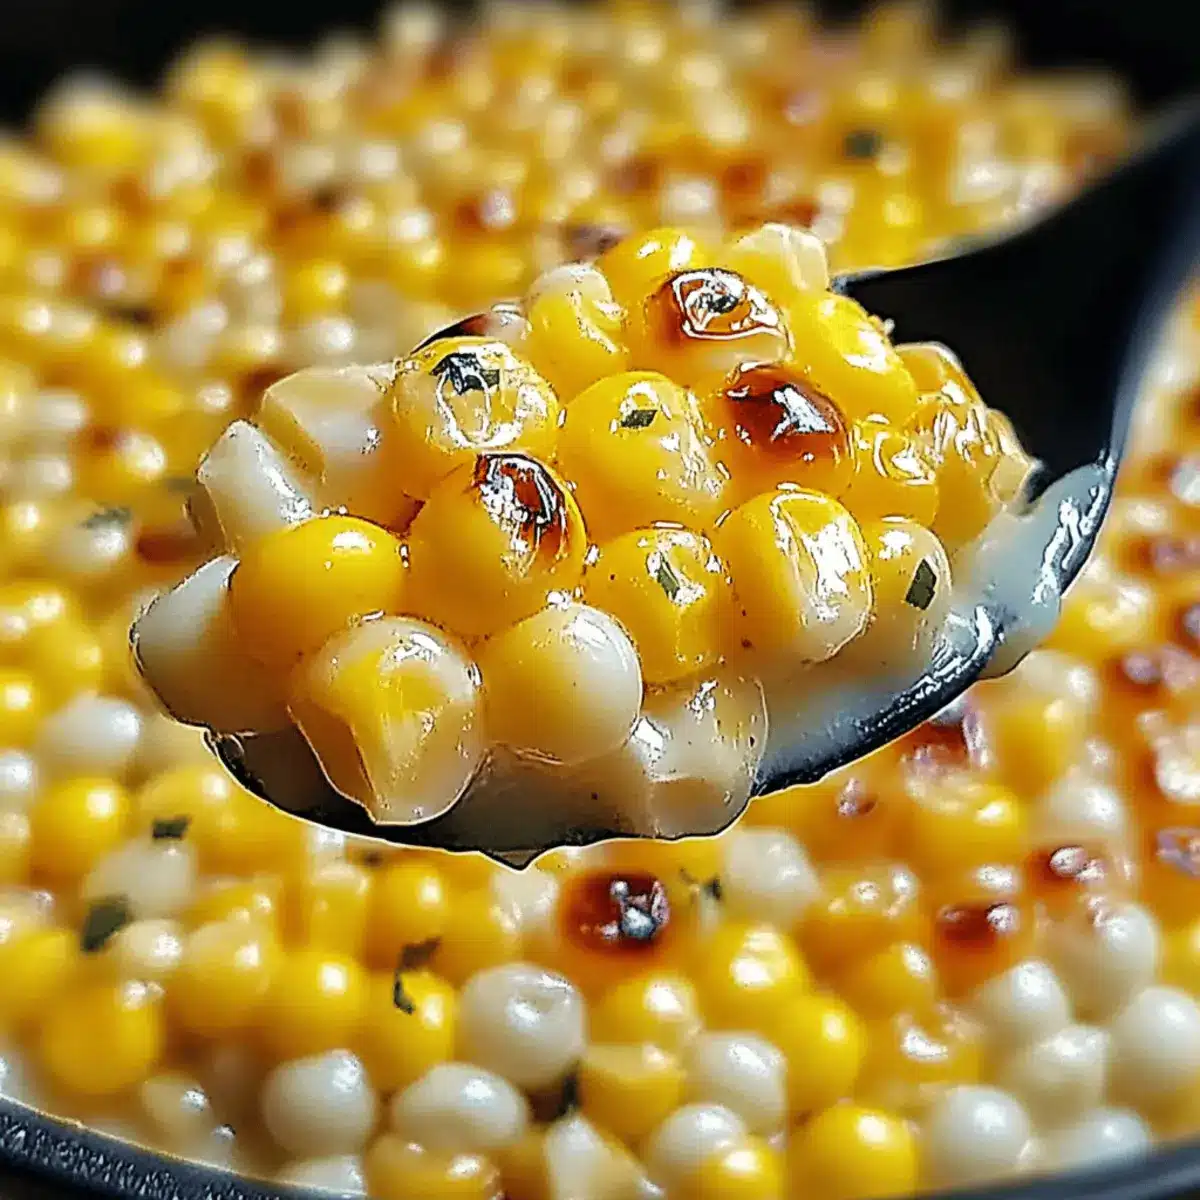
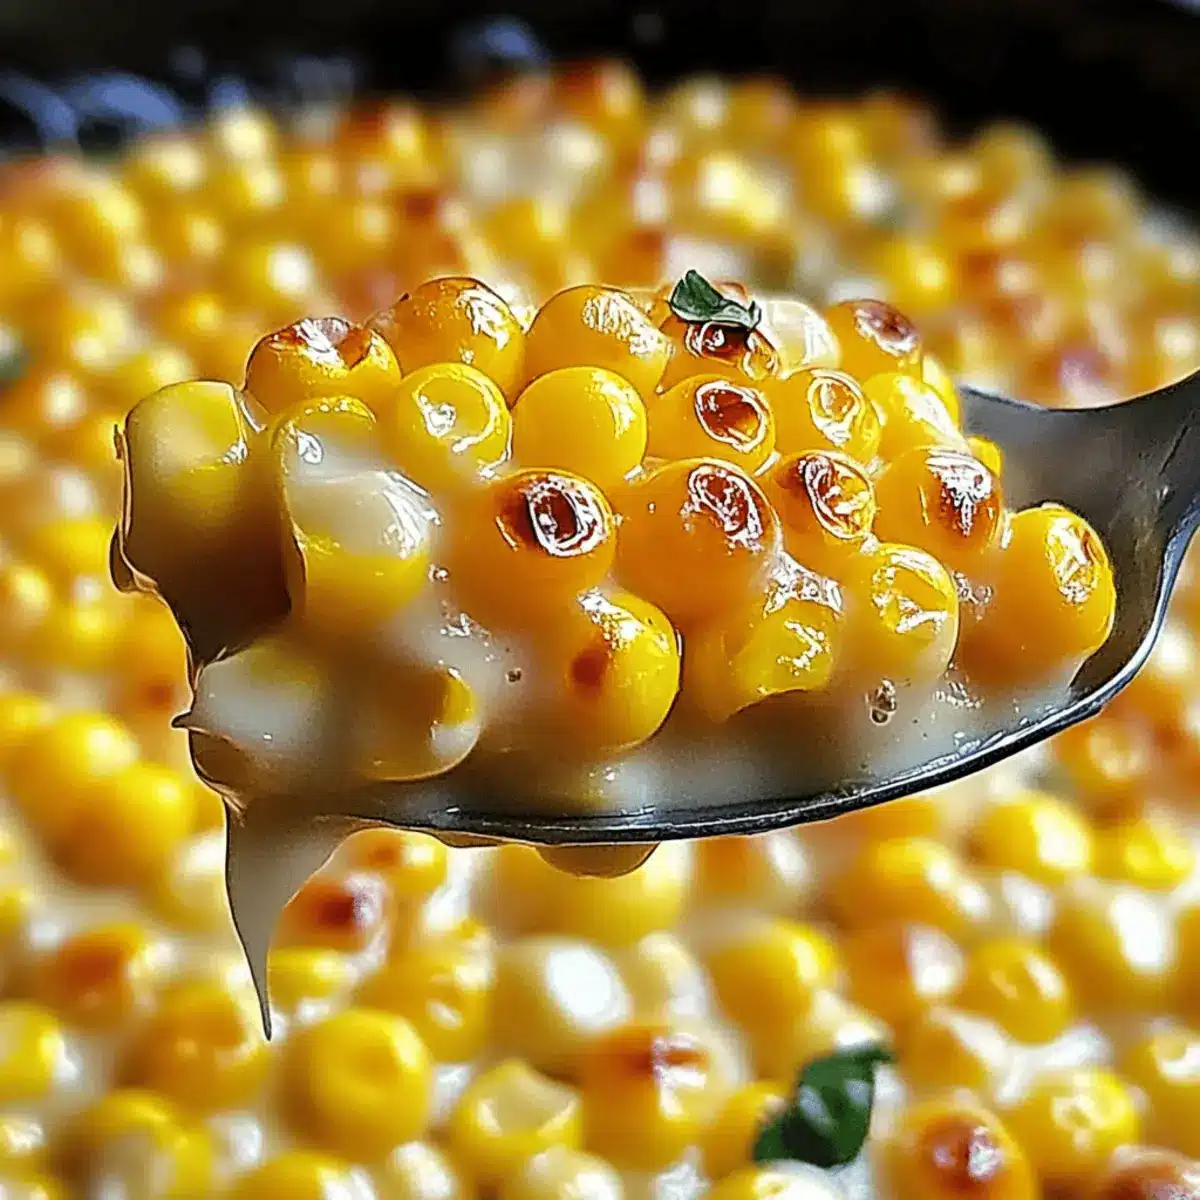
There’s something magical about the simple act of cooking corn, especially when it’s transformed into a honey-kissed delight. My go-to recipe, Honey Butter Skillet Corn, combines buttery richness with a subtle sweetness that makes it an irresistible crowd-pleaser. Not only is it a quick side dish that elevates any meal, but it’s also a one-skillet wonder that means minimal cleanup and maximum flavor. Perfect for family dinners, holiday feasts, or even just a cozy weeknight, this cheesy, creamy side pairs beautifully with grilled meats, and everyone will be coming back for seconds. Ready to turn your ordinary meals into extraordinary moments? Let’s dive into this delectable recipe!
Why is Honey Butter Skillet Corn a Must-Try?
Irresistible flavor: The combination of sweet honey and creamy butter creates a mouthwatering dish that enhances any meal.
Quick & Easy: With just a few simple steps, you can whip this up in no time—perfect for busy weeknights!
One-Skillet Wonder: Say goodbye to the hassle of multiple pots and pans; everything is cooked in one skillet for ultimate convenience.
Crowd-Pleaser: Whether at family dinners or holiday gatherings, this dish is sure to impress guests and have them asking for your secret!
Versatile Pairing: Serve it alongside savory options like grilled chicken or pork chops, or incorporate it with other favorites such as Baked Mac Cheese for a delightful meal.
Honey Butter Skillet Corn Ingredients
Unlock the secrets of this creamy and sweet side!
For the Base
- Butter – Adds richness and depth to the dish.
- Honey – Brings a natural sweetness with a floral touch; consider maple syrup for a different flavor.
- Corn – Frozen corn ensures convenience and great taste year-round; fresh corn can be used when available.
For the Creaminess
- Cream Cheese – Creates a smooth, creamy texture to balance the flavors; use dairy-free cream cheese for a vegan option.
Step‑by‑Step Instructions for Honey Butter Skillet Corn
Step 1: Melt the Butter
Begin by placing a medium skillet over medium heat. Add the salted butter and allow it to melt completely, swirling the pan gently to ensure it coats the skillet base evenly—this should take about 2-3 minutes. Watch for any bubbling to confirm the butter is melting nicely without burning.
Step 2: Add Honey
Once the butter is melted, pour in the honey, stirring gently to blend the two ingredients. Continue to combine for another minute, ensuring the honey is fully incorporated into the butter. Be mindful not to increase the heat; you want the butter-honey mixture to stay smooth and not burn.
Step 3: Cook the Corn
Now it’s time to add the frozen corn to the skillet. Stir the corn well to coat it in the luscious honey-butter mixture. Cook for 5-7 minutes, stirring occasionally, until the corn is heated through and begins to glisten, brightening in color while absorbing the flavors.
Step 4: Melt the Cream Cheese
Reduce the heat to low, then add chunks of cream cheese directly to the skillet. Stir continuously for about 3-4 minutes until the cream cheese has melted and blended with the corn mixture, creating a smooth and creamy texture. If any lumps remain, keep stirring until it’s velvety.
Step 5: Simmer and Serve
Allow the Honey Butter Skillet Corn to simmer gently on low heat for an additional 2-3 minutes. Stir occasionally until everything is heated through and well blended. The mixture should be steaming and invitingly creamy. Serve warm as a delightful side dish that enhances any meal.
Expert Tips for Honey Butter Skillet Corn
- Watch the Heat: Avoid high temperatures when melting butter and cream cheese to prevent burning. Keep it at medium or low!
- Stir Constantly: When incorporating cream cheese, stir continuously to ensure a smooth, creamy texture without clumps—this helps maintain the creamy goodness.
- Fresh Corn Alternative: If using fresh corn, blanch it before adding to the skillet. This enhances sweetness and preserves the corn’s crispness.
- Customize Sweetness: Adjust honey to your taste—less can be used for those preferring a more savory flavor, or opt for maple syrup for a unique twist.
- Add Flavor Enhancements: For added depth, consider mixing in spices like garlic powder, black pepper, or fresh herbs. They elevate the taste of this delightful dish!
Storage Tips for Honey Butter Skillet Corn
Fridge: Store leftovers in an airtight container, where they will stay fresh for up to 3-4 days. Reheat gently on the stovetop or microwave for optimal texture.
Freezer: You can freeze Honey Butter Skillet Corn for up to 2-3 months. Make sure to place it in a freezer-safe container, and consider portioning it for easy defrosting later.
Reheating: When ready to enjoy, reheat on low heat with a splash of milk or water, stirring regularly to restore the creamy texture.
Make-Ahead: For convenience, prepare the corn with butter and honey in advance. Refrigerate it and add cream cheese just before serving for the freshest flavor!
Honey Butter Skillet Corn Variations
Feel free to get creative and make this dish your own with these exciting twists and substitutions!
- Dairy-Free: Substitute cream cheese with your favorite dairy-free cream cheese option to keep it smooth and vegan-friendly.
- Sweetener Swap: Opt for maple syrup or agave nectar in place of honey for a delightful twist in flavor.
- Fresh Corn Delight: Use fresh corn kernels during peak season for an even sweeter and crunchier side dish.
- Herbed Flavor: Stir in finely chopped herbs like thyme or parsley for a burst of fresh flavor that elevates the dish.
- Spicy Kick: Add a pinch of cayenne pepper or crushed red pepper flakes to introduce a warm spice that tantalizes the taste buds.
- Texture Boost: Mix in a handful of fried onions for a crispy texture that contrasts beautifully with the creamy corn.
- Savory Addition: Incorporate crumbled bacon or diced ham for a savory touch that brings depth and heartiness to the dish.
- Nutty Crunch: Top with toasted pecans or walnuts for a delightful nutty crunch that complements the sweetness perfectly.
Don’t forget, you can serve this alongside comforting classics like Baked Potato Soup or even as part of a cozy meal with Baked Mac Cheese. Get ready to impress your family and friends!
What to Serve with Honey Butter Skillet Corn
Pair this delightful dish with some tasty options to create a full meal experience that will tantalize your taste buds.
- Grilled Chicken: Juicy, smoky grilled chicken adds a savory balance to the sweet, buttery corn, making for a satisfying dinner.
- BBQ Ribs: The rich, tangy flavors of BBQ ribs complement the sweetness of the corn perfectly, creating a savory-sweet symphony on your plate.
- Roasted Pork Chops: The tenderness of roasted pork chops goes hand in hand with the creamy corn, offering a hearty and comforting element to your meal.
- Baked Mac and Cheese: Creamy, cheesy mac and cheese provides a rich texture and flavor contrast, enhancing the comforting nature of the corn dish.
- Fresh Garden Salad: Light, crisp greens with a zesty vinaigrette add freshness to your plate, balancing the rich flavors of honey butter skillet corn.
- Cornbread Muffins: Soft, slightly sweet cornbread muffins can soak up the delicious honey-butter goodness, making every bite a delight.
- Chilled White Wine: A glass of chilled Sauvignon Blanc will beautifully elevate your dining experience, with its fruity notes complementing the flavors of the corn.
- Peach Cobbler: End the meal on a sweet note with warm peach cobbler; the combination of buttery crust and sweet peaches mirrors the corn’s sweet profile.
- Herb-Infused Lemonade: Serve refreshing herb-infused lemonade for a bright twist, enhancing the overall experience with zesty notes against the sweetness of the corn.
Make Ahead Options
These Honey Butter Skillet Corn is perfect for busy home cooks looking to save time during meal prep! You can prepare the corn with the honey and butter mixture up to 24 hours in advance—simply cook and combine until everything is well blended, then refrigerate. To maintain quality, make sure to store it in an airtight container. When you’re ready to serve, just reheat the mixture on the stovetop over low heat, then add the cream cheese, stirring until melted and creamy. This way, you’ll enjoy all the delicious flavors with minimal effort, making it an easy go-to side dish for any occasion!
Honey Butter Skillet Corn Recipe FAQs
How do I select the best corn for this recipe?
Absolutely! For the best flavor, I recommend using frozen corn as it’s convenient and maintains its sweet flavor year-round. If you have access to fresh corn, that’s my personal favorite when in season—look for ears that are plump with tightly packed kernels and fresh husks. Avoid any that have dark spots or look dried out. If using canned corn, make sure to drain and rinse it well before adding it to your skillet.
How long can I store leftovers in the fridge?
Very! Leftovers should be kept in an airtight container in the refrigerator, where they will remain fresh for about 3-4 days. When you’re ready to enjoy them again, you can easily reheat the skillet corn over low heat on the stovetop, adding a splash of milk or water to restore its creamy consistency.
Can I freeze Honey Butter Skillet Corn?
Definitely! To freeze, allow the dish to cool completely, then transfer it to a freezer-safe container. It can be stored in the freezer for up to 2-3 months. When you’re ready to enjoy it, simply thaw it in the fridge overnight, then reheat gently on the stovetop, adding a little milk or water to help with the texture.
What should I do if my cream cheese doesn’t melt smoothly?
No worries! If your cream cheese clumps during melting, it might be because it was too cold when added. Always use room temperature cream cheese for best results. If it still doesn’t melt smoothly, take the skillet off the heat and continue stirring; the residual heat should help it come together. If lumps persist, try mashing the cream cheese with a fork before adding it to the skillet.
Is Honey Butter Skillet Corn a gluten-free dish?
Yes, it is! This recipe is naturally gluten-free, making it suitable for those with gluten sensitivities. Just ensure that any alternatives you use, like syrups or cream cheese, are labeled gluten-free to avoid cross-contamination. It’s a fantastic dish that everyone can enjoy!
No Bake Pumpkin Cheesecake: Creamy Fall Delight to Share
Ingredients
Equipment
Method
- In a mixing bowl, combine graham cracker crumbs, melted butter, and sugar. Press the mixture into the bottom of a springform pan.
- In another bowl, beat the softened cream cheese until smooth. Add pumpkin puree, powdered sugar, vanilla extract, and pumpkin spice. Mix until well combined.
- Gently fold in the whipped heavy cream into the pumpkin mixture until fully incorporated.
- Spread the pumpkin filling evenly over the crust in the springform pan.
- Refrigerate for at least 4 hours or until set. Slice and serve with whipped cream on top if desired.
Leave a Reply