
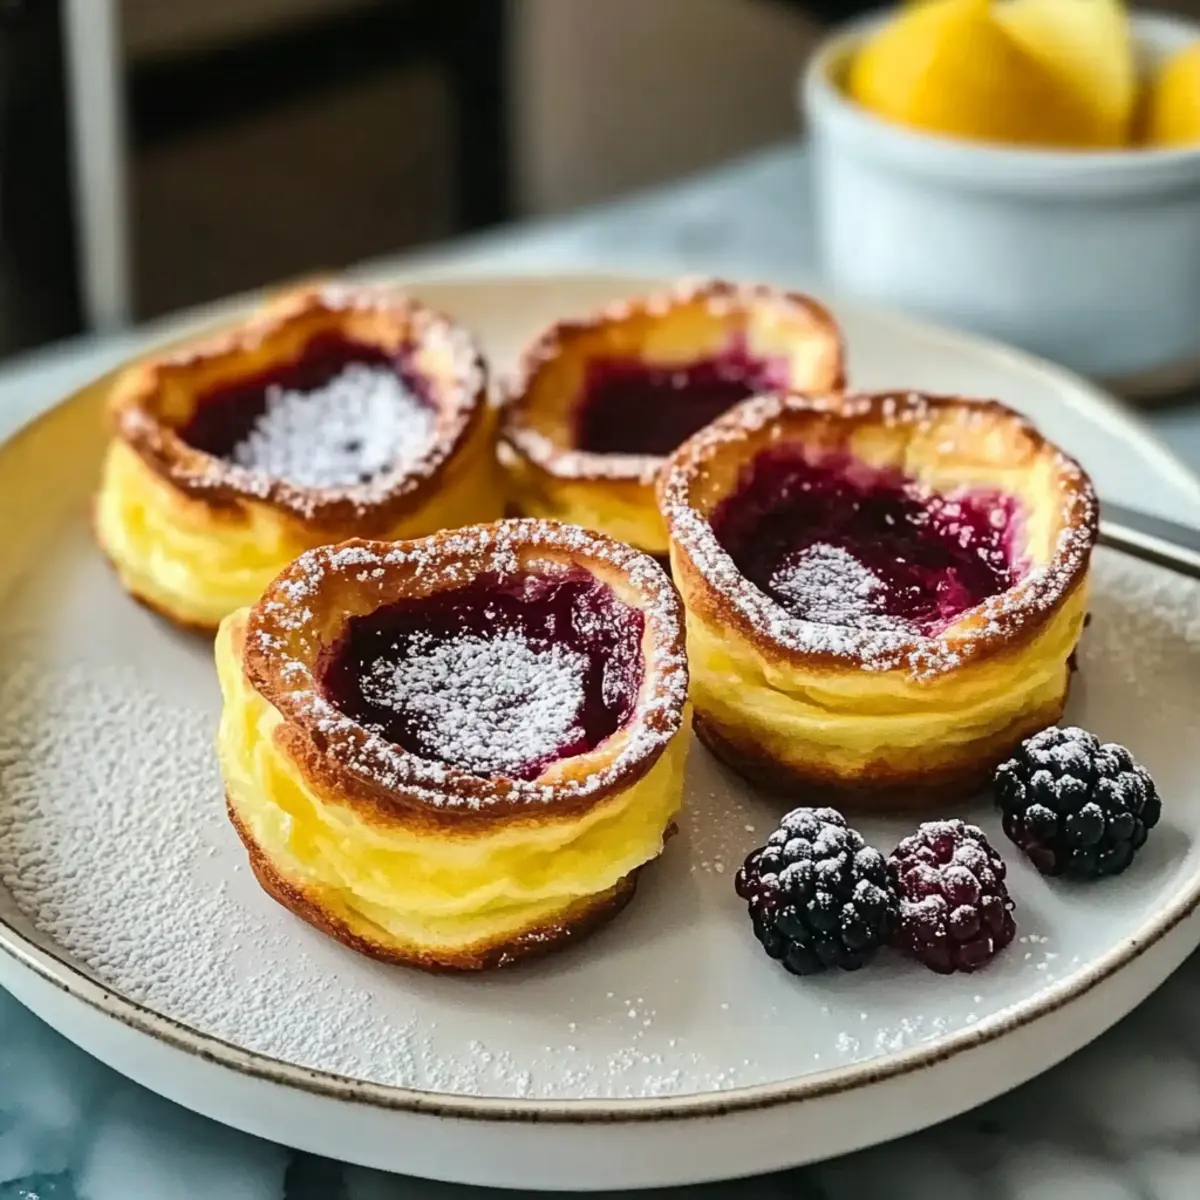
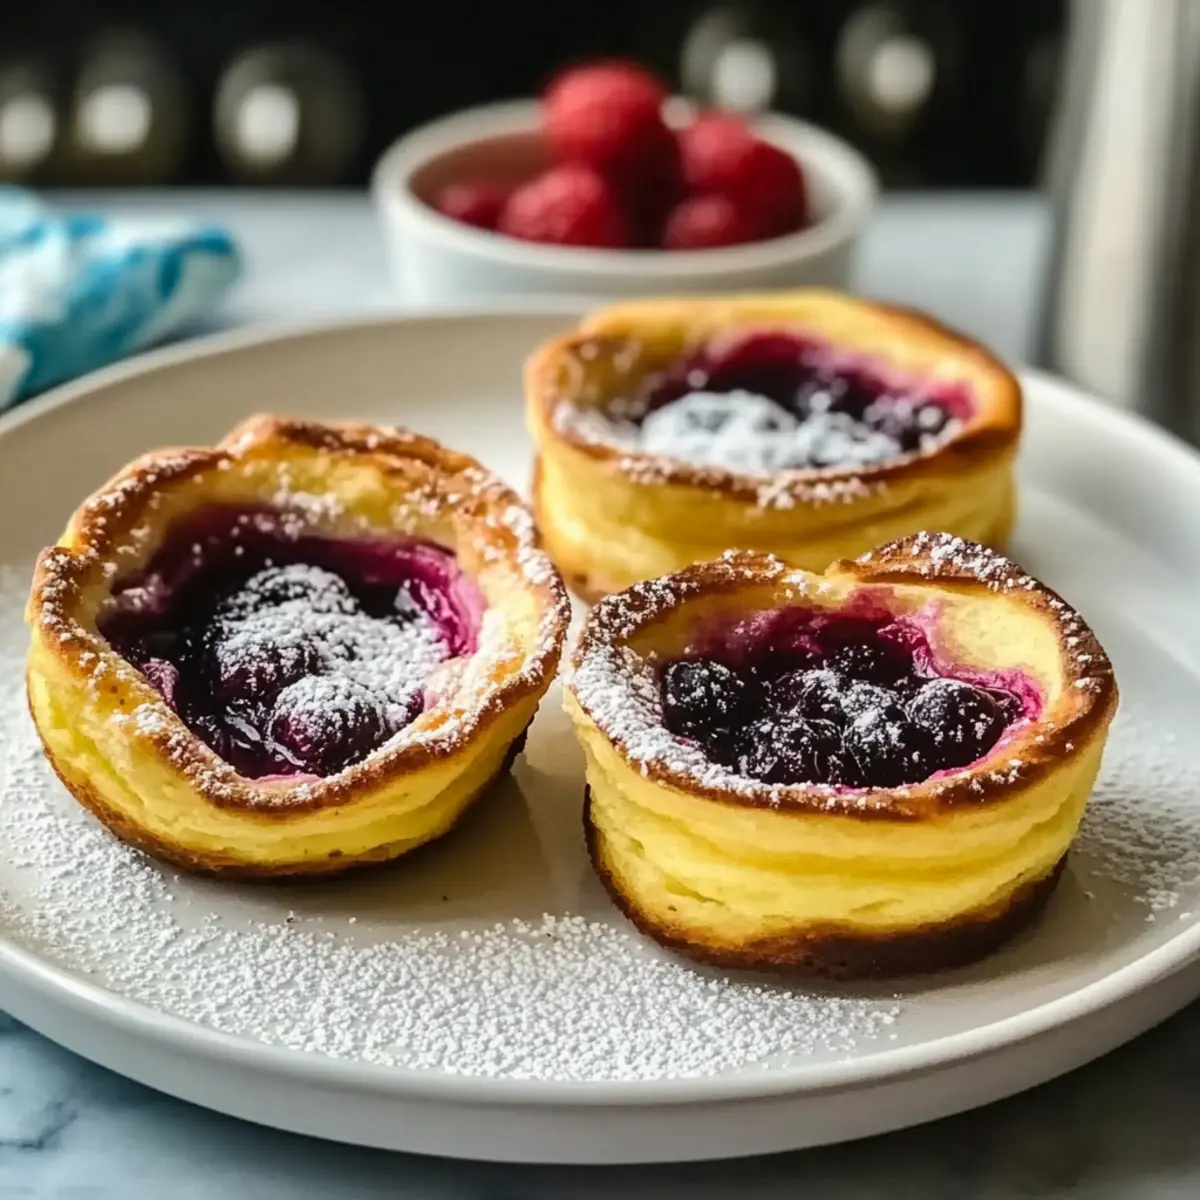
As I flipped the light, puffy mini Dutch baby pancakes, the smell wafted through my kitchen, instantly lifting my spirits. These delightful oven-baked morsels not only make breakfast feel like a special occasion, but they also come together in a snap—perfect for those busy mornings when you want something homemade without the hassle. With their airy texture and buttery flavor, they can be dressed up with a sprinkle of powdered sugar for a sweet treat or filled with herbs and cheese for a savory twist. What could be better than a versatile dish that leaves room for your own culinary creativity? Feeling inspired to whip up your own batch? Let’s dive in!
Why are Mini Dutch Baby Pancakes a Must-Try?
Airy Texture: These pancakes are light and fluffy, offering a delightful bite that will keep you coming back for more.
Quick and Simple: With minimal prep time, you can whip these up in no time, making them an ideal choice for those busy mornings.
Versatile Toppings: Whether you prefer a sweet touch with powdered sugar and jam or a savory twist with cheese and herbs, the options are endless!
Customizable: You can easily accommodate dietary preferences, whether opting for gluten-free alternatives or adding your favorite fillings like sautéed mushrooms, just like in my Mini Beef Wellington Bites!
Crowd-Pleaser: Perfect for brunch gatherings, these mini delights are sure to impress your family and friends, creating a fun and interactive meal experience.
Mini Dutch Baby Pancakes Ingredients
For the Batter
- All-Purpose Flour – Provides structure; consider a gluten-free blend if needed.
- Whole Milk – Adds moisture; you can substitute with almond or oat milk for a dairy-free option.
- Eggs – Essential for lift and richness; fresh eggs create the best puffiness.
- Granulated Sugar – Sweetness enhancer; for the savory version, feel free to omit this.
- Vanilla Extract – Optional for a delightful flavor boost; it enhances sweetness and aroma.
- Salt – Balances sweetness; a small yet crucial ingredient for depth of flavor.
- Unsalted Butter – Gives crispy edges and rich flavor; swap for coconut oil to make it dairy-free.
For Toppings
- Powdered Sugar – Perfect for a sweet touch; dust lightly before serving.
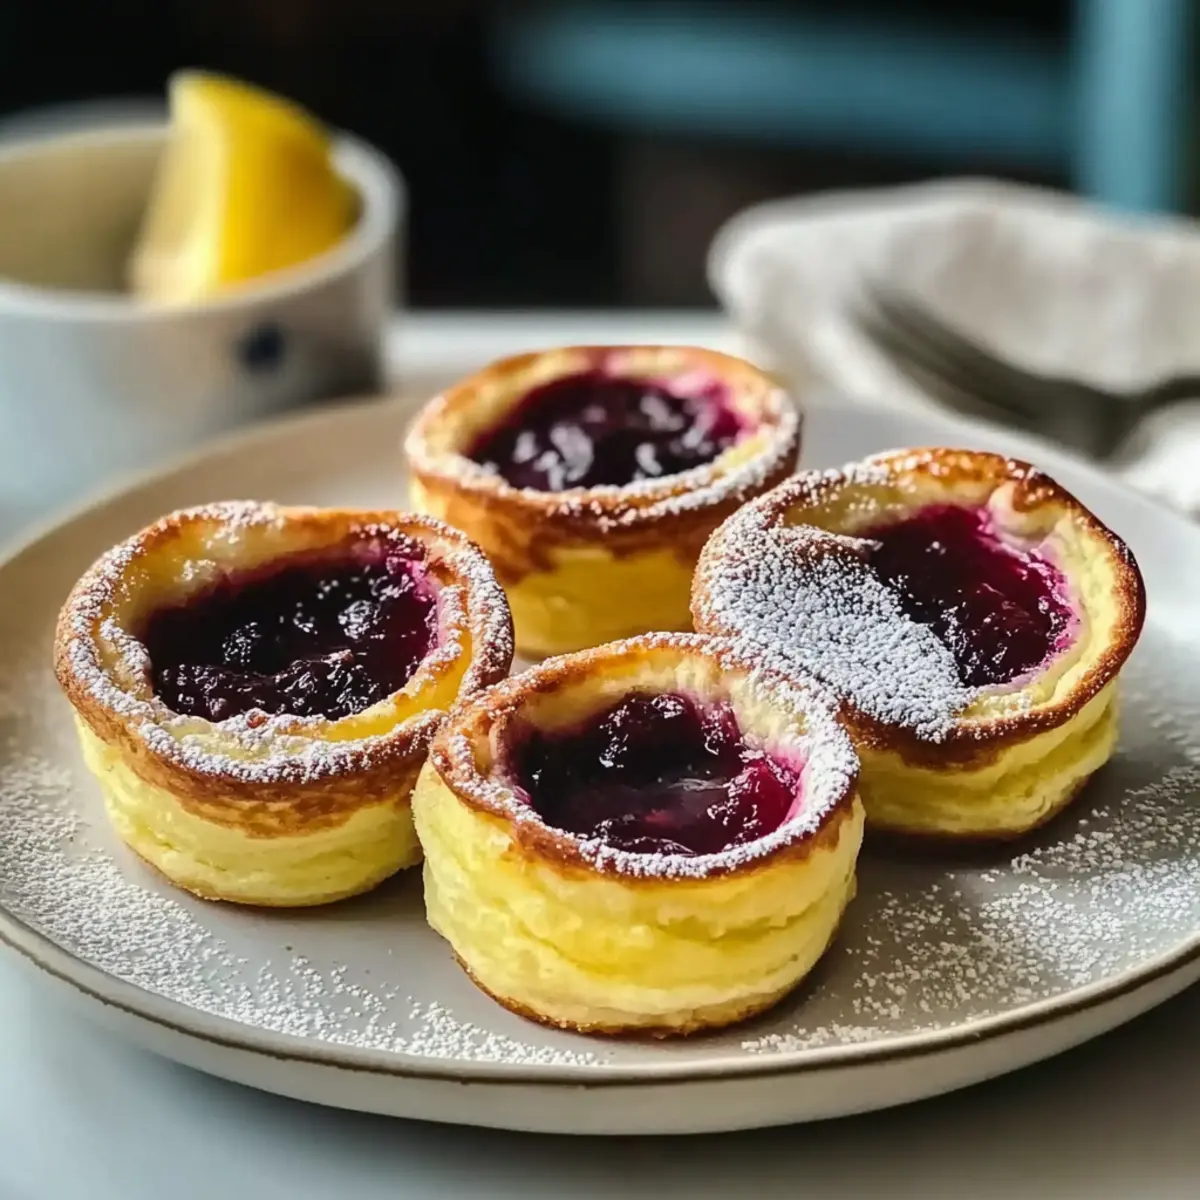
- Fruit Jam – Great for adding sweetness and fruitiness; choose your favorite flavor to personalize.
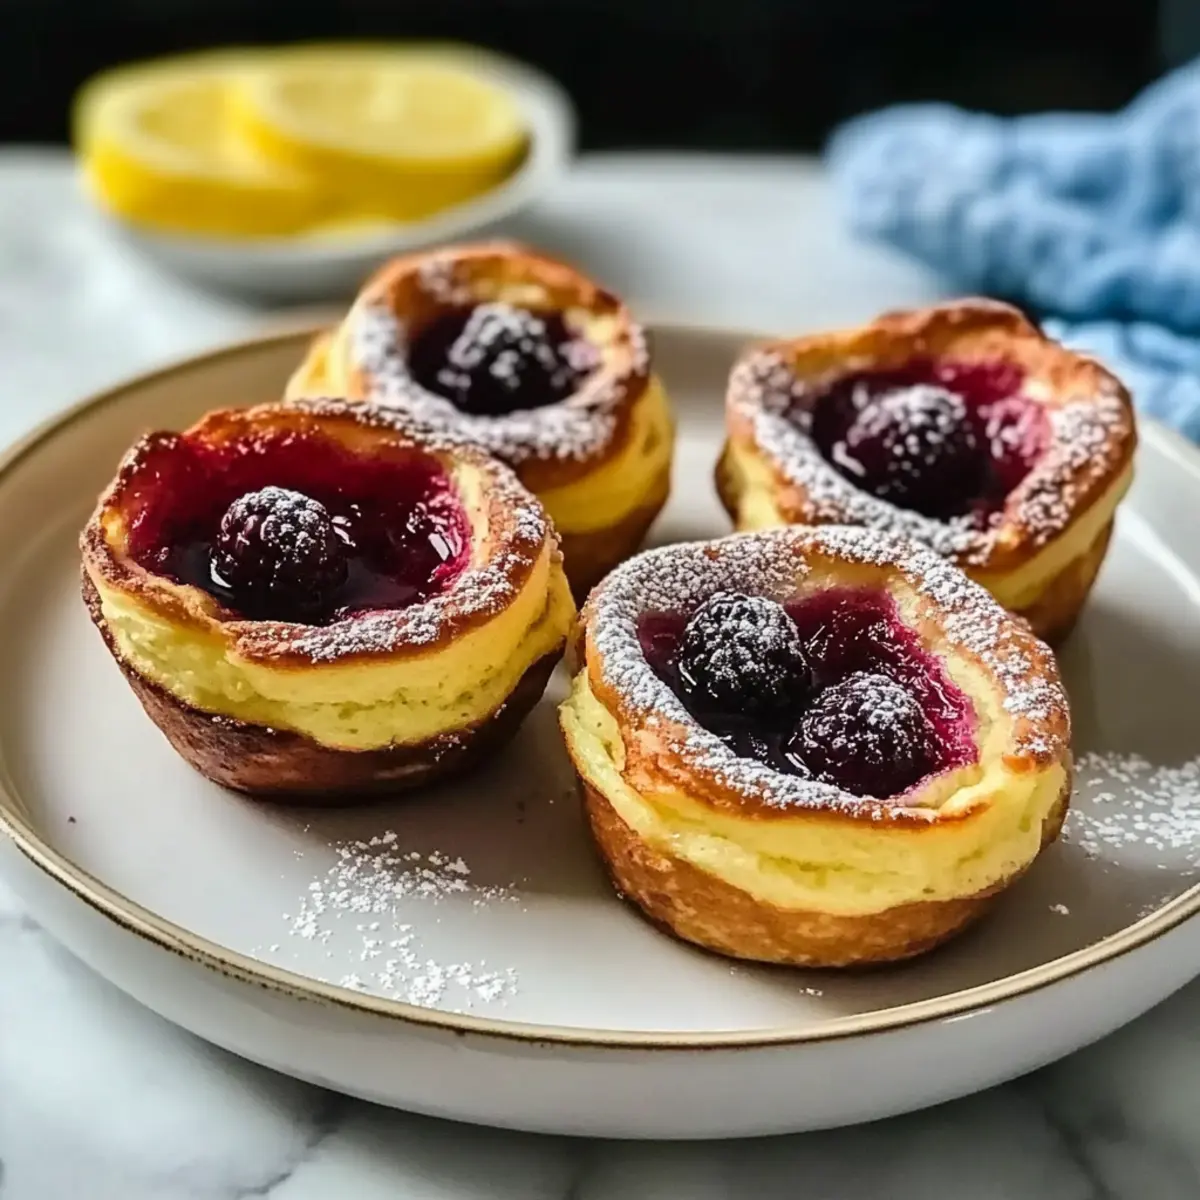
- Fresh Berries – Adds brightness and freshness; strawberries and blueberries work beautifully.
- Herbs (e.g., chives or parsley) – For a savory twist, incorporate these into your batter or as a topping.
- Cheese (e.g., feta or cheddar) – A delicious addition for a savory pancake option; pair with herbs for extra flavor.
Let your culinary imagination run wild with these Mini Dutch Baby Pancakes—they’re ready to dazzle at your next breakfast!
Step‑by‑Step Instructions for Mini Dutch Baby Pancakes
Step 1: Preheat the Oven and Prepare the Muffin Pan
Begin by preheating your oven to 425°F (220°C). While the oven heats, place a 12-cup muffin pan inside to warm up. This crucial step ensures that your mini Dutch baby pancakes achieve that signature puffiness. Allow the pan to heat for about 10 minutes, which will create a perfectly crisp edge as the batter hits the hot surface.
Step 2: Blend the Batter Ingredients
In a blender, combine the all-purpose flour, whole milk, eggs, sugar, vanilla extract, and a pinch of salt. Blend the mixture on high until it becomes smooth and well-combined, which should take about 1 minute. You want a thin, silky batter for those delightful mini Dutch baby pancakes, so ensure there are no lumps before proceeding to the next step.
Step 3: Let the Batter Rest
Once blended, let your batter rest for about 10 minutes. This resting period is essential as it allows the flour to absorb the liquids better, resulting in an even fluffier pancake. During this time, you can prepare your desired toppings or simply get your coffee brewing for the ultimate breakfast experience.
Step 4: Add Butter to Hot Muffin Tin
Carefully remove the hot muffin pan from the oven—watch out, it’s hot! Place a chunk of unsalted butter in each well of the muffin pan, allowing it to slowly melt and coat the bottom. This step not only enhances flavor but also contributes to the crispy edges that make mini Dutch baby pancakes so delightful.
Step 5: Pour in the Batter and Bake
After the butter has melted, pour about 1/3 cup of the rested batter into each well, filling them evenly. Slide the muffin pan back into the oven and bake for 12-15 minutes, or until the pancakes have puffed up beautifully and turned a golden-brown color. Avoid opening the oven door during this time, as the sudden temperature change can flatten the pancakes.
Step 6: Cool and Serve
After baking, remove the muffin pan from the oven and let the mini Dutch baby pancakes cool for just 1 minute. They will start to deflate slightly but that’s perfectly normal! Carefully run a knife around the edges to help release them from the pan, then serve warm with your favorite toppings like powdered sugar, jam, or even fresh berries for a sweet treat or herbs and cheese for a savory option.
How to Store and Freeze Mini Dutch Baby Pancakes
Fridge: Store leftover mini Dutch baby pancakes in an airtight container for up to 3 days. This keeps them fresh and ready for a quick breakfast option!
Freezer: For longer storage, freeze the pancakes in a single layer on a baking sheet before transferring them to a zip-top bag. They’ll last for up to 1 month, preserving their fluffy goodness.
Reheating: When ready to enjoy, reheat in a hot oven (350°F) for about 10 minutes for the best texture. Alternatively, a microwave can be used but may result in a softer pancake, so aim for the oven if you can!
Serving Ideas: Add your favorite toppings like powdered sugar or fresh berries after reheating to create a delightful breakfast with these delicious mini Dutch baby pancakes!
Make Ahead Options
These Easy Mini Dutch Baby Pancakes are perfect for meal prep enthusiasts looking to save time during busy mornings! You can prepare the batter up to 24 hours in advance; simply blend all the ingredients and store it in an airtight container in the fridge. For best results, allow the batter to rest for at least 10 minutes before baking to ensure maximum puffiness. If you want to go a step further, you can also pre-measure and mix your dry ingredients (flour, sugar, and salt) and keep them in a container for up to 3 days. When it’s time to cook, just add the milk and eggs, and follow the final steps by melting the butter in the hot muffin tin, pouring in the batter, and baking for delightful, restaurant-quality mini Dutch baby pancakes!
Mini Dutch Baby Pancakes Variations
Feel free to play around with these delightful variations that can elevate your mini Dutch baby pancakes into a whole new experience.
-
Herb-Infused: Add fresh herbs like chives or thyme to the batter for a savory profile. It’s a delightful twist that adds aromatic freshness.
-
Cheesy Goodness: Stir in grated cheese, such as cheddar or feta, into the batter before baking. This makes for a rich, mouthwatering pancake that pairs beautifully with brunch!
-
Fruit-Filled: Fold in fresh fruits like blueberries or raspberries right into the batter. They’ll burst with flavor as the pancakes puff up, adding a juicy surprise in each bite.
-
Sweetener Swap: Use honey or maple syrup instead of granulated sugar for a natural sweetness throughout your pancakes. The subtle flavor adds a lovely depth to your dish.
-
Nutty Crunch: Fold in chopped nuts like walnuts or pecans for added texture and a delightful crunch. They not only enhance the taste but also provide a satisfying bite.
-
Nut Butter Drizzle: Top your pancakes with peanut butter or almond butter instead of traditional toppings. It adds creaminess and protein for a heartier breakfast option.
-
Savory Fillings: Try filling your pancakes with sautéed mushrooms and spinach or smoked salmon. It transforms your pancakes into a gourmet brunch dish everyone will love!
-
Tropical Twist: Experiment with diced pineapple or mango in the batter for a fun tropical vibe. Serve with coconut whipped cream on top for a refreshing finish.
The beauty of these mini Dutch baby pancakes is how they can adapt to your tastes. If you’re in the mood for something sweet, just dash on a bit of jam or powdered sugar, similar to how you would enjoy with Apple Cinnamon Pancakes. Happy cooking!
What to Serve with Easy Mini Dutch Baby Pancakes
Imagine a table filled with comforting sides that perfectly complement your delightful pancakes, turning breakfast into a sumptuous feast.
-
Crispy Bacon: The salty, savory flavors of crispy bacon serve as a delicious contrast to the light sweetness of the pancakes. This classic pairing never disappoints.
-
Fresh Berries: Juicy strawberries, blueberries, and raspberries add a fresh, vibrant note and beautiful color, creating a refreshing balance to the fluffy mini Dutch baby pancakes.
-
Whipped Cream: Light, airy whipped cream not only enhances the sweetness but also adds a luxurious finish, making every bite feel extra indulgent.
-
Sautéed Mushrooms: For a savory twist, earthy sautéed mushrooms bring a delightful umami flavor that pairs wonderfully with the pancakes. This combo is perfect for brunch lovers!
-
Fruit Jam: Sweet and fruity jams like raspberry or peach provide a lovely spread for drizzling over each pancake, infusing them with delightful moisture and flavor.
-
Cheese Platter: A selection of soft cheeses like goat or feta offers a creamy touch that works beautifully with both sweet and savory pancake variations.
-
Fresh Herbs: A sprinkle of fresh herbs such as chives or parsley can elevate the savory pancakes, providing a pop of color and a burst of flavor.
-
Herbal Tea or Coffee: A steaming cup of herbal tea or fresh coffee rounds off your meal, accentuating the warmth and comfort of your breakfast experience.
-
Yogurt Parfait: A layer of creamy yogurt with granola and fruits creates a lovely contrast in texture and adds a healthy, satisfying component to your plate.
Each of these sides enhances the whimsical charm of mini Dutch baby pancakes, inviting a joyful start to your day!
Expert Tips for Mini Dutch Baby Pancakes
Hot Muffin Pan is Key: Ensure your muffin pan is thoroughly heated before adding the batter. A hot pan is essential for achieving maximum puffiness in your mini Dutch baby pancakes.
Blend to Perfection: Blend the batter until it’s completely smooth. Avoid over-mixing, which can lead to tough pancakes; the goal is a thin, silky batter.
Butter Generously: Don’t skimp on the butter! It not only adds flavor but also helps create those irresistible crispy edges that elevate each bite of your mini Dutch baby pancakes.
Experiment with Fillings: Feel free to get creative with your toppings or fillings. Try herbs or cheese for a savory twist, or fresh fruits and whipped cream for a sweet treat!
Storage Made Easy: If you have leftovers, refrigerate them in an airtight container for up to three days or freeze for up to a month. Reheat in a warm oven to restore their delightful texture.
Mini Dutch Baby Pancakes Recipe FAQs
How do I choose ripe ingredients for Mini Dutch Baby Pancakes?
Absolutely! For the best flavor, use fresh eggs and whole milk for richness. If you’re going for fruit toppings, make sure the berries are plump and vibrant, without any dark spots or mushiness. Aim for strawberries that are bright red and firm. For cheese, opt for freshly grated options for an intense flavor boost.
How should I store leftovers of Mini Dutch Baby Pancakes?
Very! After you’ve enjoyed your delicious mini Dutch baby pancakes, store any leftovers in an airtight container in the fridge for up to 3 days. Be sure to let them cool completely before sealing to avoid condensation, which can make them soggy.
What are the best freezing instructions for Mini Dutch Baby Pancakes?
If you want to keep them longer, freeze those pancakes! First, place them in a single layer on a baking sheet for about an hour until solid. Then transfer them to a zip-top bag. They’ll stay tasty for up to 1 month. Just remember to label the bag with the date!
What should I do if my Mini Dutch Baby Pancakes don’t puff up?
No worries! If your pancakes don’t puff, it’s often due to the muffin tin not being hot enough before you added the batter. Preheat your oven properly and let the pan heat for about 10 minutes. Also, ensure that your batter is well-blended into a smooth consistency without lumps, as this helps create that airy texture.
Are Mini Dutch Baby Pancakes suitable for people with dietary restrictions?
Definitely! You can easily adapt this recipe for gluten-free needs by using a gluten-free flour blend. For dairy-free options, swap in plant-based milk and coconut oil in place of the butter. Just keep in mind to double-check any added toppings for allergens, especially when using cheese.
Can pets enjoy Mini Dutch Baby Pancakes too?
While the fluffy mini Dutch baby pancakes can look delicious, I recommend keeping them away from pets. Ingredients like milk and butter can upset their stomachs. Instead, offer them a pet-safe treat to enjoy while you savor your breakfast!
Fluffy Mini Dutch Baby Pancakes for Cozy Breakfast Mornings
Ingredients
Equipment
Method
- Preheat your oven to 425°F (220°C) and place a 12-cup muffin pan inside to warm up for about 10 minutes.
- In a blender, combine the flour, milk, eggs, sugar, vanilla extract, and salt. Blend until smooth.
- Let the batter rest for about 10 minutes.
- Remove the muffin pan from the oven and place a chunk of butter in each well, letting it melt.
- Pour about 1/3 cup of the batter into each well and bake for 12-15 minutes.
- Remove the pan from the oven and let the pancakes cool for 1 minute before serving.
Leave a Reply