
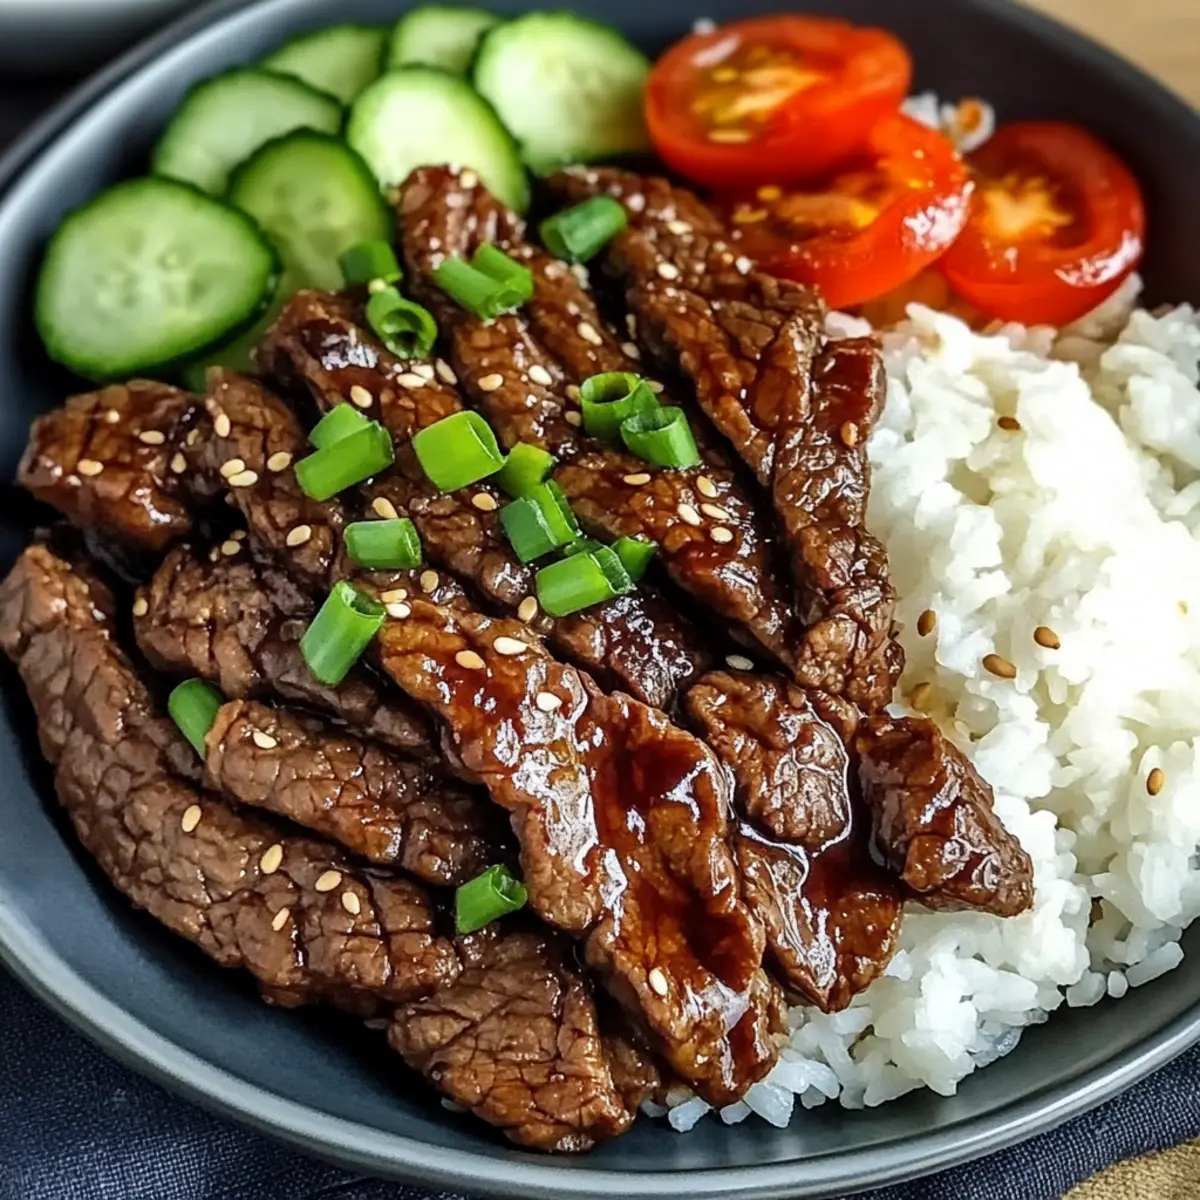
The sizzle of beef hitting a hot grill can bring an instant smile to my face, and that’s exactly what you’ll experience with this Quick and Flavorful Beef Yakiniku. This delightful Japanese grilled beef dish features thinly sliced steak, marinated in a savory-sweet sauce that transforms mere ingredients into a mouthwatering meal. With its high-heat cooking technique, this recipe quickly comes together, making it the perfect solution for busy weeknights. Plus, it’s a crowd-pleaser—just serve it alongside rice and fresh veggies for a truly satisfying dinner that the whole family will love. Are you ready to elevate your weeknight cooking game?
Why is Beef Yakiniku a Must-Try?
Quick, Easy Prep: With just a few simple ingredients, you can whip up a flavorful feast in no time. This recipe allows you to marinate the beef ahead of time, saving you precious minutes on busy weeknights.
Savory Umami Goodness: The blend of soy sauce, garlic, and gochujang creates a rich flavor profile that tantalizes your taste buds, making each bite an adventure in taste.
Versatile Meal Option: Enjoy it with rice and veggies, or use it as a filling for wraps or tacos; this dish can easily adapt to whatever you have on hand.
Deliciously Healthy: Packed with protein, Beef Yakiniku is not only satisfying but can also be made healthier by choosing low-sodium ingredients. If you’re looking for more beef options, check out Ground Beef Tostadas or Sticky Beef Noodles.
Crowd-Pleasing Appeal: Gather friends or family around the table because this recipe offers a fun, interactive dining experience that everyone will enjoy!
Beef Yakiniku Ingredients
For the Marinade
- Low-sodium light soy sauce – Provides a savory base while minimizing salt intake, ideal for a healthier Beef Yakiniku.
- Gochujang – Adds depth of flavor and a mild heat; substitute with sriracha for a similar spiciness if desired.
- Mirin – Enhances flavor complexity; rice vinegar can be used as a substitute, though it may alter sweetness.
- Minced ginger – Fresh ginger adds a zestful aroma; use powdered ginger in a pinch, but fresh is recommended for best results.
- Garlic powder or garlic paste – Infuses flavor; choose garlic paste for a more potent taste if desired.
For the Beef
- Flank or skirt steak – 750 g (1.65 lbs), very thinly sliced against the grain, which is perfect for tender, quick cooking.
For Cooking
- Sesame oil – Adds a rich, nutty flavor; can be replaced with toasted sunflower oil for a different twist.
- Neutral oil – 1 tbsp (e.g., avocado or rapeseed), used for cooking; ensure it’s suitable for high-heat applications.
For Sweetness
- Light brown sugar – 4 tbsp to balance the savory elements of the dish; coconut sugar can be substituted for a lower glycemic index option.
Step‑by‑Step Instructions for Beef Yakiniku
Step 1: Prepare Marinade
In a mixing bowl, combine 80 ml of low-sodium light soy sauce, ½ tablespoon of gochujang, 1 tablespoon of mirin, 2 teaspoons of minced ginger, ½ teaspoon of garlic powder, 1 tablespoon of sesame oil, 1 tablespoon of neutral oil, and 4 tablespoons of light brown sugar. Whisk the ingredients together until fully blended, and ensure the sugar is fully dissolved, creating a flavorful marinade for the Beef Yakiniku.
Step 2: Marinate Beef
Add 750 g of thinly sliced flank or skirt steak to the marinade, making sure each piece is generously coated. For optimal flavor, cover the bowl or transfer the mixture to a resealable bag, and marinate in the refrigerator for at least 30 minutes. For an even richer taste, marinating for up to 24 hours is ideal, allowing those savory flavors to deeply penetrate the beef.
Step 3: Heat Grill
Preheat your grill pan or outdoor grill to a high temperature, around 400°F (200°C). This step is crucial for achieving the perfect sear on your Beef Yakiniku. Once hot, lightly oil the grill surface with a bit of neutral oil to prevent sticking and ensure a beautifully caramelized exterior for the beef slices.
Step 4: Cook Beef
Carefully place the marinated beef slices on the grill in a single layer, allowing enough space between each piece to cook evenly. Sear for 1-2 minutes on each side, or until the beef is caramelized and cooked through. Keep an eye on the meat, as it cooks quickly; the edges should be golden brown and the center tender to guarantee a delightful Beef Yakiniku experience.
Step 5: Serve
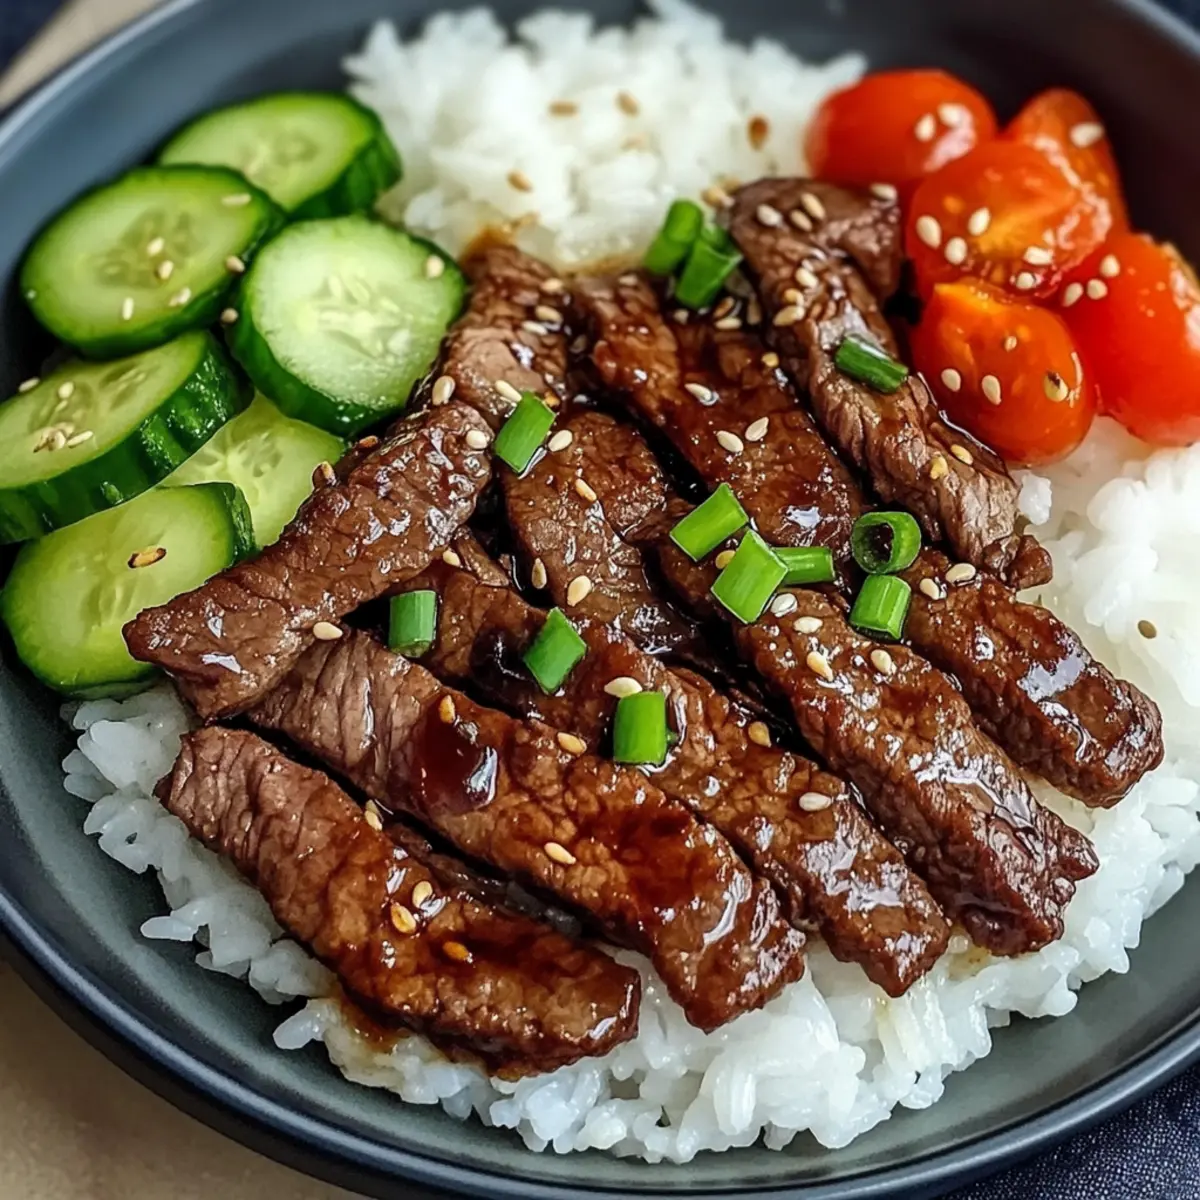
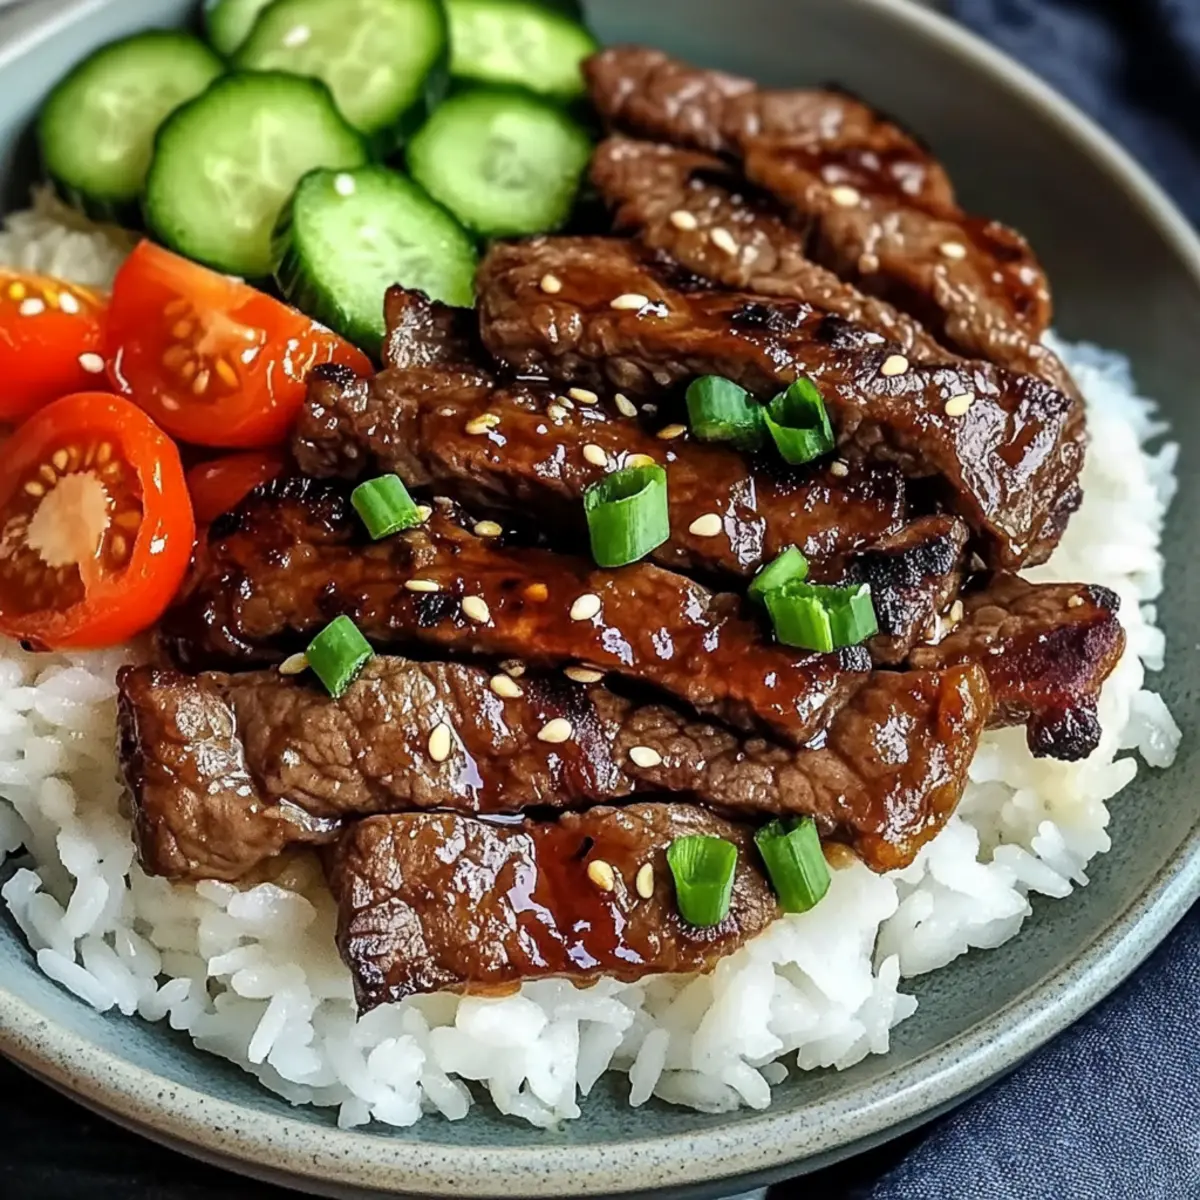
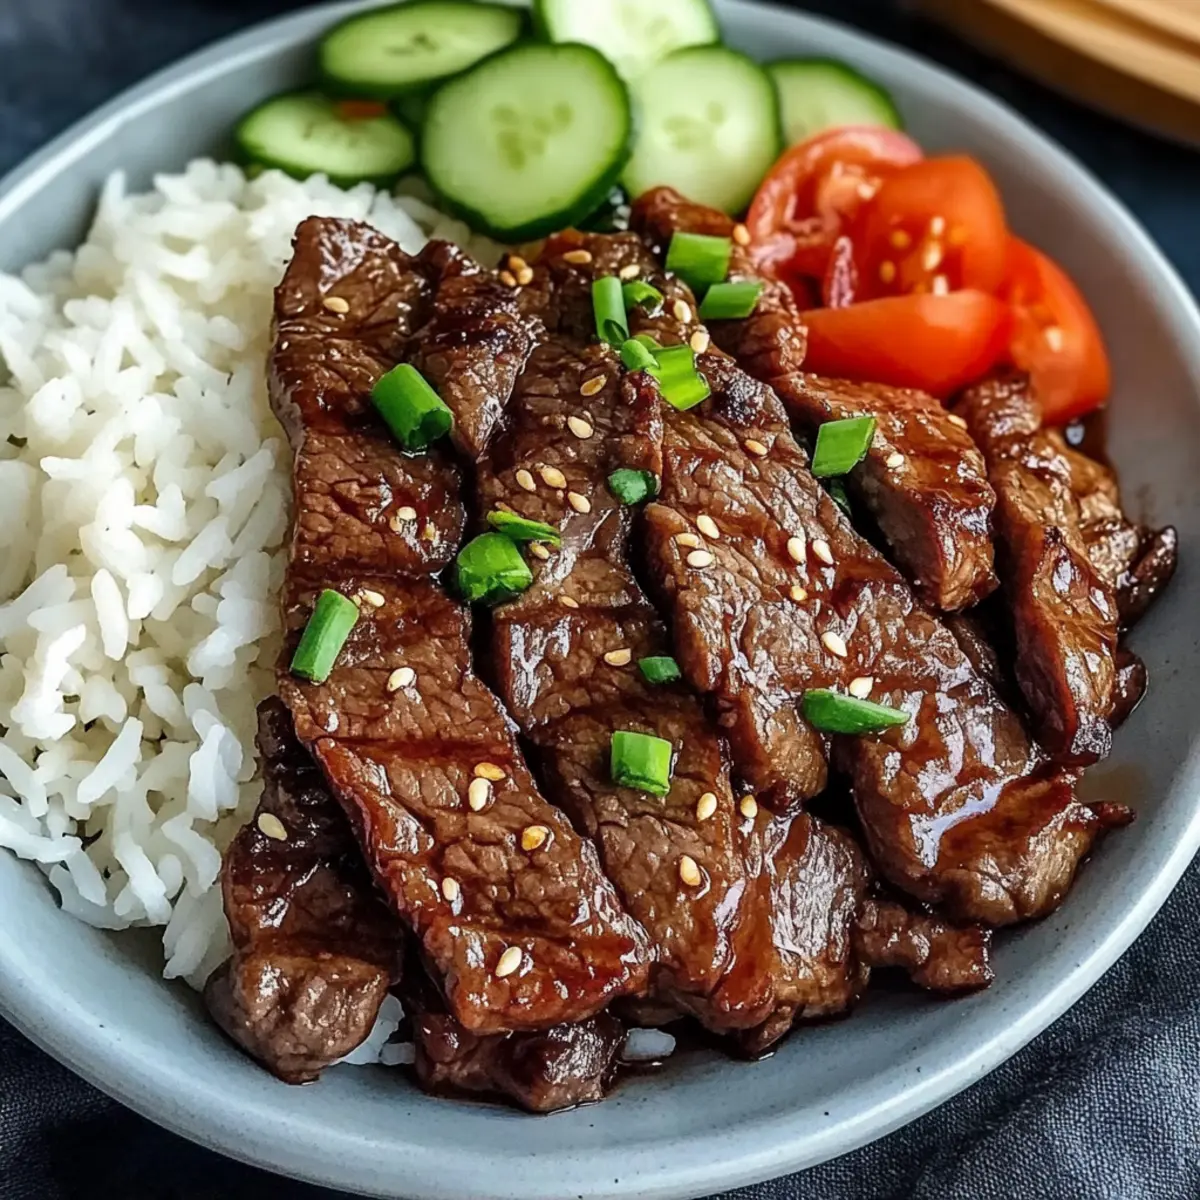
Once cooked, transfer the Beef Yakiniku to a serving platter, garnishing with sesame seeds if desired for a touch of elegance. Serve the grilled beef alongside steamed rice and fresh chopped cucumber and tomato, adding a refreshing crunch to your meal. Enjoy this savory dish, perfect for a satisfying weeknight dinner with family or friends.
Expert Tips for Beef Yakiniku
-
Slice Against the Grain: Always slice the steak against the grain to enhance tenderness; this ensures a melt-in-your-mouth experience with every bite of your Beef Yakiniku.
-
Don’t Overcrowd the Grill: For best results, avoid overcrowding the grill. Cook in batches if necessary to allow the beef to sear properly, achieving that delicious caramelization.
-
Marinade Time Matters: For maximum flavor, marinate the beef for at least 30 minutes, but if time allows, let it sit up to 24 hours. This enhances the savory depth of the Beef Yakiniku.
-
Use High Heat: Cooking at a high temperature is key. Ensure your grill is adequately preheated to achieve that perfect, crispy outer layer while keeping the interior juicy.
-
Monitor Cooking Time: The beef cooks quickly, so keep an eye on it! Aim for 1-2 minutes per side and remove it just before it reaches your desired doneness to prevent overcooking.
What to Serve with Quick and Flavorful Beef Yakiniku?
Elevate your weeknight dining experience with delightful sides that enhance the rich flavors of your savory Beef Yakiniku.
-
Steamed White Rice: A classic companion, fluffy rice soaks up the savory marinade, providing the perfect base for the tender beef slices.
-
Fresh Cucumber Salad: Crisp and refreshing, this salad contrasts beautifully with the richness of the beef, adding a zesty burst of flavor.
-
Miso Soup: Warm and comforting, this traditional Japanese soup complements the meal’s umami elements, rounding out a delicious dining experience.
-
Pickled Vegetables: Tangy and vibrant, pickled vegetables bring brightness and crunch, balancing the savory notes and enhancing the overall palate.
-
Sesame Noodles: Chilled or warm, these noodles can carry the same savory notes, making them a fantastic addition that harmonizes with the Beef Yakiniku.
-
Grilled Vegetables: Charred bell peppers, zucchinis, and eggplants add depth and a lovely smokiness, complementing the grilled beef perfectly.
-
Green Tea: This soothing beverage cleanses the palate and enhances the flavors of the dish, making it a delightful pairing for your meal.
-
Fruit Sorbet: For dessert, a light sorbet offers a refreshing end, cleansing the palate and providing a sweet finish to your savory feast.
Combining these sides will create a balanced meal that the whole family will treasure!
Beef Yakiniku Variations & Substitutions
Dive into the fun of customizing your Beef Yakiniku with these delightful twists that can elevate your meal.
- Chicken or Pork: Swap beef for thinly sliced chicken breast or pork tenderloin for a lighter option. Each alternative brings a unique taste and texture.
- Vegetarian Delight: Use marinated tofu or tempeh to create a delicious plant-based version that’s just as flavorful.
- Spicy Boost: Add a teaspoon of chili flakes or sliced fresh chili peppers to your marinade for extra heat and a bold kick.
- Citrus Zest: Incorporate a teaspoon of grated orange or lime zest into the marinade for a vibrant, zesty twist. This brightens up the flavors and adds a refreshing flair.
- Substitute Oils: Replace sesame oil with olive oil or avocado oil if you prefer a lighter taste. These oils still complement the beef while creating a subtle difference in flavor.
- Different Sweeteners: Use honey or maple syrup instead of brown sugar for a unique sweetness that adds complexity to the dish.
- Asian Fusion: Enhance the dish with sesame seeds or chopped scallions as a fresh garnish. They not only add texture but also elevates the look of your Beef Yakiniku.
- Sauce Alternatives: Try teriyaki sauce instead of the marinade for a sweeter, more intense flavor profile. This makes for a deliciously sticky finish that’s hard to resist.
Feel free to mix and match these variations! Your Beef Yakiniku will always be a hit whether you enjoy it with rice, on tacos, or alongside a vibrant salad. If you’re itching for more beefy delights, be sure to check out Cheesy Beef Enchiladas or Mini Beef Wellington.
How to Store and Freeze Beef Yakiniku
Fridge: Store cooked Beef Yakiniku in an airtight container for up to 3 days. This will help maintain its flavor and texture while keeping it safe for later meals.
Freezer: If you have leftovers, you can freeze the cooked beef for up to 2 months. Make sure to wrap it tightly in plastic wrap or foil before placing it in a freezer-safe bag to prevent freezer burn.
Reheating: To enjoy your Beef Yakiniku again, gently reheat it in a skillet over medium heat, adding a splash of water or broth to keep it moist. Avoid microwaving for best results.
Make-Ahead Tip: You can marinate the beef ahead of time and store it in the fridge for up to 24 hours before grilling. This makes for a quick and delightful weeknight dinner option!
Make Ahead Options
These Beef Yakiniku are perfect for busy home cooks looking to save time! You can marinate the beef in advance, allowing the flavors to develop deeply while you tend to other tasks. Simply prepare the marinade and coat the thinly sliced flank or skirt steak, then store it in the refrigerator for up to 24 hours. If you make extra cooked beef, it can be stored in an airtight container for up to 3 days, just reheat it quickly to maintain its tenderness. When you’re ready to serve, grill the marinated beef straight from the fridge for a delightful weeknight meal that’s as delicious as if it were freshly made!
Beef Yakiniku Recipe FAQs
How do I choose the right steak for Beef Yakiniku?
Absolutely! For Beef Yakiniku, flank or skirt steak are ideal choices. Look for cuts that are very thinly sliced against the grain. This ensures tender and quick cooking. Fresh cuts should have a bright red color; avoid those with dark spots or a dull appearance.
What is the best way to store leftover Beef Yakiniku?
Cooked Beef Yakiniku can be stored in an airtight container in the refrigerator for up to 3 days. Make sure to let it cool completely before sealing; this helps preserve moisture and flavor. If you’d like to enjoy it later, freezing is a great option too!
How can I freeze Beef Yakiniku properly?
To freeze cooked Beef Yakiniku, allow it to cool and wrap it tightly in plastic wrap or foil. Then place it in a freezer-safe bag, removing as much air as possible to prevent freezer burn. It can be stored this way for up to 2 months. When you’re ready to eat, thaw it overnight in the refrigerator and reheat gently.
What should I do if my beef is tough after cooking?
If you experience tough beef, it’s likely a result of slicing the meat incorrectly or not marinating long enough. Remember to slice against the grain to enhance tenderness. Additionally, marinating for at least 30 minutes, or ideally up to 24 hours, allows the flavors to penetrate and tenderize the meat.
Are there any dietary considerations for Beef Yakiniku?
Very! If you’re cooking for someone with gluten sensitivity or a soy allergy, opt for gluten-free soy sauce or tamari as a substitute. For those watching their sugar intake, consider using coconut sugar instead of brown sugar for a lower glycemic index option. Always check labels to ensure ingredients align with dietary needs.
Can I make Beef Yakiniku ahead of time?
Absolutely! For a quick weeknight dinner, you can marinate the beef up to 24 hours before grilling. Just make sure to keep it in the refrigerator while marinating. This not only saves time but also enhances the flavor of your Beef Yakiniku!
Savor the Flavor of Quick Beef Yakiniku for Dinner Tonight
Ingredients
Equipment
Method
- In a mixing bowl, combine all marinade ingredients and whisk until fully blended.
- Add the sliced beef to the marinade, cover, and refrigerate for at least 30 minutes.
- Preheat grill to high temperature (400°F or 200°C) and lightly oil the surface.
- Place marinated beef on the grill and sear for 1-2 minutes on each side.
- Transfer cooked beef to a platter and serve with rice and fresh veggies.
Leave a Reply