
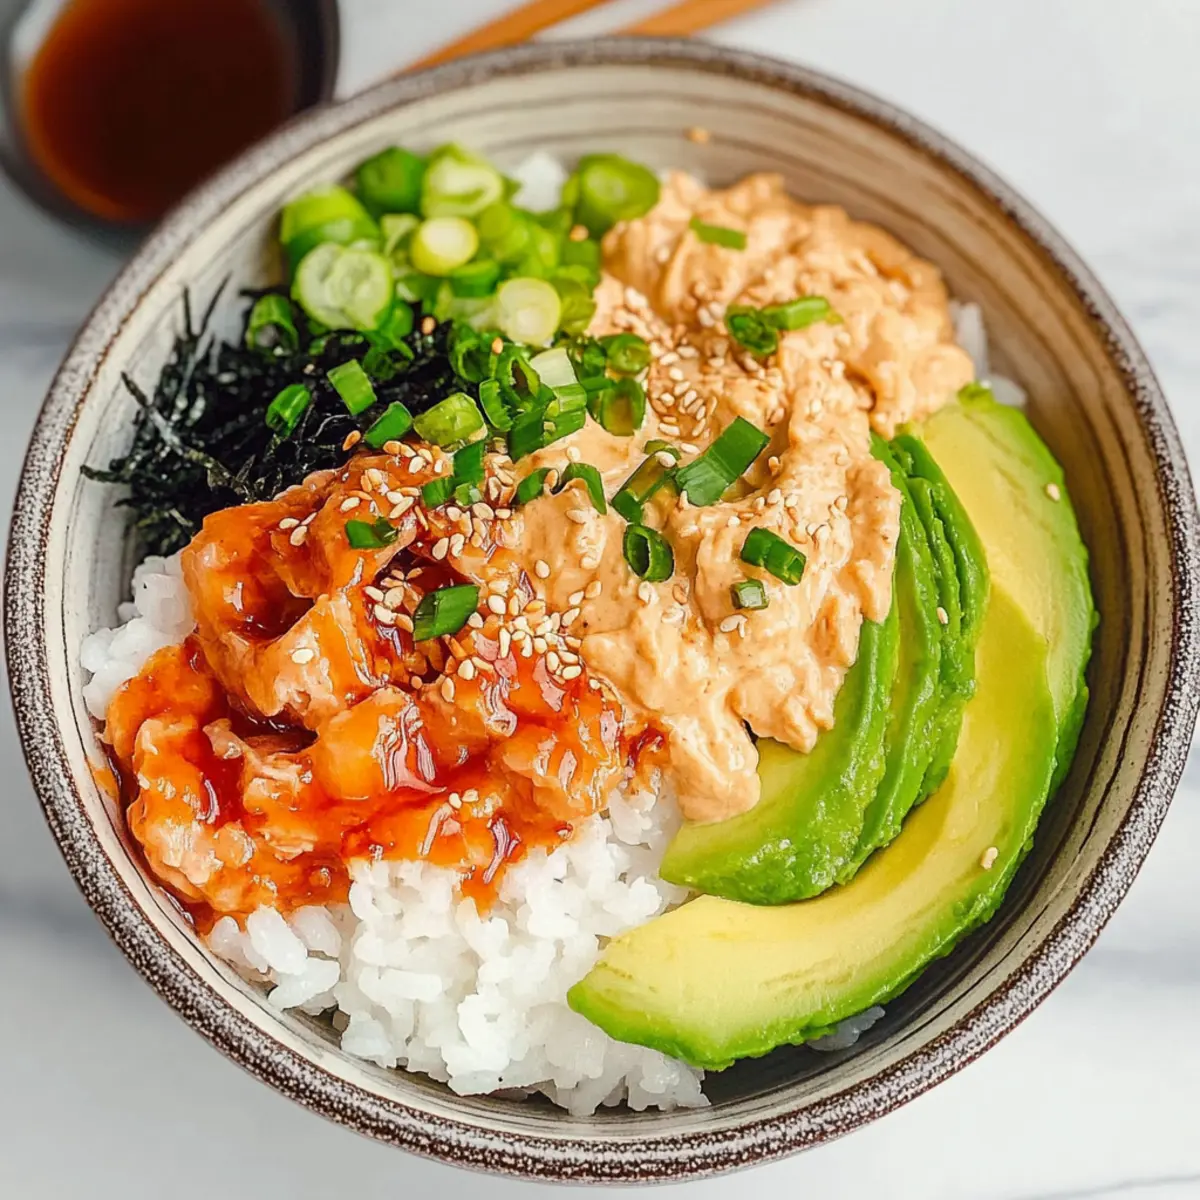
As I stood in my kitchen on a hectic evening, the thought of ordering takeout loomed over me like an unwelcome shadow. Instead, I grabbed a couple of pantry staples and whipped up a delightful Canned Tuna Sushi Bowl in just 20 minutes! This easy, customizable meal brings together the irresistible crunch of pan-fried sushi rice, creamy avocado, and zesty bang bang tuna, all in one bowl. Perfect for busy nights when time is short yet you crave something nourishing and fun, this protein-packed dish is a welcome alternative to fast food. Whether you’re cooking for yourself or the whole family, this bowl is crowd-pleaser that allows for endless variations. Ready to explore this sushi-inspired delight that’s as beautiful as it is delicious? Let’s dive in!
Why Choose a Canned Tuna Sushi Bowl?
Quick Dinner: This mouthwatering dish comes together in just 20 minutes, making it perfect for those busy weeknights when you want something healthy without a lot of fuss.
Customizable Flavors: With endless topping possibilities—like creamy avocado and spicy tuna—you can easily tailor this meal to fit your taste buds.
Kid-Friendly: The vibrant colors and fun textures of this bowl are sure to appeal to kids, making it a fantastic way to introduce them to sushi-inspired flavors.
Protein-Packed: Canned tuna provides a healthy dose of protein, keeping you satisfied and energetic throughout your day.
Fun to Prepare: Whip up this dish alongside your loved ones for a delightful cooking experience! Check out our Harvest Pasta Salad for another family-friendly option.
Better Than Takeout: Say goodbye to greasy takeout and enjoy a fresh, nutritious meal you can feel good about serving your family.
Canned Tuna Sushi Bowl Ingredients
For the Rice Base
• Cooked Sushi Rice – This serves as the hearty foundation, providing a delightful texture and carbohydrates. Note: Make sure to season the rice beautifully with rice wine vinegar, sesame oil, and sugar!
• Olive Oil – Essential for pan-frying, giving your rice that irresistible crispy texture.
For the Tuna Mix
• Canned Tuna – The star of your bowl, providing a scrumptious and economical protein source. Note: Opt for drained canned tuna in oil for an extra flavor kick!
• Bang Bang Sauce – This adds a zesty, creamy spin to the tuna mix. Substitution: If you prefer, spicy mayo works perfectly too!
• Sriracha Sauce – A perfect way to add a touch of heat. Substitution: Feel free to use your favorite hot sauce instead!
For the Toppings
• Avocado – Provides healthy fats and a creamy texture; slice or dice as you like.
• Scallions – Adds a fresh and crunchy element; make sure to chop them before sprinkling on top.
• Furikake – This Japanese seasoning enhances the overall flavor profile. Note: You can also replace it with Nori or omit entirely!
Serving Suggestions
• Combine this delicious Canned Tuna Sushi Bowl with a refreshing Asian cucumber salad for a delightful contrast!
Step‑by‑Step Instructions for Canned Tuna Sushi Bowl
Step 1: Prepare Rice
Start by cooking sushi rice according to package instructions, usually about 15 minutes. If you’re using leftover rice, ensure it’s at room temperature. Once cooked, transfer the warm rice to a bowl and drizzle with rice wine vinegar, optional sesame oil, and a pinch of sugar. Gently fold these seasonings into the rice until it’s well-coated and shiny, setting a flavorful base for your Canned Tuna Sushi Bowl.
Step 2: Prep Toppings
In a separate bowl, mix the drained canned tuna with the bang bang sauce until combined. Set this mixture aside; it’s the zesty star of your dish! Then, slice the avocado into bite-sized pieces and chop the scallions finely. These fresh toppings will add a delightful crunch and creaminess to your sushi bowl, enhancing the overall experience with bright colors and textures.
Step 3: Pan-Fry Rice
Heat 2 tablespoons of olive oil in a non-stick skillet over medium-high heat. Once hot, add the seasoned sushi rice, pressing it down gently with a spatula. Cook for 3-5 minutes, or until the bottom develops a golden-brown crust. Flip the rice carefully and cook for another minute to achieve a crispy texture. Be gentle to avoid breaking the rice too much; this step adds a wonderful contrast to the creamy toppings.
Step 4: Assemble Bowl
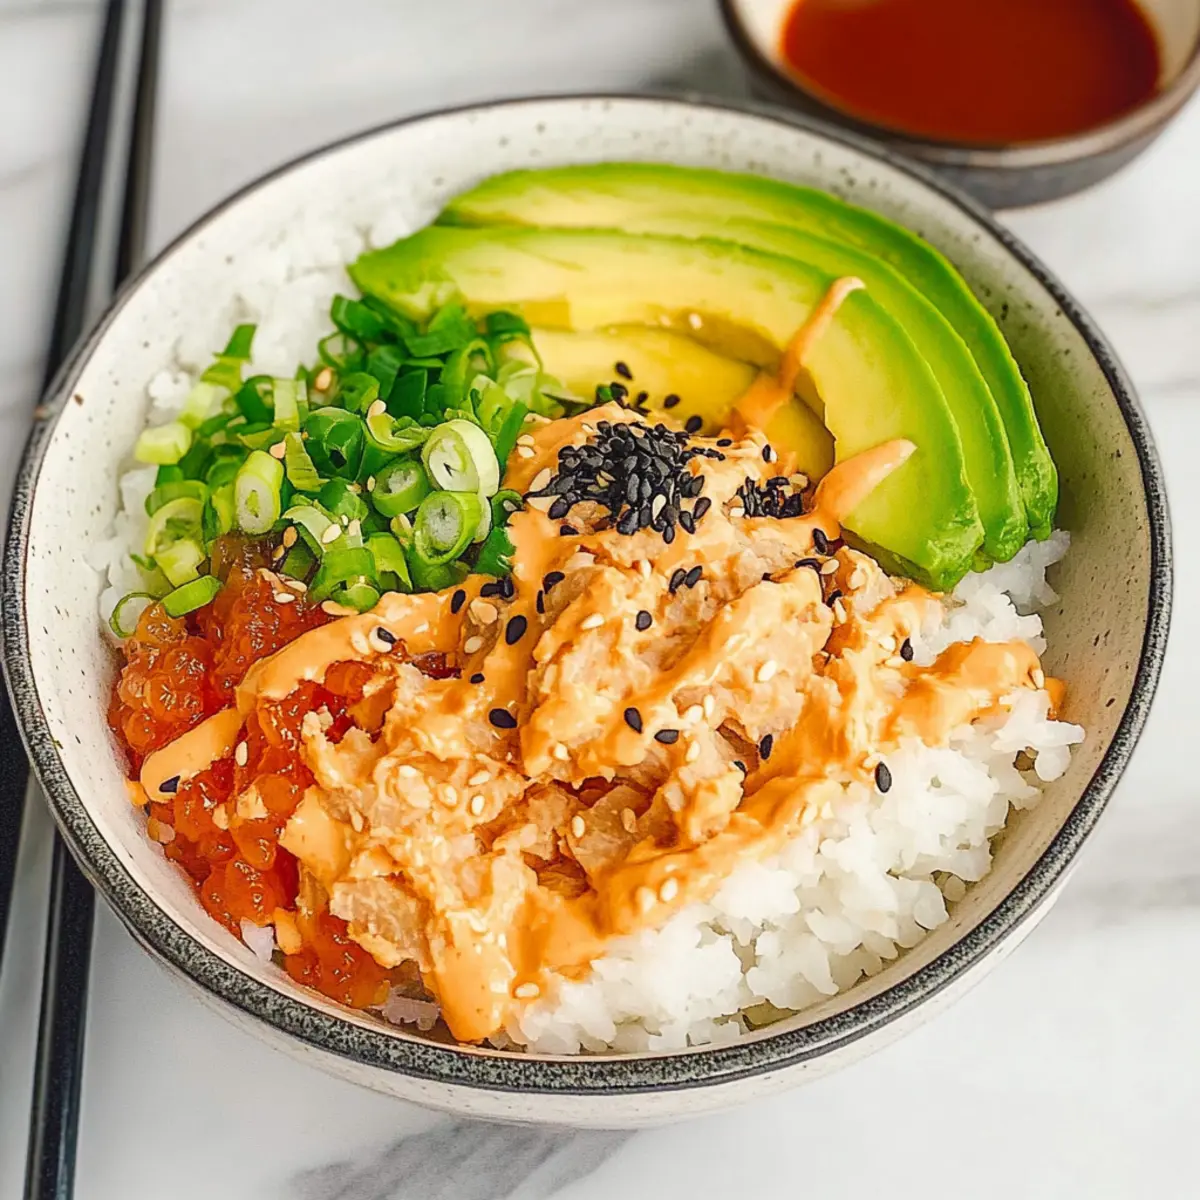
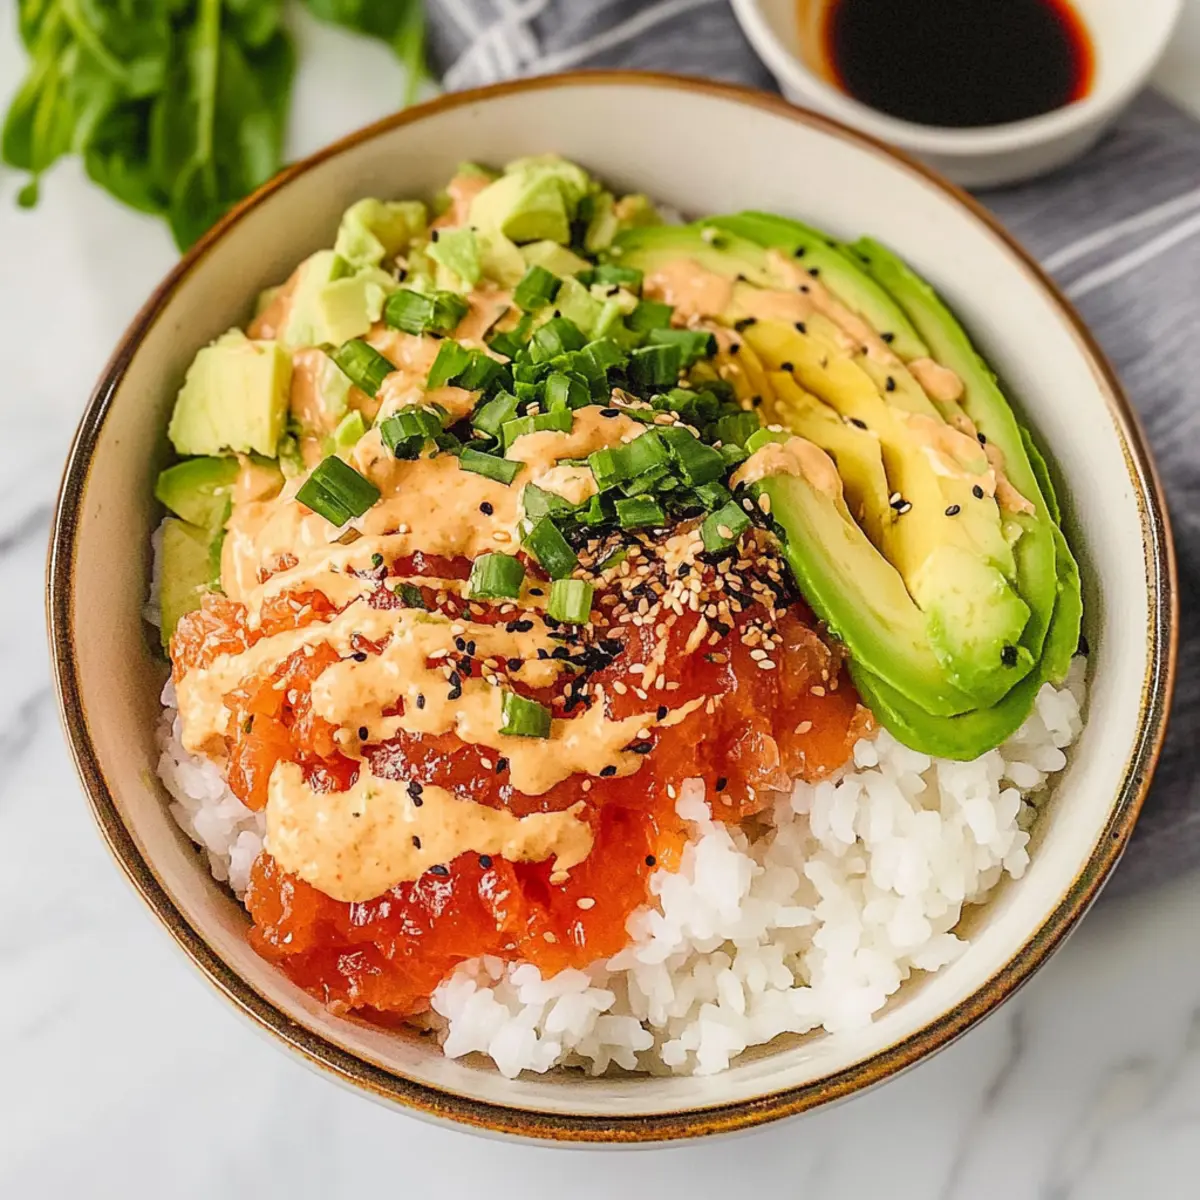
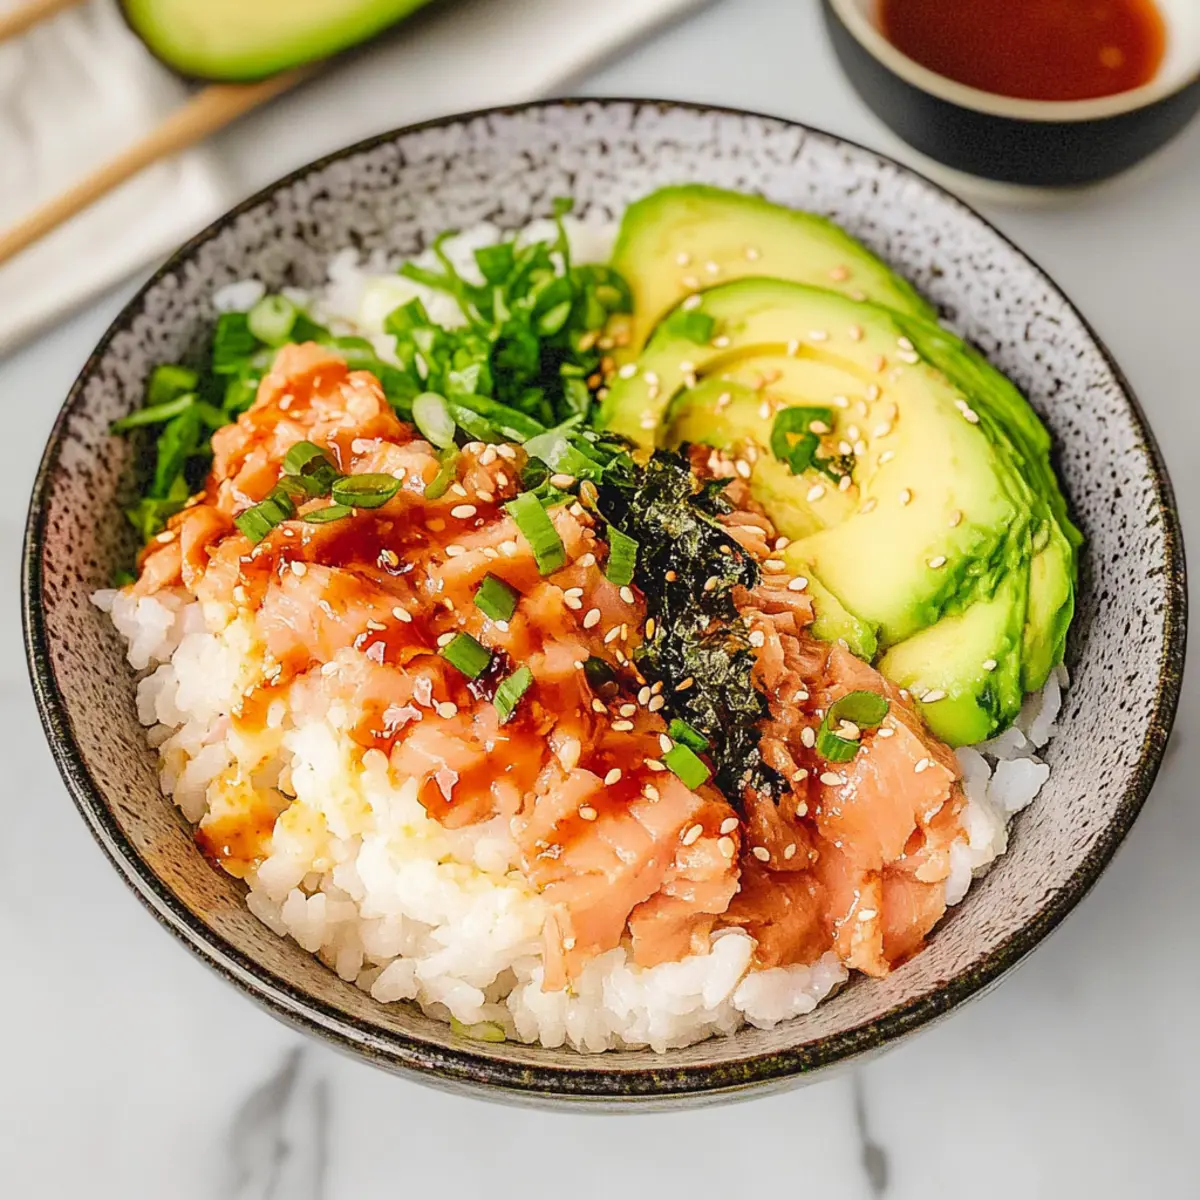
To assemble your Canned Tuna Sushi Bowl, begin by layering the crispy rice at the bottom of a large bowl. Spoon the zesty bang bang tuna mixture generously over the rice. Next, pile on your sliced avocado and chopped scallions for added freshness. For extra flavor, sprinkle furikake over the top and drizzle with Sriracha or spicy mayo for the perfect finishing touch. Enjoy your delightful creation!
Expert Tips for Canned Tuna Sushi Bowl
- Use Leftovers: If you have leftover sushi rice, utilize it for an even quicker meal. Just reheat and season again if needed for optimal flavor.
- Avoid Overcrowding: When pan-frying the sushi rice, avoid overcrowding the skillet to achieve that coveted crispy texture without steaming the rice.
- Perfect Your Toppings: Ensure your avocado is ripe for ideal creaminess, and chop your scallions just before serving for maximum freshness in your Canned Tuna Sushi Bowl.
- Customize Wisely: Feel free to experiment with toppings! Just ensure that each addition complements the overall dish to maintain balance in flavors and textures.
- Check Tuna Quality: Opt for high-quality canned tuna packed in oil for the best flavor. Yes, a quick meal can still taste gourmet!
How to Store and Freeze Canned Tuna Sushi Bowl
Fridge: Store any leftover components separately in airtight containers for up to 2 days. This helps maintain the freshness of your crunchy toppings and creamy avocado.
Freezer: While it’s best enjoyed fresh, you can freeze pan-fried sushi rice without toppings for up to 1 month. Just reheat before assembling your Canned Tuna Sushi Bowl.
Reheating: When you’re ready to enjoy leftovers, reheat the sushi rice in a microwave or skillet until warm. Add fresh toppings like avocado and scallions for the best taste.
Avoid Compromise: To keep your Canned Tuna Sushi Bowl delicious, do not freeze tuna mixed with sauce, as it may compromise the texture and flavor upon thawing.
Canned Tuna Sushi Bowl Variations
Feel free to experiment with these delightful ideas to create your perfect Canned Tuna Sushi Bowl!
-
Salmon Swap: Substitute canned tuna with canned salmon for a unique twist on flavor. This change brings a different richness and a lovely pink hue to your bowl.
-
Jasmine Rice: If sushi rice is scarce, opt for jasmine rice instead. Its fragrant notes will add a lovely aroma, making your sushi bowl even more enticing.
-
Spicy Kick: Increase the heat level by adding more Sriracha or chili flakes. This spice can elevate your bowl to new heights, perfect for those who crave intense flavors.
-
Creamy Avocado Variation: Mash the avocado with lime and salt for a creamy spread. This addition not only enhances flavor but also adds a luscious texture to each bite.
-
Veggie Medley: Add julienned carrots, cucumber, or bell peppers for crunch and color. These fresh vegetables provide an appealing contrast to the creamy and savory elements in the bowl.
-
Tropical Touch: Include diced mango or pineapple for a sweet and fruity burst. The tropical flavors might just take your sushi bowl to paradise!
-
Nori Substitution: If you can’t find furikake, sprinkle the bowl with crumbled nori for that oceanic touch without the need for traditional rice seasoning.
-
Baked Topping: For an extra crispy texture, pop your assembled bowl under the broiler for a minute. The toppings will turn golden and toast slightly, adding a new layer of flavor.
If you’re looking for something else to serve with your meal, toss together a refreshing Harvest Pasta Salad for a delightful side! Enjoy the journey of customization, and don’t hesitate to get creative with your Canned Tuna Sushi Bowl!
What to Serve with Canned Tuna Sushi Bowl
Elevate your homemade dining experience with perfect sides and accompaniments that complement the vibrant flavors of your sushi bowl.
-
Asian Cucumber Salad: This cool, refreshing salad offers a crunchy contrast, enhancing the vibrant elements of the bowl.
-
Miso Soup: A warm, savory soup that brings a comforting balance to the dish while echoing Japanese culinary traditions.
-
Edamame: Lightly salted and popped from the pod, these wholesome snacks provide a satisfying texture and protein boost.
-
Seaweed Salad: Bringing umami and ocean essence, the slightly sweet and tangy seaweed adds layers of flavor and nutrition.
-
Pickled Ginger: A zesty palate cleanser that lightens each bite, making it an ideal companion to your rich and creamy sushi bowl.
-
Green Tea: The earthy notes of this beverage complement the dish’s flavors while bringing a soothing and authentic Japanese vibe to your meal.
-
Mochi Ice Cream: End your meal on a sweet note with these chewy, delightful treats that contrast with the savory and creamy elements of the bowl.
Make Ahead Options
These Canned Tuna Sushi Bowls are a fantastic choice for meal prep enthusiasts! You can prepare the sushi rice up to 24 hours in advance, storing it in an airtight container in the refrigerator. For the tuna mixture, combine the canned tuna with the bang bang sauce and refrigerate for an extra 3 days to keep it fresh and flavorful. When ready to serve, simply pan-fry the rice for that crispy texture, then layer it with the chilled tuna mixture and fresh toppings. This method ensures a delightful meal is just minutes away and just as delicious, saving you time on busy weeknights!
Canned Tuna Sushi Bowl Recipe FAQs
How do I choose the best canned tuna?
Absolutely! Opt for high-quality canned tuna packed in oil for richer flavor and moisture. Look for the “solid” or “chunk” types rather than “flake” for a meatier texture that holds up well in your bowl. Always check the expiration date for freshness, as this ensures you’re enjoying the best quality.
How should I store leftovers of my Canned Tuna Sushi Bowl?
Very important! Store leftover components separately in airtight containers for up to 2 days. This keeps your avocado from browning and maintains the crunch of your toppings. Remember to place the sushi rice in a container that seals well to avoid drying out, but it’s best consumed fresh for optimal taste.
Can I freeze the Canned Tuna Sushi Bowl?
Yes! To freeze, focus on the rice only—pan-fried sushi rice can be frozen for up to 1 month. Allow it to cool completely, then place it in a freezer-safe bag or container. When you’re ready, reheat the rice in a microwave or skillet before assembling your bowl with fresh toppings.
What if my sushi rice is too sticky while pan-frying?
No worries! If your sushi rice sticks to the pan, it’s likely due to overcrowding or not allowing it to cook long enough. Always ensure your skillet is hot enough and avoid stirring too much. If you find it overly sticky, try mixing in a dash of sesame oil or a few drops of water while reheating to loosen it up.
Can my pets have canned tuna?
While a small amount of plain canned tuna can be fine for pets, it’s best to consult your vet first. Avoid giving them tuna mixed with sauces or seasonings from the Canned Tuna Sushi Bowl, as these can be harmful. Always prioritize their health when sharing your kitchen creations!
What if I have an allergy to fish?
Very important! If you have a fish allergy, consider swapping out the canned tuna with a plant-based protein option, such as chickpeas or tofu, and toss them in the bang bang sauce. This will still give you the satisfying flavors and textures of a sushi bowl without any health risks.
Delicious Canned Tuna Sushi Bowl Ready in 20 Minutes
Ingredients
Equipment
Method
- Start by cooking sushi rice according to package instructions, usually about 15 minutes. Season with rice wine vinegar, sesame oil, and sugar.
- In a separate bowl, mix the drained canned tuna with the bang bang sauce until combined. Slice the avocado and chop the scallions finely.
- Heat olive oil in a non-stick skillet over medium-high heat. Add the seasoned sushi rice, pressing it down gently. Cook for 3-5 minutes until golden-brown, then flip and cook for another minute.
- To assemble, layer the crispy rice at the bottom of a bowl. Spoon the tuna mixture over the rice, then add avocado and scallions. Sprinkle with furikake and drizzle with sriracha.
Leave a Reply