
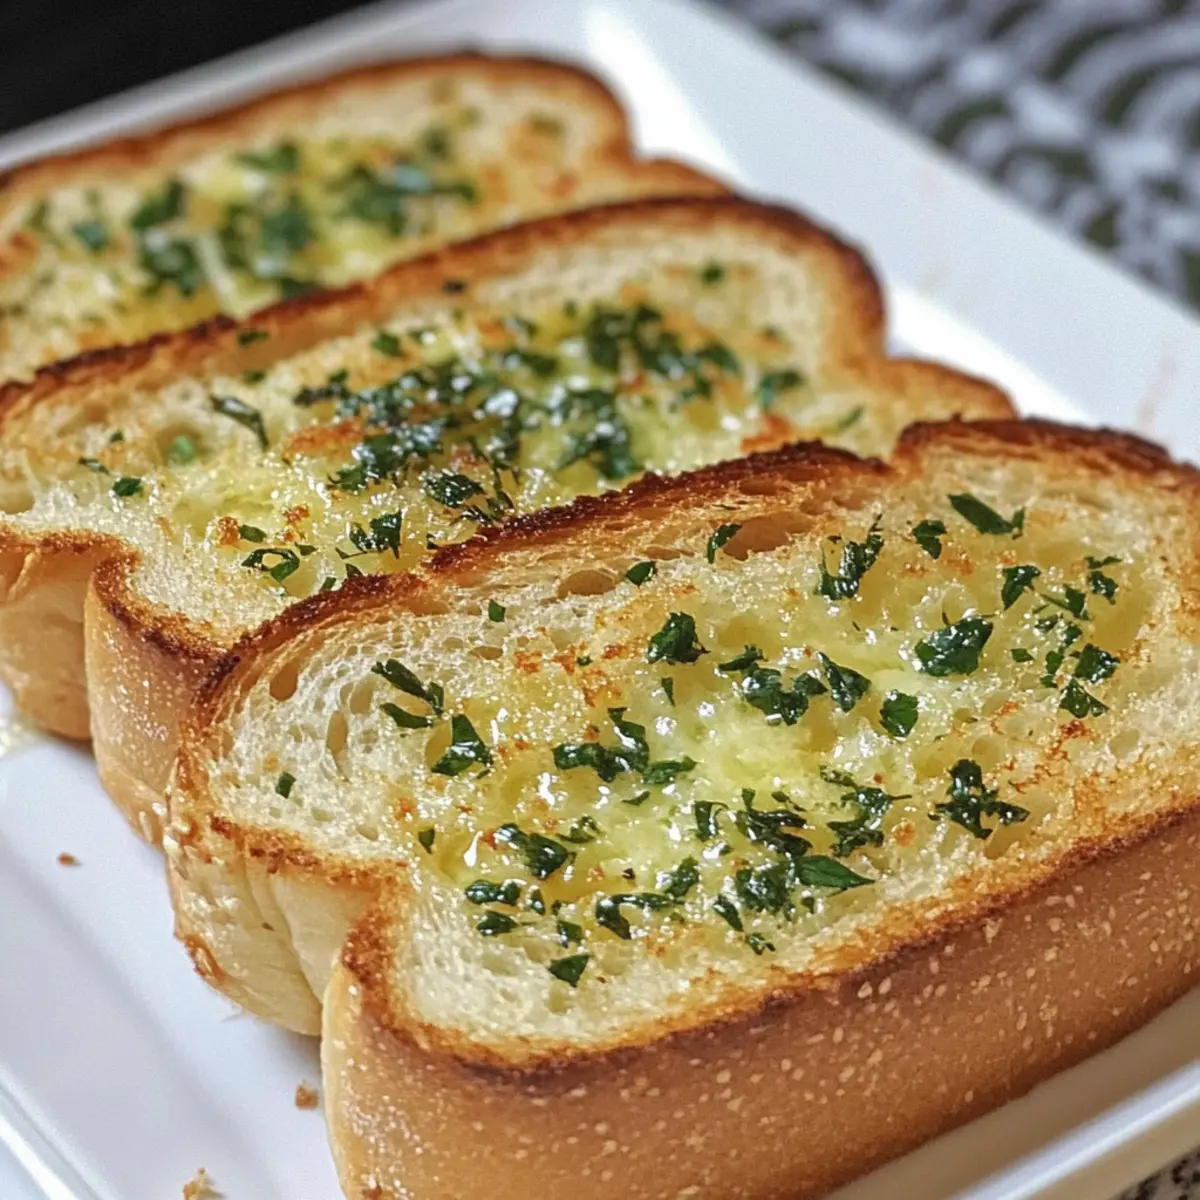
The first time I made Air Fryer Garlic Bread, it felt like unlocking a treasure chest of flavor in my kitchen. In just 6 minutes, I turned a few simple ingredients into a crisp, golden delight—the perfect sidekick for pasta, soups, or even just on its own. This quick and easy recipe will transform your cooking routine, making it a breeze to whip up a crowd-pleaser any night of the week. Plus, you can easily jazz it up into Air Fryer Garlic Cheese Bread with just a sprinkle of your favorite cheese! It’ll leave everyone craving more, and you’ll love how effortless it is. Ready to dive into this aromatic journey? Let’s get started!
Why is Air Fryer Garlic Bread a Must-Try?
Quick and Effortless: This recipe allows you to whip up delicious garlic bread in just 6 minutes, making it a time-saver for busy weeknights.
Endless Variations: Customize your bread with cheeses or herbs, or try delicious options like Air Fryer Garlic Cheese Bread for a cheesy twist!
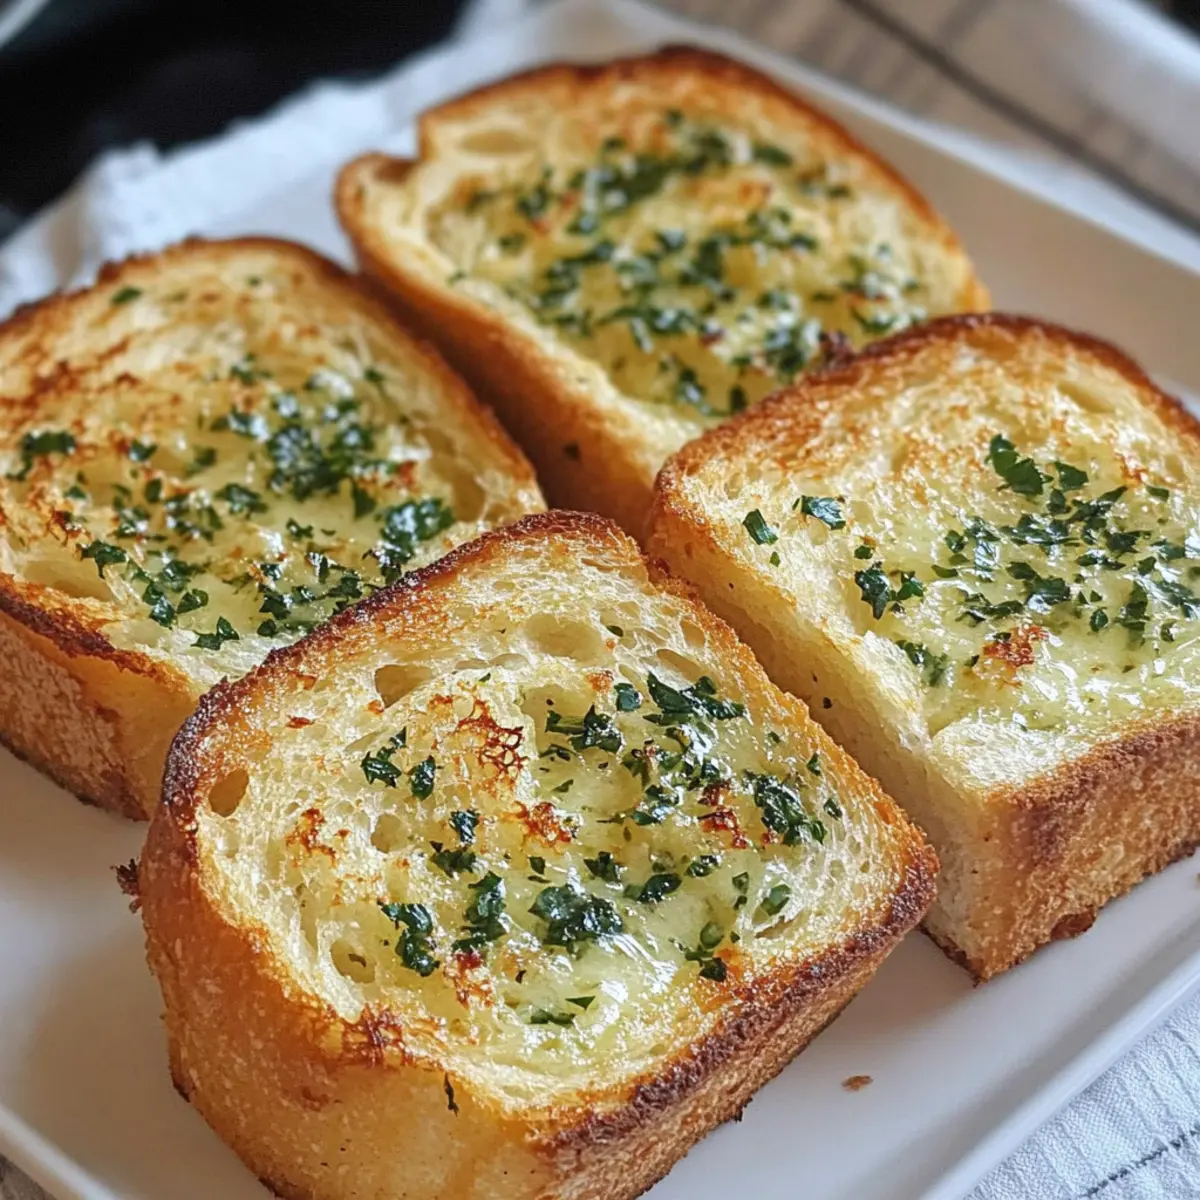
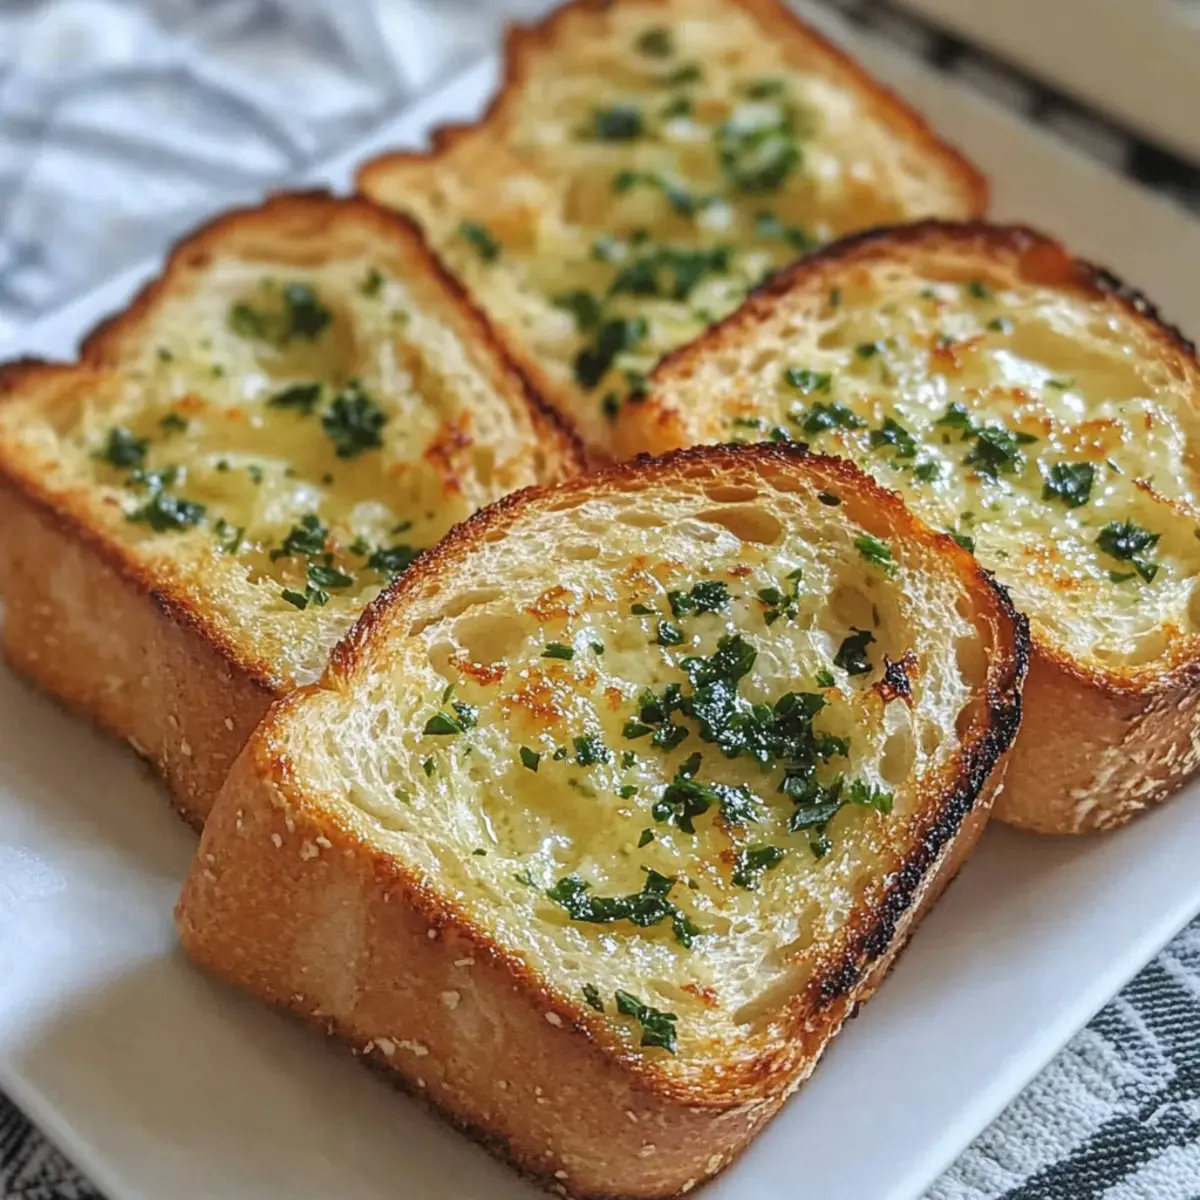
Perfectly Crispy Texture: Achieve a delightful balance of crispy outside and soft, flavorful inside, reminiscent of gourmet garlic bread.
Crowd-Pleasing Side: Perfect for serving with pasta dishes, soups, or even as a snack—a surefire way to impress family and friends!
Healthier Option: The air fryer cooks without excess oil, ensuring a lighter, guilt-free indulgence. Enjoy it fresh anytime, just like with Garlic Parmesan Chicken and more!
Air Fryer Garlic Bread Ingredients
For the Bread
• Bread – Use stale bread for a delightfully crispy texture; fresh bread works if you prefer a softer bite.
For the Garlic Mixture
• Butter – Opt for room temperature butter to create a smooth, flavorful spread.
• Garlic (minced) – Fresh garlic is key for that definitive garlic kick in this Air Fryer Garlic Bread.
• Freshly Chopped Parsley – Adds a burst of freshness and vibrant color to your garlic bread; dried parsley can be used as a quick alternative.
Optional Add-Ons
• Cheese (any) – Sprinkle your favorite cheese on top for a deliciously melty finish, or keep it classic without for pure garlic goodness.
Step‑by‑Step Instructions for Air Fryer Garlic Bread
Step 1: Preheat the Air Fryer
Begin by preheating your air fryer to 190°C (380°F). This crucial step ensures that your Air Fryer Garlic Bread will cook evenly and achieve that coveted crispy exterior. The preheating should take about 3–5 minutes, so while you wait, you can prepare the garlic mixture.
Step 2: Prepare the Garlic Mixture
In a mixing bowl, combine room temperature butter, minced garlic, freshly chopped parsley, and any cheese you wish to add. Use a fork or spatula to blend these ingredients until smooth and well incorporated. The mixture should be creamy and fragrant, promising to elevate your garlic bread to delicious heights.
Step 3: Spread the Mixture on Bread
Once your garlic mixture is ready, take your bread slices and generously spread the mixture over each one. Ensure every inch is covered for maximum flavor. The butter-garlic blend should create a visible layer that glistens, inviting you to the next step of this simple but satisfying Air Fryer Garlic Bread journey.
Step 4: Arrange Bread in the Air Fryer
Carefully place the prepared bread slices in the air fryer basket, ensuring they are arranged in a single layer without overlapping. This will allow for optimal air circulation, leading to uniformly crispy results. You might need to work in batches if your air fryer basket is small.
Step 5: Cooking Time
Cook the Air Fryer Garlic Bread for 6 minutes at the preheated temperature. Halfway through cooking, take a moment to check on the bread. If you want extra cheesiness, feel free to sprinkle more cheese over the slices at this point before returning them to the fryer to finish up.
Step 6: Check for Doneness and Serve
After the cooking time has elapsed, check the garlic bread for a golden-brown color and a crispy texture. If it looks inviting and smells amazing, it’s ready! Carefully remove the bread from the air fryer using tongs, as it will be hot. Serve immediately to enjoy the warm, crispy delight of Air Fryer Garlic Bread alongside your favorite dishes.
Make Ahead Options
These Air Fryer Garlic Bread slices are perfect for meal prep, allowing you to enjoy a freshly baked treat with minimal effort on busy weeknights! You can prepare the garlic butter mixture and spread it on your bread up to 24 hours in advance; simply cover it tightly with plastic wrap and refrigerate to maintain its freshness. When you’re ready to serve, just pop the prepped garlic bread into the air fryer for about 6 minutes at 190°C (380°F), checking halfway through to add more cheese if desired. This way, you’ll savor that crispy, delicious flavor without the last-minute rush!
How to Store and Freeze Air Fryer Garlic Bread
Fridge: Store leftovers in an airtight container for up to 3 days to maintain freshness.
Freezer: Freeze individual slices wrapped in plastic wrap or foil for up to 2 months. This helps preserve the delectable taste of your Air Fryer Garlic Bread.
Reheating: For the best results, reheat frozen slices in the air fryer at 175°C (350°F) for 3–5 minutes, ensuring they regain their crispiness.
Wrap It Well: Make sure to wrap your garlic bread tightly before freezing to prevent freezer burn and preserve its delicious flavor.
Air Fryer Garlic Bread Variations
Feel free to get creative with your Air Fryer Garlic Bread and explore these exciting twists!
-
Cheesy Delight: Add your favorite cheese on top during the last minute of cooking for a gooey, melty finish.
-
Herb-Infused: Mix in dried Italian herbs like oregano or basil along with the garlic for an aromatic flavor boost that will elevate your bread.
-
Spicy Kick: For a heat-loving crowd, sprinkle crushed red pepper flakes into your garlic mixture—it’s a simple way to pack a flavorful punch.
-
Garlic Herb Butter: Combine minced garlic with softened butter and your choice of herbs, creating a richer, more complex flavor that will dazzle your taste buds.
-
Sweet Twist: Try a hint of honey or maple syrup with your garlic butter for a contrasting sweet-savory experience that will surprise and delight!
-
Frozen Texas Toast: Use frozen Texas toast instead of regular bread for a super easy, quick preparation. Just adjust cooking time as needed!
-
Vegan Version: Swap butter for vegan margarine and use nutritional yeast instead of cheese for a dairy-free version without sacrificing flavor.
-
Add Veggies: Top the bread with thinly sliced tomatoes or roasted red peppers before air frying for a delightful addition to your bread.
These variations can turn a simple side into a memorable dish. Once you’ve mastered the basic recipe, don’t be shy to experiment with other flavorful options. After all, who can resist a splendid piece of garlic bread, especially alongside a dish like Sticky Garlic Chicken or even with a comfort treat like Glazed Gingerbread Muffins? Enjoy your cooking adventure!
What to Serve with Quick and Crispy Air Fryer Garlic Bread?
Pairing your garlic bread with the right dishes elevates any meal into a delightful experience, making it a beloved favorite at the dinner table.
- Creamy Pasta: Rich, comforting pasta dishes like fettuccine Alfredo offer a perfect contrast to the crispy garlic bread, soaking up its aromatic flavors.
- Hearty Soups: Serve with a bowl of minestrone or tomato basil soup to create a warm, cozy meal that’s full of heart and flavor.
- Fresh Salad: A crisp Caesar or garden salad adds a refreshing crunch, balancing the richness of the garlic bread beautifully.
- Savory Dips: Pair with marinara or pesto for a delightful appetizer, allowing your guests to enjoy the garlic bread in a new way.
- Grilled Vegetables: Roasted or grilled veggies lend a smoky flavor that harmonizes with the garlic, bringing out the essence of a well-rounded dinner.
- Cheesy Pizza: Complement your garlic bread with a slice of your favorite cheesy pizza; the flavors will meld together in a symphony of taste.
- Chilled White Wine: A refreshing glass of Sauvignon Blanc brightens the palate, making every bite of your garlic bread even more enjoyable.
- Dessert Options: End your meal with a light dessert, like lemon sorbet, to cleanse the palate after indulging in savory flavors.
These pairings will create an unforgettable dining experience centered around your delightful Air Fryer Garlic Bread!
Expert Tips for Air Fryer Garlic Bread
Avoid Soggy Bread: Make sure your air fryer is preheated to at least 190°C (380°F) to help achieve that perfect crispy texture.
Use Stale Bread: For the best results, opt for stale bread, which will create a better crispy finish compared to fresh bread.
Fresh Garlic Only: Always use fresh minced garlic for the most robust flavor in your Air Fryer Garlic Bread—powder just doesn’t compare!
Mind the Cheese: If you’re adding cheese, sprinkle it halfway through cooking to prevent it from burning and ensure a gooey texture.
Single Layer Only: Make sure to arrange the bread slices in a single layer in your air fryer for even cooking and ultimate crispiness.
Proper Storage: If you have leftovers, store them in an airtight container in the fridge, and reheat in the air fryer to retain the delightful crunch.
Air Fryer Garlic Bread Recipe FAQs
How do I pick the best bread for Air Fryer Garlic Bread?
Absolutely! The best choice is stale bread, which will create a delightfully crispy texture. However, if you only have fresh bread, that works too; just know it will yield a softer result. Look for options like ciabatta, Italian loaves, or French baguettes for a tasty twist.
How should I store leftover Air Fryer Garlic Bread?
Very! Store any leftover garlic bread in an airtight container in the fridge for up to 3 days. This keeps it fresh, but be sure to reheat it in the air fryer at 175°C (350°F) for 3-5 minutes to regain that crispy texture.
Can I freeze Air Fryer Garlic Bread?
Absolutely! To freeze, wrap individual slices tightly in plastic wrap or foil and place them in a freezer bag. They will stay good for up to 2 months. When ready to enjoy, reheat the frozen slices in the air fryer at 175°C (350°F) for 3-5 minutes for the best crispiness.
What if my Air Fryer Garlic Bread turns out soggy?
If you find your garlic bread is soggy, it may be due to cooking at a lower temperature. Be sure to preheat your air fryer to at least 190°C (380°F). Also, make sure to use stale bread, as fresh bread tends to retain more moisture.
Is Air Fryer Garlic Bread suitable for different dietary needs?
Yes! You can make it dairy-free by substituting the butter with a plant-based alternative. For gluten sensitivities, opt for gluten-free bread. Just be aware of any allergies related to garlic or herbs if you’re serving it to others—especially kids or pets!

Crispy Air Fryer Garlic Bread in Just 6 Minutes
Ingredients
Equipment
Method
- Preheat the Air Fryer to 190°C (380°F) for 3–5 minutes.

- In a mixing bowl, combine room temperature butter, minced garlic, chopped parsley, and cheese. Blend until smooth.
- Spread the garlic mixture generously on each slice of bread.
- Arrange the bread slices in the air fryer basket in a single layer.
- Cook the bread for 6 minutes, adding more cheese halfway if desired.
- Check for doneness and serve immediately once golden brown.
Leave a Reply