
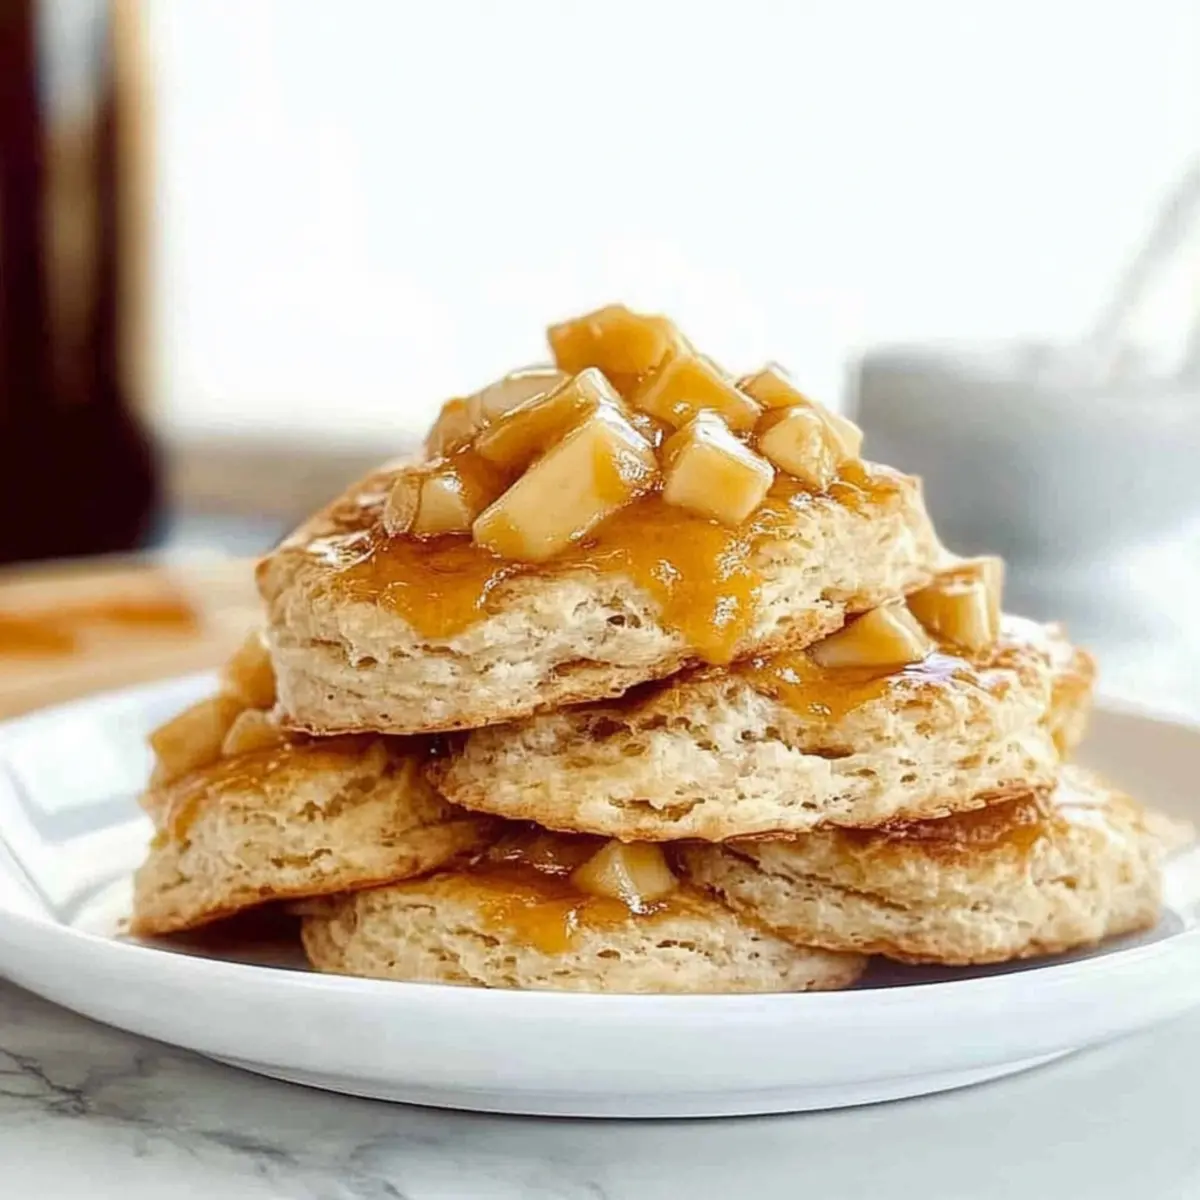
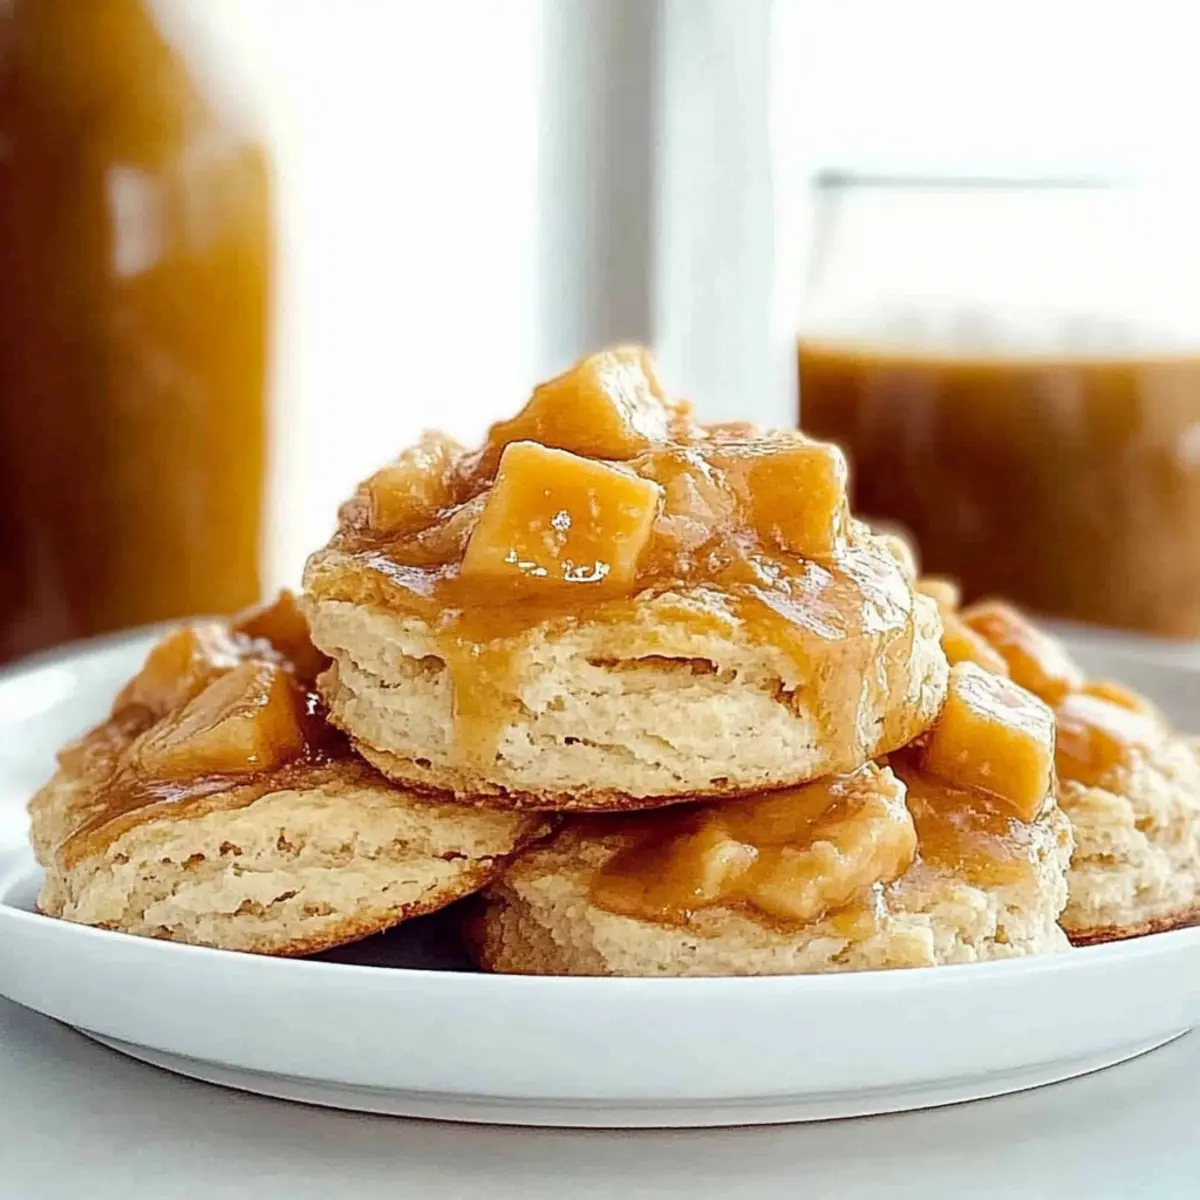
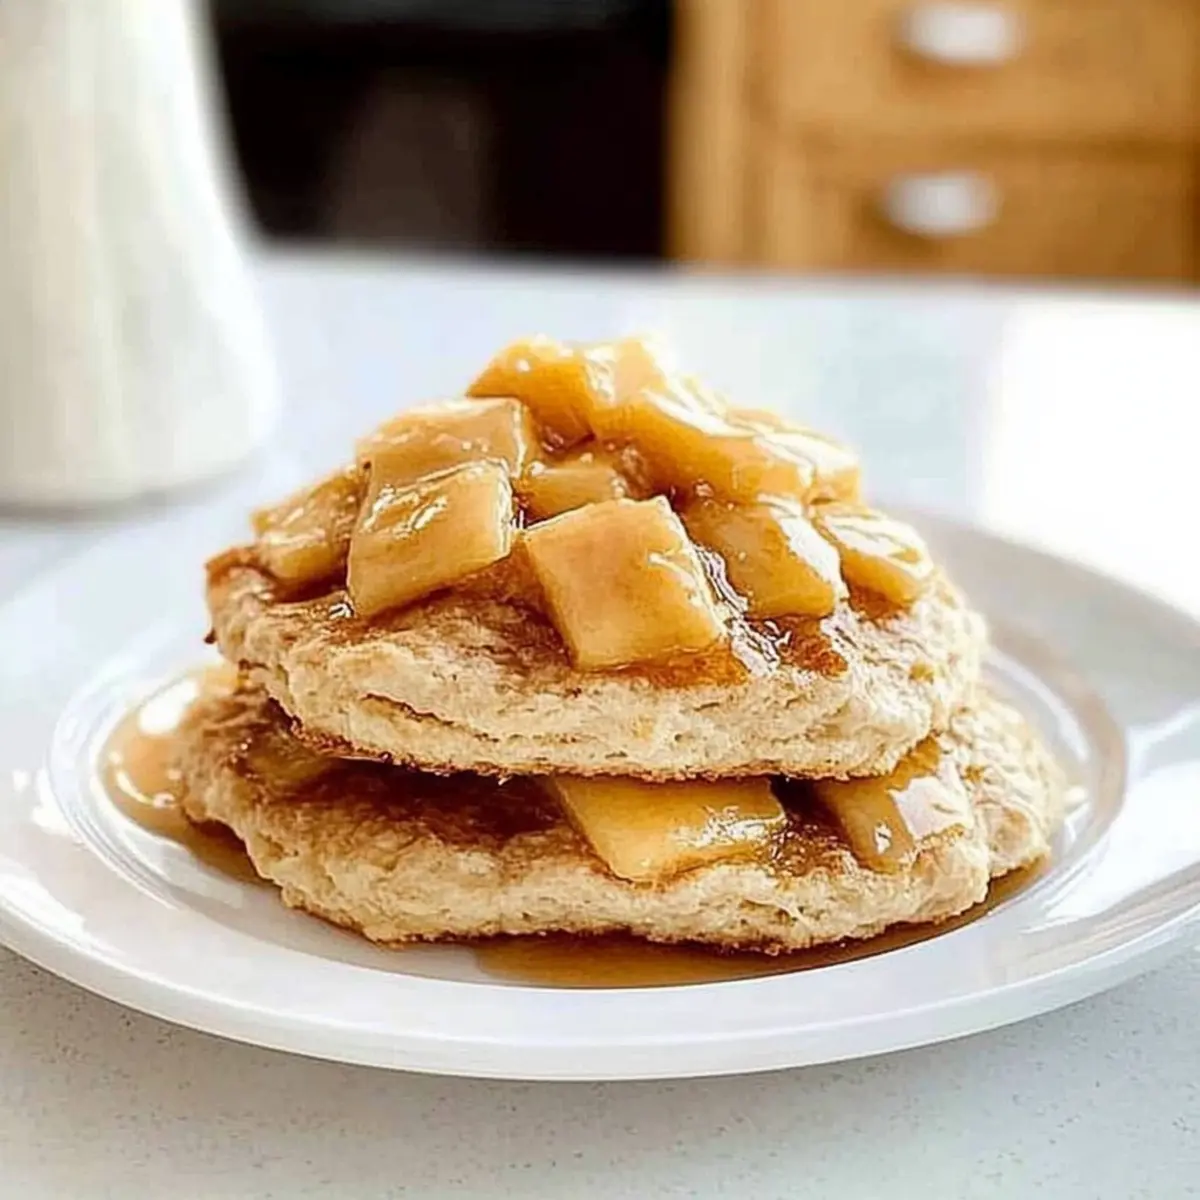
“Imagine walking through a cozy bakery, where the warm scent of freshly baked scones fills the air and beckons you closer. That’s the experience I want to bring to your kitchen with my ultimate Cheese Scones recipe! These delightful treats are not only light and fluffy but can be whipped up in just 35 minutes—perfect for those bustling mornings or a leisurely afternoon tea. They’re versatile too; whether you enjoy them slathered in butter or alongside a hearty soup, you’ll find they quickly become a family favorite. Plus, with a simple swap for gluten-free flour, everyone can join in on the fun! Ready to dive into the world of comforting homemade scones? Let’s get started!”
Why are Cheese Scones So Irresistible?
Irresistible Ease: These cheese scones are a breeze to make, allowing you to create bakery-level goodness in less than 35 minutes.
Fluffy Perfection: You’ll love their light and fluffy texture, which makes them the perfect treat for breakfast or brunch.
Savory Versatility: Feel free to mix and match ingredients! Whether you want to add herbs or experiment with different cheeses, the options are endless.
Crowd-Pleaser: Serve them warm with butter or alongside your favorite soup for an unbeatable combo that will impress friends and family alike. For more cheesy inspiration, check out my Baked Mac Cheese for a comforting family dish!
Quick and Simple: Even novice cooks will feel like pros mastering this easy recipe—it’s an enjoyable way to bring fresh, homemade flavors to your table!
Cheese Scone Ingredients
• Ready to whip up these delightful cheese scones? Here’s what you’ll need!
For the Scone Dough
- Self-Raising Flour – Forms the base of the scones; for gluten-free, swap it with a suitable flour blend.
- Cold Butter – Ensures a flaky texture; keep it very cold for the best results by cubing right from the fridge.
- Cheddar Cheese – Infuses a rich, savory flavor; opt for mild or sharp depending on your taste preference.
- Milk – Adds moisture to the dough; buttermilk can be substituted for a hint of tang.
- Egg – Acts as a binder, ensuring your dough holds together nicely.
- Mustard Powder – Optional, but provides added warmth and complexity to the flavor.
- Baking Powder – Helps the scones rise and achieve that light, fluffy consistency.
- Salt – Essential for seasoning, enhancing the overall flavor profile.
- Cayenne Pepper – Adds a gentle kick; use sparingly if you prefer a milder scone.
With these simple ingredients, you’re all set to create delicious Cheese Scones that will be a delightful addition to your breakfast or afternoon tea!
Step‑by‑Step Instructions for Ultimate Cheese Scones
Step 1: Preheat Your Oven
Start by preheating your oven to 220°C (425°F). While it heats, prepare a baking sheet by lining it with parchment paper. This ensures your cheese scones won’t stick and will bake evenly. The perfect temperature is crucial for achieving that golden, fluffy texture we all desire in our scones.
Step 2: Combine Your Dry Ingredients
In a large mixing bowl, sift together 2 cups of self-raising flour, 1 teaspoon of baking powder, and a pinch of salt. If you’re feeling adventurous, add a dash of cayenne pepper for a subtle kick. Mixing these dry ingredients well will help your ultimate cheese scones rise beautifully in the oven, so make sure to combine them thoroughly.
Step 3: Cut in the Butter
Using cold, cubed butter, cut it into your dry mixture with a pastry cutter or your fingertips until it resembles coarse crumbs. This step is vital for achieving that delightful flaky texture in your cheese scones. You should see small, pea-sized pieces of butter distributed throughout the flour—this will create those lovely airy pockets as they bake.
Step 4: Add the Cheese
Stir in 1 cup of grated cheddar cheese into the crumbly mixture. Gently folding the cheese in ensures it’s evenly distributed without overworking the dough. The cheddar adds that rich, savory flavor that makes these scones so irresistible. Take a moment to appreciate how delicious your dough already smells!
Step 5: Mix Wet Ingredients
In a separate bowl, whisk together 1/2 cup of milk and 1 beaten egg. This mixture will bind your dough together. Create a well in the center of your dry ingredients and gradually pour in the wet mixture. This gradual addition helps the flour incorporate smoothly, resulting in a cohesive dough for your cheese scones.
Step 6: Form the Dough
Gently mix the ingredients until just combined; do not overmix as this can lead to tough scones. When the dough is sticky, turn it out onto a lightly floured surface. Knead it gently a few times until it comes together, helping to bring out the fluffy texture you’re aiming for without damaging its integrity.
Step 7: Shape and Cut the Scones
Shape the dough into a round disc approximately 2 cm thick. Using a sharp knife or a pastry cutter, cut it into 8 equal triangles or rounds, depending on your preference. This ensures even baking. You want to see edges that are smooth and slightly defined to give your ultimate cheese scones a professional look.
Step 8: Prepare for Baking
Place your cut scones on the prepared baking sheet, ensuring they have enough space to rise and expand. If desired, brush the tops lightly with a splash of milk for a golden finish. This little step will make your scones look even more inviting as they bake, enhancing that beautiful crust you’re aiming for.
Step 9: Bake the Scones
Put the baking sheet into the preheated oven and bake for 15-20 minutes, or until the scones are puffed and golden brown on top. Keep an eye on them, especially towards the end of the baking time. The delightful aroma filling your kitchen will be a sure sign they are almost ready to come out!
Step 10: Cool and Serve
Once baked, remove your ultimate cheese scones from the oven and let them cool for a few minutes on a wire rack. This cooling process helps them finish setting while retaining their fluffy texture. Serve them warm with a pat of butter or alongside a steaming bowl of soup for a comforting treat!

Expert Tips for Cheese Scones
-
Cold Butter Rule: Ensure your butter is very cold—grate it straight from the freezer for the best flakiness in your cheese scones.
-
Avoid Overmixing: Gently mix the dough until just combined. Overmixing can lead to tough scones, ruining their light and fluffy texture.
-
Right Flour Type: Use self-raising flour to achieve the perfect rise; if gluten-free is a must, make sure to select a compatible replacement.
-
Baking Temperature: Start with a higher baking temperature to help the scones rise aggressively. You can lower it if needed to prevent burning.
-
Flavor Variations: Get creative by adding herbs or different types of cheese for your cheese scones. Experimentation can lead to delightful new flavors!
How to Store and Freeze Cheese Scones
Room Temperature: Allow cheese scones to cool completely before storing. They can be kept in an airtight container at room temperature for up to 2 days.
Fridge: If you want to keep them fresh longer, store cheese scones in the refrigerator for up to 5 days. Be sure to wrap them in foil or airtight containers to prevent drying out.
Freezer: For longer storage, freeze the cheese scones for up to 3 months. Flash freeze them on a baking sheet before transferring to a freezer bag to keep them from sticking together.
Reheating: To enjoy a warm cheese scone, reheat in the oven at 180°C (350°F) for about 10 minutes. This will restore their delightful texture and flavor!
What to Serve with Ultimate Cheese Scones
Imagine the perfect meal coming together, where warm, flaky, and cheesy bites elevate your dining experience to new heights.
-
Creamy Tomato Soup: The rich, tangy flavors of tomato soup create a delightful contrast with the cheesy scones.
-
Fresh Garden Salad: A crisp, refreshing salad brightens the palate, making the meal feel light and invigorating.
-
Savory Herb Butter: Spread herb-infused butter on warm scones for an extra burst of flavor that enhances their fluffiness.
-
Roasted Vegetables: The sweetness of roasted veggies pairs beautifully, adding texture and color to your plate.
-
Fruit Jam: A dollop of tart fruit jam complements the savory cheese, balancing flavors in a delicious way.
-
Herbed Cream Cheese: Spreadable cream cheese mixed with fresh herbs provides a smooth, creamy counterpart to the scones’ crunch.
-
Sparkling Lemonade: The effervescence and citrusy zing of sparkling lemonade brighten up the meal and cleanse your palate.
-
Quiche Varieties: Pair with a slice of quiche for a comforting brunch that delivers layers of flavor.
-
Herbal Tea: For a cozy afternoon treat, serve with herbal tea to complement the warm scones and delight your senses.
Variations & Substitutions for Cheese Scones
Feel free to get creative with these cheese scones; let your culinary imagination run wild!
- Gluten-Free: Substitute self-raising flour with a gluten-free blend to cater to dietary needs while still enjoying fluffy goodness.
- Cheese Choice: Experiment with different cheeses such as feta or gouda for a unique flavor profile that suits your palate.
- Herb-Infused: Add fresh herbs like chopped chives or parsley for a delightful garden-fresh taste that elevates your scones.
- Bacon Bits: Incorporate crispy cooked bacon pieces for a savory twist that’s sure to satisfy meat lovers in your family.
- Spiced Kick: Mix in a pinch of smoked paprika or chili flakes to introduce an enticing heat that complements the cheesy richness.
- Buttermilk Substitute: Swap regular milk for buttermilk to enhance the richness and create a tangy flavor that pairs beautifully with cheddar.
- Veggie Boost: Fold in finely chopped spinach or sun-dried tomatoes for a colorful and nutritious scone that adds vibrant flavors.
- Sweet Twist: For a sweet variation, consider blending in a bit of honey or dried fruits like cranberries for a delightful contrast to the savory base.
If you’re looking for more cheesy inspiration, why not try these cheesy delights like Baked Mac Cheese or Philly Cheesesteak Pasta? There’s something for everyone!
Make Ahead Options
These Ultimate Cheese Scones are fantastic for meal prep enthusiasts! You can prepare the dough and cut the scones up to 24 hours in advance by following the initial steps, then chilling them on the baking sheet. Cover the scones tightly with plastic wrap to maintain their freshness and prevent drying out. When you’re ready to bake, simply remove them from the fridge, preheat your oven, and pop them in straight from the cold; they may need an extra minute or two in the oven. This make-ahead method allows you to enjoy warm, fluffy scones with minimal morning fuss, perfect for busy weekdays or unexpected guests!
Cheese Scones Recipe FAQs
How do I select the best cheese for my scones?
Absolutely! When choosing cheese, go for flavors that you love. Sharp cheddar will give a bolder taste, while mild cheddar offers a more subtle flavor. For a twist, try adding blue cheese or even a mix of cheeses for depth.
What’s the best way to store leftover cheese scones?
Very! Allow the scones to cool completely, then store them in an airtight container at room temperature for up to 2 days. If you want to keep them fresher longer, wrap them in foil or transfer them to the fridge where they’ll stay good for about 5 days.
Can I freeze cheese scones, and if so, how?
Absolutely! To freeze, flash freeze your cheese scones on a baking sheet until solid—this prevents them from sticking together. Once frozen, transfer them into a freezer bag and they can be stored for up to 3 months. When ready to eat, simply reheat in the oven at 180°C (350°F) for about 10 minutes.
What should I do if my cheese scones turn out tough?
Oh no! The most common reason for tough scones is overmixing the dough. When adding the wet ingredients, mix just until combined; a little stickiness is perfectly normal. Also, ensure your butter is very cold to keep the texture light and flaky.
Are cheese scones suitable for people with gluten allergies?
Yes! You can easily make gluten-free cheese scones by substituting self-raising flour with a gluten-free flour blend. Just keep in mind that texture may vary slightly, so look for blends that contain xanthan gum to help mimic the rise and structure!
Can I add additional flavorings to the recipe?
Very much so! Feel free to incorporate herbs like rosemary or thyme into the dry mixture for added flavor. You can also add cooked bacon, chopped chives, or even sun-dried tomatoes for a savory twist that will delight your taste buds!
Irresistible Pizza Grilled Cheese: A Melty, Flavor Packed Delight
Ingredients
Equipment
Method
- Preheat your oven to 220°C (425°F) and line a baking sheet with parchment paper.
- Sift together the self-raising flour, baking powder, and salt in a large mixing bowl.
- Cut the cold butter into the mixture until it resembles coarse crumbs.
- Stir in the grated cheddar cheese.
- In a separate bowl, whisk together the milk and beaten egg.
- Create a well in the dry ingredients and gradually pour in the wet mixture, mixing gently.
- Turn the dough onto a floured surface and knead gently until combined.
- Shape the dough into a disc about 2 cm thick and cut into 8 triangles.
- Place cut scones on the baking sheet and brush tops with milk if desired.
- Bake for 15-20 minutes until golden brown.
- Cool on a wire rack for a few minutes before serving.
Leave a Reply