
Nothing quite compares to the warm, inviting scent of freshly baked classic chocolate chip cookies wafting through the kitchen. It’s a tactile experience, each step a delightful journey—from creaming the butter and sugars to folding in those irresistible chocolate chips. This recipe for Classic Chocolate Chip Cookies brings together the perfect chewy interior and crispy edges, making it a timeless crowd-pleaser that warms the heart. What’s more, it’s easy to customize, offering variations that suit both traditionalists and those looking for a gluten-free twist. Whether you’re baking for a special occasion or a simple weeknight treat, these cookies promise comfort and joy. Curious to learn how to achieve that perfect balance in your baking? Let’s dive in!

Why Are These Cookies the Best?
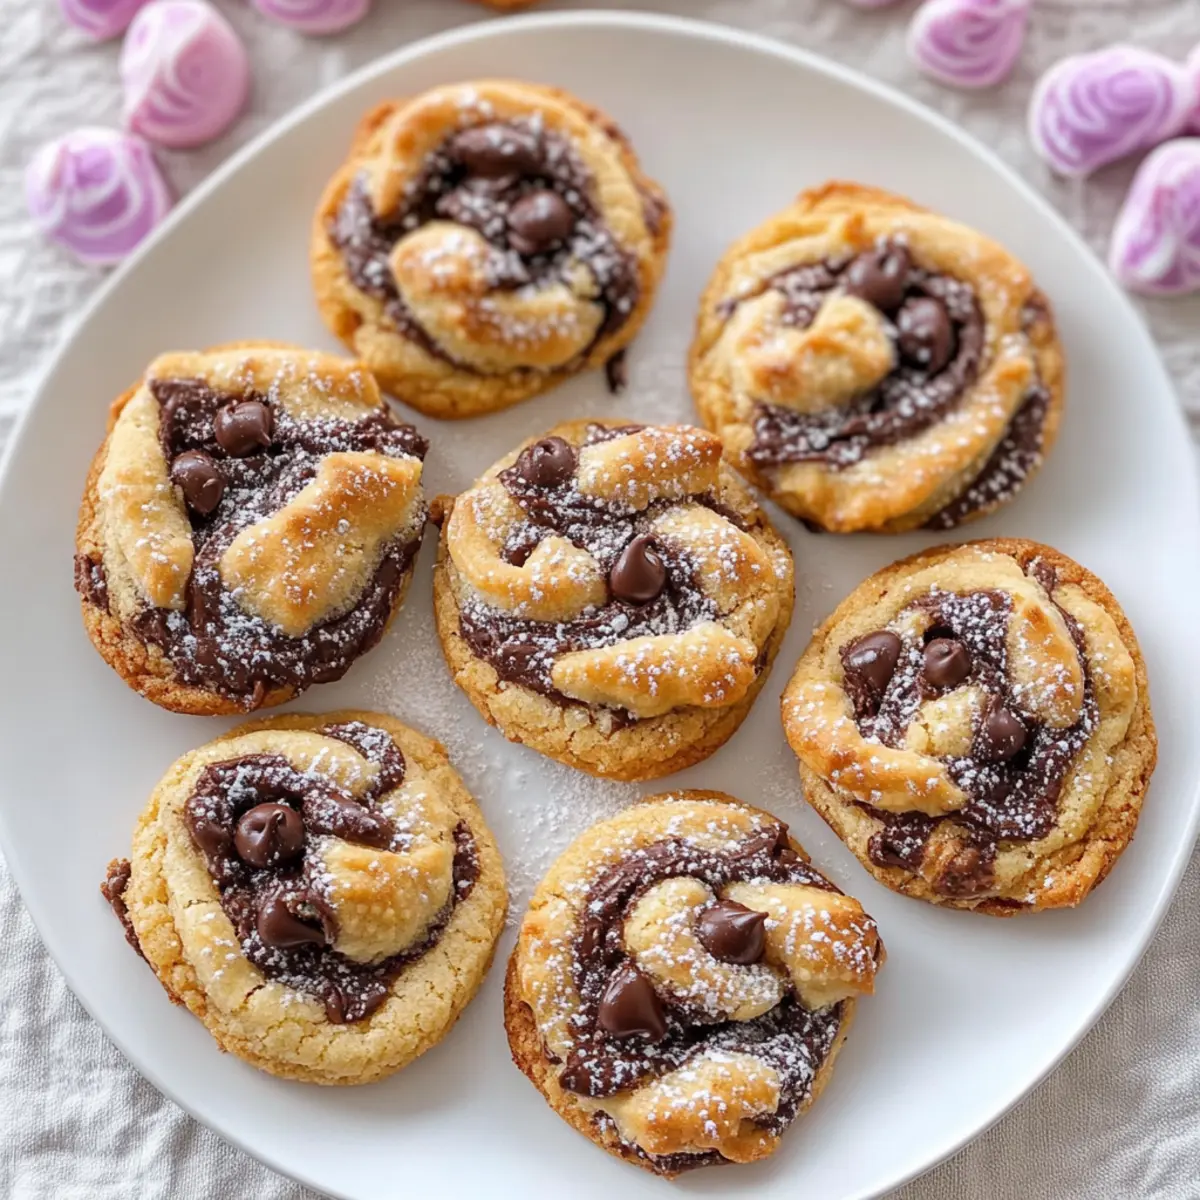
Irresistible Aroma: The moment you start baking these cookies, your kitchen will fill with a warm, nostalgic scent that draws everyone in.
Versatile Variations: Whether you prefer chewy, crispy, or gluten-free options, this recipe is fully customizable to satisfy any craving.
Crowd-Pleaser: Perfect for gatherings, these cookies are sure to impress family and friends alike, making them a go-to treat.
Quick to Make: With simple ingredients and straightforward steps, you’ll have a batch ready to enjoy in just 30 minutes or less!
Deliciously Practical: Looking for a side to pair these cookies? Try serving them with a delicious glass of milk or coffee for an extra comforting treat.
Classic Chocolate Chip Cookie Ingredients
-
For the Dough
-
All-purpose flour – This provides structure and stability in your cookies. You can substitute with a gluten-free flour blend for a delightful gluten-free option.
-
Granulated sugar – It adds sweetness and contributes to the cookie’s texture. Feel free to reduce slightly for a less sweet taste.
-
Brown sugar – This enhances moisture and richness in every bite. Using dark brown sugar can give you a deeper flavor.
-
Unsalted butter – This ingredient adds richness and flavor to your cookies. Consider replacing it with coconut oil for a dairy-free version.
-
Eggs – These bind the ingredients together and help with leavening. A flaxseed meal mixed with water can be a great vegan alternative.
-
Vanilla extract – It boosts the overall flavor profile of your cookies. Opt for pure vanilla extract for the best results.
-
Baking soda – This provides leavening for a lighter texture in your cookies. It’s best not to substitute baking soda with baking powder.
-
Salt – It enhances the overall flavor of the cookies. Adjust to your taste, but don’t omit it for balance.
-
Chocolate chips – The star ingredient that brings sweetness and texture to your cookies. Consider dark chocolate or even nuts to change things up.
-
For the Topping
-
Sea salt flakes – A sprinkle on top balances the sweetness beautifully. Just a pinch adds a gourmet touch that elevates each bite!
Enjoy the magic of baking with these Classic Chocolate Chip Cookie ingredients, and prepare to satisfy your sweet tooth with this timeless homemade treat!
Step‑by‑Step Instructions for Puff Pastry Easter Nests
Step 1: Preheat the Oven
Begin your Puff Pastry Easter Nests by preheating your oven to 400°F (200°C). This ensures that your pastry will rise beautifully and bake evenly. While the oven heats, gather your tools—a baking sheet lined with parchment paper will be essential for easy cleanup later.
Step 2: Roll Out the Pastry
On a lightly floured surface, roll out your puff pastry sheet until it’s about 1/8 inch thick. Using a sharp knife or pastry cutter, slice the dough into squares, approximately 4 inches each. These will serve as the base for your delightful nests, so make sure they’re even for uniform baking.
Step 3: Shape the Nests
Carefully place the squares onto the lined baking sheet. To form the nests, use your fingers to gently press down the center of each square, creating a shallow well. This will hold your filling later, so be sure to leave enough dough around the edges for structure when they bake.
Step 4: Bake the Base
Once shaped, bake the puff pastry bases in your preheated oven for 12–15 minutes or until they puff up and turn golden brown. You’ll know they’re ready when the edges are crisp and the centers are slightly firm. Keep an eye on them to achieve that perfect golden color.
Step 5: Prepare the Filling
While the pastry is baking, prepare your filling. In a mixing bowl, combine your choice of chocolate eggs or candy, along with any additional fillings like custard or fruit if desired. Mix gently to ensure an even distribution of ingredients, enhancing the sweetness of your puff pastry nests.
Step 6: Fill the Nests
Once the pastry shells are out of the oven and have cooled for a few minutes, use a spoon to carefully fill each nest with your chosen mixture. Be generous but allow a little space for any toppings you may want to add. This is where you can get creative with decorations!
Step 7: Final Bake
After filling the nests, place them back into the oven for an additional 5 minutes at the same temperature. This will warm the filling and give everything time to meld together beautifully. You’ll notice a delightful aroma fill your kitchen as they bake to perfection.
Step 8: Cool and Serve
Remove the puff pastry nests from the oven and let them cool on the baking sheet for about 10 minutes. As they cool, they’ll firm up nicely. Once cooled, transfer them to a decorative platter and garnish with icing sugar or sprinkles, making your Puff Pastry Easter Nests an inviting treat for any celebration!
Storage Tips for Classic Chocolate Chip Cookies
-
Room Temperature: Store cookies in an airtight container for up to 1 week. This keeps them soft and fresh, allowing you to indulge at any time.
-
Fridge: For longer freshness, you can refrigerate the cookies in an airtight container for up to 2 weeks. Just let them come to room temperature before enjoying.
-
Freezer: Freeze extra cookies for up to 3 months. Layer them between parchment paper to prevent sticking, ensuring each treat is ready for when cravings strike.
-
Reheating: To enjoy warm cookies again, pop them in the microwave for about 10-15 seconds, or warm in the oven at 350°F (175°C) for 5 minutes, restoring that fresh-baked goodness!
Puff Pastry Easter Nests Variations
Feeling inspired to put a twist on your Puff Pastry Easter Nests? Here are some delightful ideas to customize this springtime treat!
-
Sweet Filling: Use a mixture of cream cheese and powdered sugar for a rich, sweet base. It adds creaminess without overpowering the pastry.
-
Fruit Lovers: Substitute chocolate eggs with fresh fruit like berries or sliced bananas. Their natural sweetness and juiciness provide a refreshing contrast.
-
Nutty Delight: Add chopped nuts, like almonds or walnuts, to the filling for an added crunch. This variation gives a fantastic texture and flavor boost.
-
Zesty Lemon: Incorporate lemon zest into your filling for a bright and tangy taste. It beautifully balances the sweetness while giving a lovely aroma.
-
Chocolate Drizzle: After filling, drizzle melted chocolate on top of the nests. This extra layer of chocolate brings a delightful indulgence that chocolate lovers will adore.
-
Egg Custard Filling: Whip up a simple custard and fill the nests with it before baking. This adds creaminess and a rich flavor that elevates the treat.
-
Caramel Swirls: Try adding caramel sauce on top of your filled nests. The sweet, gooey sauce will bring a luscious layer of flavor that’s hard to resist.
-
Savory Option: For a unique twist, fill with a savory mixture of cheese and herbs. These savory nests are perfect for appetizer platters, expanding their utility beyond dessert!
What to Serve with Classic Chocolate Chip Cookies?
Nothing elevates the joy of homemade chocolate chip cookies like a selection of delightful pairings to enjoy alongside them.
-
Cold Glass of Milk: Perfectly balances the sweetness of cookies, making it a classic duo for kids and adults alike.
-
Rich Coffee: A warm cup adds a comforting touch, cutting through the sweetness with its deep flavor. Dunking is highly encouraged!
-
Vanilla Ice Cream: Creamy, cool, and simply indulgent, it melts into the warm cookies for the ultimate dessert experience.
-
Fruit Platter: Fresh, juicy fruits like strawberries or oranges provide a refreshing contrast, adding a burst of color and flavor.
-
Chocolate Sauce Drizzle: Drizzling over the cookies enhances the chocolatey goodness and adds a luxurious touch to each bite.
-
Nutty Granola: Add a crunchy texture by serving your cookies with a side of nutty granola—a great option for brunches or gatherings.
-
Mini Fruit Tarts: Beautiful and refreshing, these add a light, fruity flavor that complements the richness of the cookies.
-
Herbal Tea: A calming cup of chamomile or mint tea can cleanse the palate while pairing harmoniously with the sweetness.
-
Brownie Bites: For the ultimate treat buffet, mix in fudgy brownie bites for a double chocolate experience that any sweet tooth will love!
Craving these servings alongside your gooey, warm cookies? Your taste buds are in for a delightful treat!
Expert Tips for Chocolate Chip Cookies
-
Softened Butter: Allow your unsalted butter to soften naturally at room temperature rather than melting it. This will create a perfect creamy texture for your dough.
-
Don’t Overmix: Mix the ingredients until just combined to avoid tough cookies. Overmixing can lead to a dense texture, so be gentle!
-
Chill the Dough: If time allows, chill your dough for 30 minutes before baking. This helps to enhance the flavors and prevent spreading during baking.
-
Even Baking: Ensure your cookie dough balls are of uniform size for even baking. A cookie scoop can help achieve perfectly shaped cookies with consistent baking.
-
Check for Doneness: Bake until edges are golden and centers are soft for a chewy cookie. Remember, they will continue to cook on the baking sheet after removing from the oven!
-
Customizable Options: Feel free to add a mix of your favorite ingredients, like nuts or different kinds of chocolate chips, to create your signature version of chocolate chip cookies!
Make Ahead Options
These Classic Chocolate Chip Cookies are ideal for meal prep and busy weeknight baking! You can prepare the cookie dough up to 72 hours in advance and refrigerate it, ensuring it remains fresh and flavorful. To do this, simply mix all the ingredients as directed, form dough balls, and store them in an airtight container or a zip-top bag. This method allows the flavors to deepen, giving you even more delicious cookies when you’re ready to bake. When you’re set to enjoy, preheat your oven and bake straight from the fridge, adding an extra minute or two to the baking time if necessary. With this strategy, you’ll have fresh, homemade cookies ready to brighten your day with minimal effort!
Classic Chocolate Chip Cookies Recipe FAQs
How do I choose the right chocolate chips?
Absolutely! When selecting chocolate chips, consider the type of chocolate you enjoy most. Semi-sweet chips are classic, but dark chocolate offers a bolder flavor. If you’re feeling adventurous, try using milk chocolate for sweetness or a mix of both for a layered taste. Personally, I love incorporating different varieties in the same batch for a more dynamic flavor profile!
How should I store my cookies for optimal freshness?
To keep your cookies soft and scrumptious, store them in an airtight container at room temperature for up to 1 week. If you want them to last longer, refrigerate them, and they’ll stay fresh for about 2 weeks. Just remember to let them come back to room temperature before indulging in that delightful chewiness!
Can I freeze chocolate chip cookies?
Certainly! Freezing cookies is a great way to ensure you have a sweet treat on hand at any time. To freeze, let the cookies cool completely, then layer them between parchment paper in an airtight container or bag. They can be frozen for up to 3 months. When you’re ready to enjoy them, let them sit at room temperature or warm them gently in the oven to restore their freshly baked goodness!
What should I do if my cookies are too dry?
If your cookies come out dry, it might be due to overbaking or too much flour in the dough. Make sure to measure your flour accurately—spoon it into the measuring cup instead of scooping directly from the bag, which can compact it. For future bakes, consider slightly underbaking them, as they’ll continue cooking after you take them out of the oven. A perfect balance between that chewy center and crispy edge is key!
Are there any allergy considerations for this recipe?
Great question! This recipe contains common allergens like eggs, dairy, and gluten. If you’re baking for someone with dietary restrictions, I recommend using a gluten-free flour blend and substituting eggs with a flaxseed meal mixed with water to create a vegan option. Remember to also check the labels of your chocolate chips, as some brands may contain allergens like nuts or soy. Always feel free to reach out for alternatives if needed!
Puff Pastry Easter Nests: Sweet Treats for Spring Celebrations
Ingredients
Equipment
Method
- Preheat your oven to 400°F (200°C).
- Roll out your puff pastry sheet until it’s about 1/8 inch thick and cut into 4-inch squares.
- Place the squares on a lined baking sheet and press down the center of each to shape the nests.
- Bake for 12–15 minutes or until golden brown.
- Prepare your filling by mixing chocolate eggs or candy with optional custard or fruit.
- Fill each cooled nest with the mixture using a spoon.
- Bake for an additional 5 minutes to warm the filling.
- Cool on the baking sheet for 10 minutes before serving.
Leave a Reply