
As I rummaged through my pantry, I stumbled upon a vibrant mix of nuts, seeds, and dried fruits, just waiting to be transformed into something special. That’s when the idea for my Nutty & Chewy No-Bake Granola Bars took shape. With this simple recipe, I can whip up a delicious, healthy snack that does more than satisfy cravings—it’s also gluten-free and customizable to fit any dietary need. No more stale store-bought options! These bars boast quick prep time and cater to every taste, making them perfect for on-the-go breakfasts or afternoon pick-me-ups. Are you ready to join me in elevating your snack game with these delightful homemade treats?
Why are homemade granola bars better?
Freshness, Quality Ingredients: When you make your own granola bars, you control what goes in. Say goodbye to hidden additives and hello to wholesome ingredients like oats, nuts, and natural sweeteners.
Versatile to Your Taste: Customize this recipe with your choice of mix-ins, from crunchy walnuts to tangy dried cranberries, ensuring each batch is tailored to your cravings!
Convenient Snacking: Perfect for busy days, these bars are easy to grab when you need a nutritious boost. Snack smarter with homemade goodness!
No-Bake Convenience: In just a few simple steps, you can create these bars without turning on the oven, saving time and energy.
Family-Friendly Fun: Get the whole family involved by letting everyone pick their favorite add-ins. It’s a delightful way to bond while cooking together!
Homemade Granola Bar Ingredients
For the Base
• Oats – A vital ingredient providing structure and fiber; opt for rolled oats for that perfect chewy texture.
• Nut Butter (e.g., almond or peanut) – Acts as a binding agent while adding creaminess; sunflower seed butter works as a nut-free alternative.
• Honey or Maple Syrup – A natural sweetener that elevates flavor and helps in binding the mixture; switch to agave syrup for a vegan-friendly option.
For the Mix-Ins
• Nuts (e.g., walnuts, almonds) – Adds crunch and essential nutrients; select your favorites to enhance flavor and texture.
• Dried Fruit (e.g., cranberries, raisins) – Infuses sweetness and tartness; feel free to experiment with different dried fruits for variety.
• Seeds (e.g., chia or flaxseeds) – Pack an additional nutritional punch, providing fiber and healthy fats; substitute with your favorites or omit as desired.
Seasoning & Flavor
• Salt – Elevates the overall taste; using sea salt can add deeper flavor notes that contrast beautifully with sweetness.
• Vanilla Extract – Adds an extra layer of flavor depth; if preferred, this can be omitted without affecting the end result.
With these fresh ingredients, your homemade granola bars will be a delightful treat that caters to your nutritional needs. Plus, feel free to mix and match as you create variations, leading to your ultimate snacking pleasure!
Step‑by‑Step Instructions for Nutty & Chewy No-Bake Granola Bars
Step 1: Prepare the Base Mixture
In a large mixing bowl, combine rolled oats, your chosen nut butter, honey or maple syrup, and a pinch of salt. Stir these ingredients together using a spatula or spoon until they reach a sticky and cohesive consistency, about 2-3 minutes. This base is essential for your Nutty & Chewy No-Bake Granola Bars, so ensure everything is well-coated.
Step 2: Add Flavorful Mix-Ins
Once the base mixture is ready, stir in your selected mix-ins such as chopped nuts, seeds, or dried fruit. Mix gently but thoroughly until the add-ins are evenly distributed throughout the sticky oat base. The contrasting textures of the crunchy elements will enhance your granola bars, making them deliciously satisfying.
Step 3: Transfer to Baking Dish
Prepare a lined 8×8 inch baking dish by placing parchment paper inside it, allowing some overhang for easy removal later. Pour the granola mixture into the dish, pressing it down firmly with your hands or a spatula. Aim for an even layer about 1 inch thick to ensure these Nutty & Chewy No-Bake Granola Bars hold together nicely when set.
Step 4: Chill to Firm Up
Cover the dish tightly with plastic wrap and place it in the refrigerator. Chill for at least 1-2 hours, or until the mixture is firm to the touch. This step is crucial for achieving the perfect texture, making sure your granola bars won’t crumble apart when you cut them later.
Step 5: Cut the Bars
After the mixture has chilled and set, remove it from the refrigerator. Carefully lift out the granola slab using the overhanging parchment paper. Place it on a cutting board and, with a sharp knife, cut it into desired bar shapes. Feel free to make them larger or smaller, depending on your snacking preferences!
Step 6: Store for Freshness
Transfer the cut granola bars to an airtight container, separating layers with parchment paper to prevent sticking. Store your homemade Nutty & Chewy No-Bake Granola Bars in the fridge for up to two weeks, ensuring you always have a healthy snack option readily available.
Expert Tips for Nutty & Chewy No-Bake Granola Bars
-
Pack Tight: Ensure the mixture is pressed firmly into the dish for bars that hold their shape and don’t crumble when cut.
-
Customize Wisely: Choose mix-ins thoughtfully by balancing flavors and textures; aim for a variety of crunch from nuts and sweetness from dried fruits for the best granola bars.
-
Sweetness Control: Adjust the level of sweetness by varying the amount of honey or maple syrup; start with less and add to taste for your ideal sweet spot.
-
Avoid Nut Butter Overmixing: When blending nuts in a mixer, stop as soon as finely chopped, or you risk turning them into nut butter, which can affect the texture.
-
Chill Thoroughly: Refrigerate the bars long enough to allow them to set properly; this is crucial for achieving that chewy yet crunchy consistency everyone loves.
-
Experiment with Flavors: Don’t hesitate to add spices like cinnamon or nutmeg to enhance the flavor profile of your granola bars, making them uniquely yours!
What to Serve with Nutty & Chewy No-Bake Granola Bars
Elevate your homemade snacks by pairing them with delightful complements that bring variety and balance to your meal.
- Fresh Fruit: Sliced apples or bananas add a refreshing crunch and natural sweetness, creating a delightful contrast to your chewy granola bars.
- Greek Yogurt: Creamy and tangy, it pairs well with the nutty flavors. Consider drizzling honey on top for an extra touch of sweetness.
- Nut Butter Dip: A rich almond or peanut butter dip boosts protein while enhancing the nutty flavors of your bars; it makes snack time irresistibly satisfying.
Imagine a vibrant fruit salad bursting with color and freshness that not only looks stunning but also enhances your snack experience! Don’t forget a splash of lemon juice for an extra zing.
- Smoothie: Blend your favorite fruits with spinach or kale for a nutrient-packed drink that perfectly complements the energy-rich granola bars.
- Herbal Tea: A warm cup of chamomile or mint tea can be soothing, providing balance to your snacking experience—perfect for cozy moments on the couch.
- Chocolate Squares: Pairing a small piece of dark chocolate with your bars creates a luxurious, indulgent experience, satisfying those evening cravings with a sweet finish.
How to Store and Freeze Homemade Granola Bars
Room Temperature: Store granola bars in an airtight container at room temperature for up to 5 days for a softer texture.
Fridge: Keep the bars in the fridge for optimal freshness, where they can last up to 2 weeks. This helps retain their chewy texture and flavor.
Freezer: For longer storage, freeze granola bars wrapped tightly in plastic wrap and then in a freezer bag for up to 3 months. Allow to thaw at room temperature before enjoying.
Reheating: If you prefer a warm treat, briefly microwave the bars for about 10-15 seconds. This will bring out their flavors and enhance the chewyness! Enjoy your homemade granola bars anytime!
Make Ahead Options
These Nutty & Chewy No-Bake Granola Bars are perfect for meal prep enthusiasts looking to save time on busy days! You can prepare the base mixture and add your chosen mix-ins up to 24 hours in advance. Simply follow the first three steps of the recipe, then cover the mixture tightly and refrigerate it overnight. This will allow the flavors to meld beautifully, ensuring just as delicious bars when you cut and store them later. Once you’re ready to enjoy, press the mixture into the baking dish, chill for 1-2 hours until firm, and then cut into bars for easy snacking throughout the week!
Variations & Substitutions
Feel free to get creative with these homemade granola bars; your taste buds will thank you for the adventure!
-
Nut-Free: Swap nut butter for sunbutter to keep the recipe safe for nut allergies while enjoying that rich, creamy texture.
-
Chocolate Lovers: Mix in semi-sweet or dark chocolate chips for a sweet hint that will satisfy your dessert cravings!
-
Dried Fruit Mix: Substitute cranberries with chopped apricots or figs for a fruity twist that adds a unique flavor profile.
-
Extra Crunch: Add puffed rice or crispy quinoa to the mixture for delightful crunch and a fun textural surprise.
-
Snack Bars for Kids: Keep it fun and colorful! Try mixing in mini chocolate candies or sprinkles to create kid-friendly bars.
-
Spiced Up: Add a pinch of cinnamon or ginger for a warm, inviting flavor that complements the sweetness beautifully.
-
Vegan Version: Use agave syrup instead of honey and ensure all mix-ins are vegan to create plant-based delights.
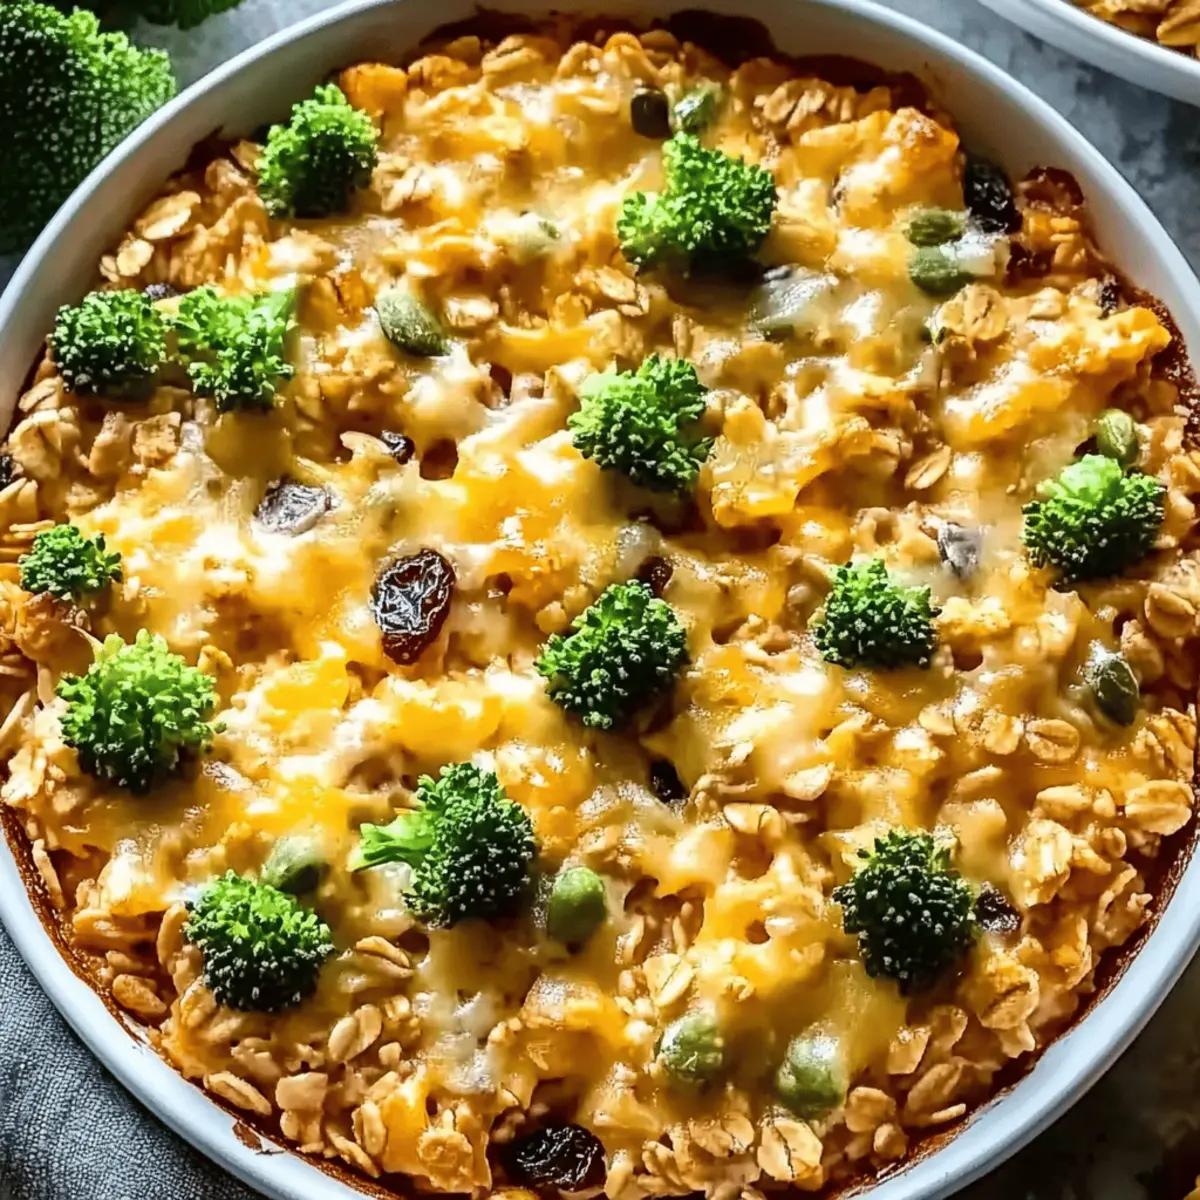
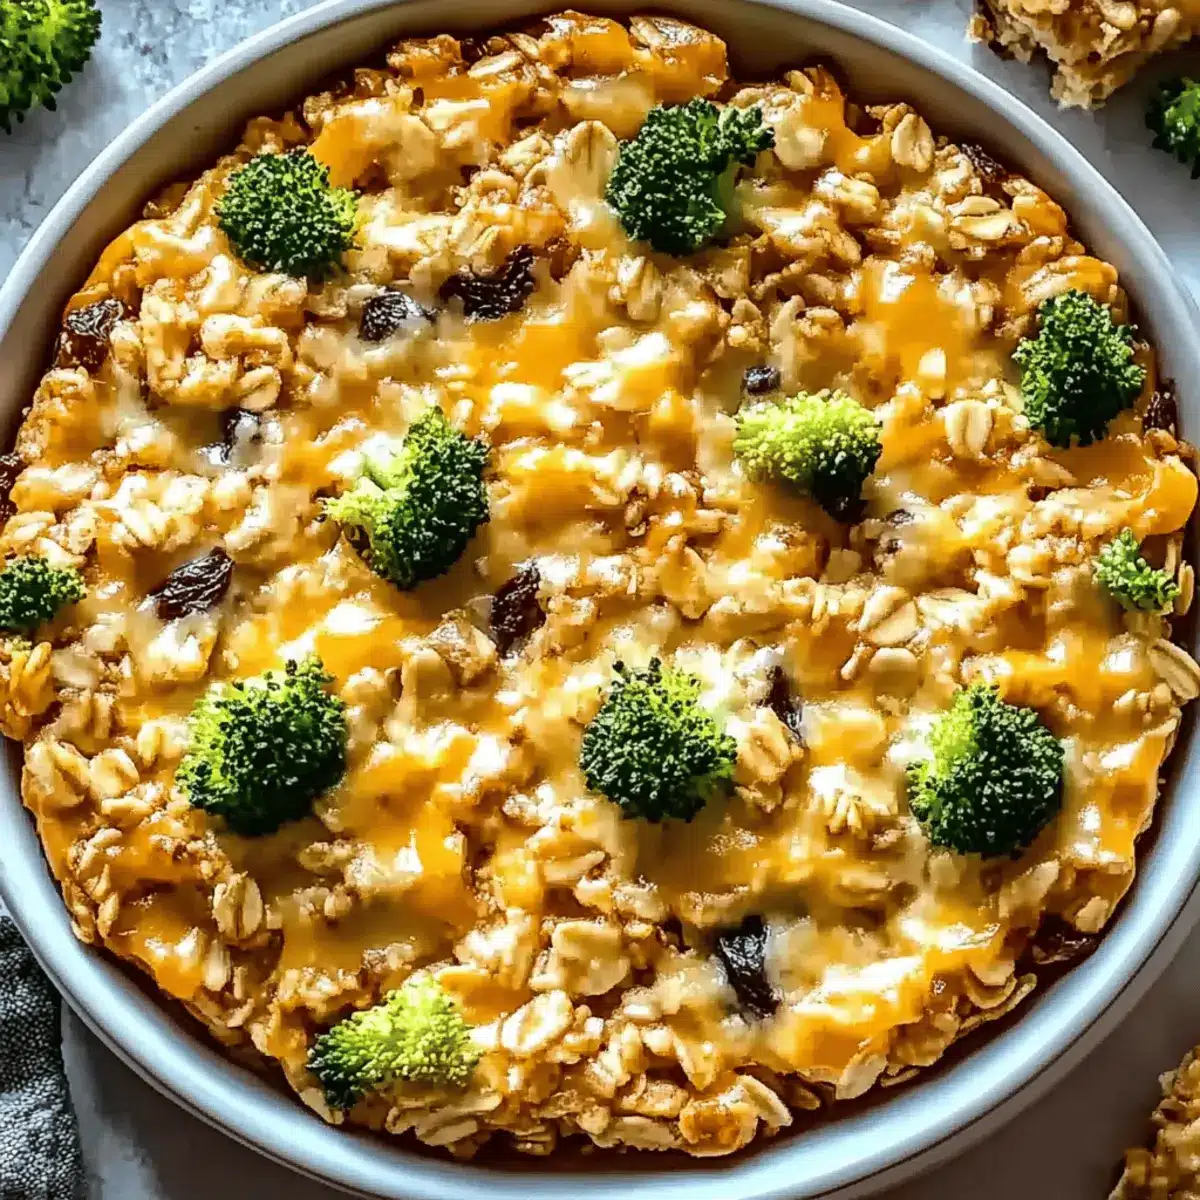
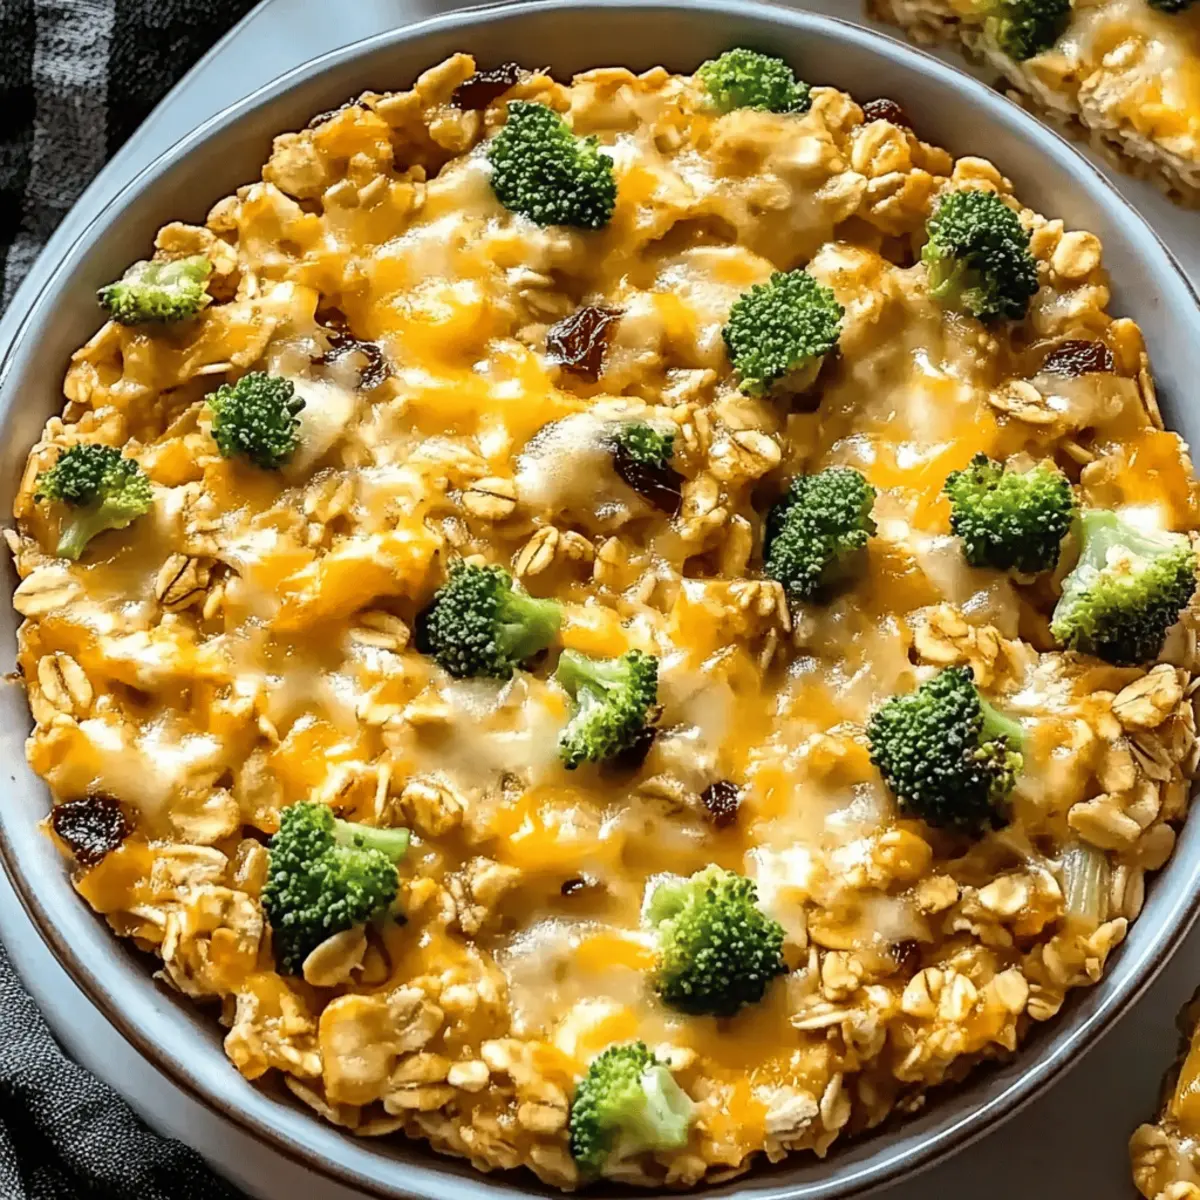
Explore delightful combinations and make this recipe your own! For more delicious ideas, check out my Chicken Rice Casserole or try the comforting Broccoli Potato Cheese dish that the whole family will adore!
Homemade Granola Bars Recipe FAQs
How do I select ripe and fresh ingredients for my granola bars?
Absolutely! For the best results, use fresh ingredients. Choose oats that are whole and free from any moisture or rancidity. When selecting nuts, look for those that are crunchy and have no dark spots. Dried fruits should be plump and fruity; avoid ones that are overly shriveled or hard.
How should I store my granola bars to keep them fresh?
Storing your granola bars is easy! Place them in an airtight container in the fridge to maintain their freshness; they’ll last about 2 weeks this way. If you’d prefer a softer texture, feel free to keep them at room temperature in a sealed container for up to 5 days.
Can I freeze my homemade granola bars?
Yes, you can! To freeze your granola bars, wrap each bar tightly in plastic wrap and then place them in a freezer bag. They’ll keep well for up to 3 months. When you’re ready to enjoy, simply let them thaw at room temperature or pop them in the microwave for 10-15 seconds for a warm treat.
What are some troubleshooting tips for making these granola bars?
If your granola bars are crumbling apart, it’s usually because the mixture wasn’t packed firmly enough into the dish. Next time, really press it down! Also, ensure your ratios of nut butter to dry ingredients are balanced; too little nut butter can lead to a crumbly texture. If they feel too dry before chilling, mix in a bit more sweetener to help bind it.
Are there any dietary considerations for pets or allergies with these granola bars?
Indeed! If you’re making these bars for yourself or loved ones with allergies, always double-check the ingredients according to your dietary needs. Nut butter can be substituted with seed butters for those with nut allergies, and ensure your mix-ins are also allergen-free. As for pets, avoid giving them granola bars designed for humans, especially if they contain ingredients like chocolate, which can be harmful to them.
Can I modify this recipe for gluten-free options?
Certainly! To ensure your granola bars are gluten-free, simply choose certified gluten-free oats. The rest of the ingredients, such as nut butter, honey, and most add-ins, are typically gluten-free but do check labels just to be safe. Enjoy customizing these tasty bars to fit your diet perfectly!

Cheesy Chicken Broccoli Rice Casserole for Cozy Nights
Ingredients
Equipment
Method
- Combine rolled oats, nut butter, honey or maple syrup, and salt in a large bowl. Mix until sticky.
- Add your selected mix-ins and mix gently until evenly distributed.
- Prepare an 8x8 inch baking dish lined with parchment paper and press the mixture into an even layer.
- Cover the dish and chill in the refrigerator for 1-2 hours to firm up.
- Remove and cut into desired bar shapes.
- Store in an airtight container, separated by parchment paper.
Leave a Reply