
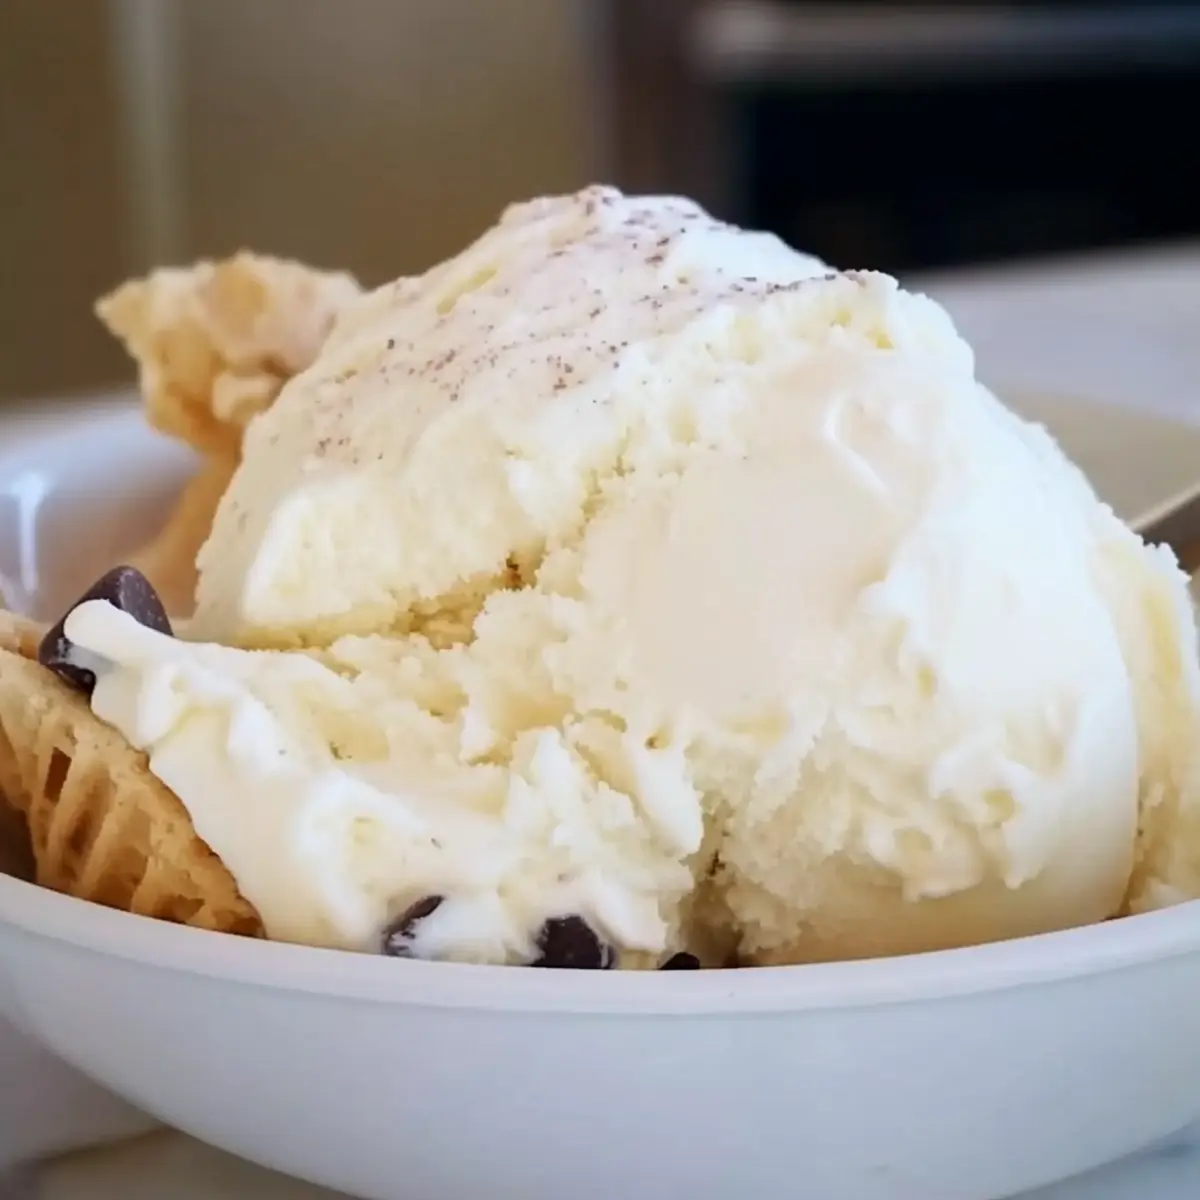
As I savored the first spoonful of creamy goodness, I couldn’t help but think that nothing screams summer quite like a scoop of homemade vanilla ice cream. This Easy No-Cook Homemade Vanilla Ice Cream Recipe is a delightful throwback to those sun-drenched afternoons filled with laughter and carefree moments. Not only is it incredibly simple to make—no fancy gadgets or cooking required—but it also brings a level of nostalgia that store-bought versions just can’t match. With a rich, velvety texture and a sweet vanilla aroma, this treat will become your new go-to for family gatherings or cozy nights at home. Curious how you can impress your loved ones without breaking a sweat in the kitchen? Let’s dive in!
Why Make Homemade Vanilla Ice Cream?
Simplicity: This recipe is a breeze! With no cooking necessary and just five simple ingredients, you can create a delicious dessert in no time.
Nostalgic Flavor: Evoke sweet summer memories with each scoop. The creamy, rich vanilla flavor is reminiscent of childhood ice cream parlors.
Versatile Options: Customize your creation! Add chocolate chips, fresh fruits, or nuts to personalize each batch, just like my chicken rice casserole pairs perfectly with a side of mashed potatoes.
Family-Friendly Fun: This ice cream is perfect for family gatherings, providing a fun activity for kids and adults alike.
Perfect Texture: Achieve a luxuriously creamy consistency that melts in your mouth, making every bite an indulgent experience.
Quick Freezing Time: It’s ideal for last-minute cravings! Simply mix, freeze, and enjoy.
Homemade Vanilla Ice Cream Ingredients
• Here’s everything you’ll need to create your homemade vanilla ice cream recipe.
For the Ice Cream Base
- 2 Cups Heavy Cream – Adds richness for that creamy texture; replace with half-and-half for a lighter treat.
- 2 Cups Whole Milk – Provides smoothness; almond or oat milk works for a non-dairy twist, though it may alter the texture.
- Pinch of Salt – Enhances sweetness and balances flavors beautifully.
- 3/4 Cups Sugar – Sweetens your ice cream; feel free to reduce for a lower-sugar version.
- 2 Tbls. Vanilla Extract – The star of the show! Use pure vanilla for the best flavor, or imitation in a pinch.
For Custom Add-ins (Optional)
- Chocolate Chips – Stir in for a delightful crunch and richness.
- Fresh Fruits – Add berries or peaches during processing for a fresh twist.
- Nuts – Chopped nuts provide a lovely texture and nutty flavor.
Step‑by‑Step Instructions for Easy No-Cook Homemade Vanilla Ice Cream
Step 1: Mix Ingredients
In a large mixing bowl, combine 2 cups of heavy cream, 2 cups of whole milk, a pinch of salt, 3/4 cup of sugar, and 2 tablespoons of vanilla extract. Use a whisk or electric mixer to blend the ingredients on medium speed until the sugar fully dissolves and the mixture appears smooth and slightly thickened, about 1-2 minutes. This forms the base for your homemade vanilla ice cream.
Step 2: Pour and Process
Carefully pour the blended ice cream mixture into the freezer container of your ice cream maker. Ensure the container is clean and pre-chilled if required by your model. Secure the lid tightly and prepare to turn on your ice cream maker; this is where the magic happens, transforming the liquid into creamy goodness.
Step 3: Follow Freezer Directions
Process the mixture according to your ice cream maker’s instructions, usually about 20-30 minutes. Keep an eye on the texture; it should start to thicken and resemble soft-serve ice cream. Once it reaches this consistency, you’ll know your homemade vanilla ice cream is almost ready.
Step 4: Optional Add-ins
If you’d like to customize your homemade vanilla ice cream, this is the perfect time! As the mixture begins to thicken, gently fold in your desired add-ins like chocolate chips, fresh fruits, or nuts. Mix these in evenly for delicious bursts of flavor that will enhance your creamy base.
Step 5: Freeze
For a firmer consistency, transfer the soft ice cream to a freezer-safe container. Smooth the top with a spatula and seal the container tightly. Place it in the freezer for at least 4 hours or until fully set. This final freezing phase allows your ice cream to achieve that perfect scoopable texture.
Homemade Vanilla Ice Cream Recipe Variations
Feel free to get creative and customize this ice cream recipe to suit your taste buds!
- Dairy-Free: Use coconut cream or almond milk instead of heavy cream and whole milk for a lovely vegan treat. The tropical twist of coconut adds a delightful flavor!
- Chocolate Lovers: Mix in chocolate chips or swirl in chocolate sauce for an indulgent treat that’s perfect for any dessert lover. Each scoop offers a rich chocolate surprise!
- Fruit Infusion: Stir in fresh berries or slices of peach during processing for a refreshing, fruity vibe that brightens every bite. It’s like summer in a scoop!
- Nutty Delight: Add your choice of chopped nuts such as pecans or almonds to introduce a crunchy texture and nutty flavor that beautifully complements the creaminess.
- Minty Fresh: Swap vanilla extract for peppermint extract to create a refreshing mint chocolate chip version. A delightful twist for the warmer months!
- Coffee Kick: Incorporate a tablespoon of instant coffee granules to the mix for a luscious coffee-flavored ice cream that gives you a sweet boost.
- Sour Cream Twist: For a slight tang, substitute half of the heavy cream with sour cream. The result is a creamy yet surprisingly refreshing dessert, perfect for adventurous eaters!
- Spiced Up: Go for a warm-spiced variation by adding a pinch of cinnamon or nutmeg, which will elevate your homemade ice cream into a cozy dessert, reminiscent of autumn flavors.
These variations are just the beginning! You can always add your unique twist, perhaps pairing it with a delicious slice of sticky toffee pudding or drizzling it with homemade turkey gravy for a fun family dinner.
What to Serve with Easy No-Cook Homemade Vanilla Ice Cream
Indulging in a scoop of creamy vanilla ice cream is just the beginning of a delightful dessert experience. Let’s explore some perfect pairings that will elevate your homemade treat!
-
Chocolate Sauce: Drizzle warm chocolate sauce for a rich contrast that highlights the ice cream’s creamy sweetness. It’s an all-time favorite!
-
Fresh Berries: Juicy strawberries or raspberries add a refreshing burst and a hint of tartness, balancing the sweetness beautifully.
-
Peanut Butter Swirl: A dollop of creamy or crunchy peanut butter transforms your ice cream into a decadent treat, evoking nostalgic childhood flavors.
-
Waffle Cones: Serve your homemade vanilla ice cream in crispy waffle cones for that delightful crunch, enhancing the overall experience.
-
Banana Slices: Soft, sweet banana slices make a tasty addition, infusing your ice cream with tropical notes that scream sunny days.
-
Oreo Crumbles: A scattering of crunchy Oreos provides texture and a chocolatey hit that perfectly complements the vanilla flavor.
-
Nutty Topping: Chopped nuts, such as almonds or pecans, add a delightful crunch, with a toasty flavor that enhances the richness of the ice cream.
-
Coffee: A cup of rich, brewed coffee creates a sophisticated pairing—sipping coffee while enjoying your ice cream will awaken your taste buds.
-
Shortbread Cookies: Crumbly, buttery shortbread cookies provide a contrasting texture, making each bite a delightful experience.
-
Caramel Sauce: A drizzle of caramel adds a luscious sweetness that contrasts with the ice cream’s vanilla base, creating a perfectly indulgent treat.
Expert Tips for Homemade Vanilla Ice Cream
-
Thorough Mixing: Ensure proper blending of the ingredients to avoid a grainy texture in your homemade vanilla ice cream.
-
Quality Vanilla: Use high-quality vanilla extract for a richer flavor profile; skip imitation versions if possible for the best result.
-
Chill the Bowl: Before you begin, chill the ice cream maker’s bowl if your model requires it; this helps achieve creaminess more efficiently.
-
Monitor Freezing Time: Keep an eye on the consistency during processing—remove from the machine once it reaches a soft-serve texture for optimal flavor.
-
Storing Tips: Store your finished homemade vanilla ice cream in an airtight container, ensuring it’s well-sealed to prevent freezer burn.
-
Experiment with Add-ins: Get creative! Add-ins like chocolate chips or fruits can make your ice cream unique and delightful, transforming it into a family favorite.
How to Store and Freeze Homemade Vanilla Ice Cream
Fridge: Store any leftover homemade vanilla ice cream in the fridge for up to 3 days, but note it may lose its creamy texture.
Freezer: To maintain the best quality, keep your homemade ice cream in an airtight container in the freezer for up to a month.
Wrapping: When transferring to a container, press plastic wrap directly onto the surface of the ice cream before sealing to prevent ice crystals from forming.
Reheating: Enjoy your ice cream straight from the freezer; if it becomes too hard, let it sit at room temperature for about 5 minutes before scooping.
Make Ahead Options
These Easy No-Cook Homemade Vanilla Ice Cream recipe is a fantastic option for busy home cooks looking to save time! You can prepare the ice cream mixture (heavy cream, whole milk, sugar, salt, and vanilla) up to 24 hours in advance by combining it in a bowl and refrigerating it. This allows the ingredients to meld and improve flavor, keeping it fresh and delicious. Just be sure to seal the bowl tightly to prevent any unwanted odors from permeating your mixture. When it’s time to indulge, simply pour the chilled mixture into your ice cream maker and proceed with your usual freezing process. In no time at all, you’ll serve up creamy, homemade vanilla ice cream that’s just as delightful as if made fresh that day!
Homemade Vanilla Ice Cream Recipe FAQs
How do I choose the right ingredients for homemade vanilla ice cream?
Absolutely! For the creamiest ice cream, it’s best to use high-quality heavy cream and whole milk. Look for cream that’s fresh and has a fat content of at least 36% for richness. If you prefer lighter alternatives, half-and-half can work, but keep in mind that the texture may change slightly. For the best flavor, opt for pure vanilla extract rather than imitation, although the latter can be used in a pinch.
How should I store my homemade vanilla ice cream?
To keep your homemade vanilla ice cream tasting fresh, store it in an airtight container in your freezer. If you want to prevent freezer burn, press plastic wrap directly onto the surface of the ice cream before sealing the container. This way, it will stay delicious for up to a month, though I recommend enjoying it sooner for the best texture!
Can I freeze homemade vanilla ice cream for longer than a month?
It’s best to enjoy your homemade vanilla ice cream within a month for optimal flavor and texture. While it might still be safe to eat after this period, it may develop ice crystals or become less enjoyable. If you’re thinking of making a large batch, consider freezing it in smaller portions for easier access.
What should I do if my ice cream is too hard after freezing?
If your homemade vanilla ice cream is too hard to scoop, don’t worry! Let it sit at room temperature for about 5-10 minutes before attempting to scoop. This will soften it just enough to make for easy serving. Additionally, give it a good stir after it’s been in the freezer for a couple of hours to prevent ice crystals from forming.
Can I make this ice cream recipe dairy-free?
Very much so! To create a dairy-free version of this homemade vanilla ice cream, you can substitute the heavy cream and whole milk with non-dairy alternatives like full-fat coconut milk or almond milk. Keep in mind that the texture may be slightly different, so feel free to experiment with different brands to find the one that works best for you!
Is homemade vanilla ice cream safe for my pets?
It’s best to avoid giving homemade vanilla ice cream to pets, especially considering the sugar content and potential dairy intolerance many pets have. If you want to treat your furry friends, consider making a special pet-friendly ice cream using pureed fruits like bananas or yogurt without added sugar or flavorings. Always prioritize their health and safety!

Creamy Homemade Vanilla Ice Cream Recipe You'll Love
Ingredients
Equipment
Method
- In a large mixing bowl, combine 2 cups of heavy cream, 2 cups of whole milk, a pinch of salt, 3/4 cup of sugar, and 2 tablespoons of vanilla extract. Use a whisk or electric mixer to blend the ingredients on medium speed until the sugar fully dissolves and the mixture appears smooth and slightly thickened, about 1-2 minutes.
- Carefully pour the blended ice cream mixture into the freezer container of your ice cream maker. Ensure the container is clean and pre-chilled if required by your model. Secure the lid tightly and prepare to turn on your ice cream maker.
- Process the mixture according to your ice cream maker's instructions, usually about 20-30 minutes. Keep an eye on the texture; it should start to thicken and resemble soft-serve ice cream.
- If you’d like to customize your homemade vanilla ice cream, gently fold in your desired add-ins like chocolate chips, fresh fruits, or nuts as the mixture begins to thicken.
- For a firmer consistency, transfer the soft ice cream to a freezer-safe container, smooth the top with a spatula, and seal the container tightly. Place it in the freezer for at least 4 hours or until fully set.
Leave a Reply