
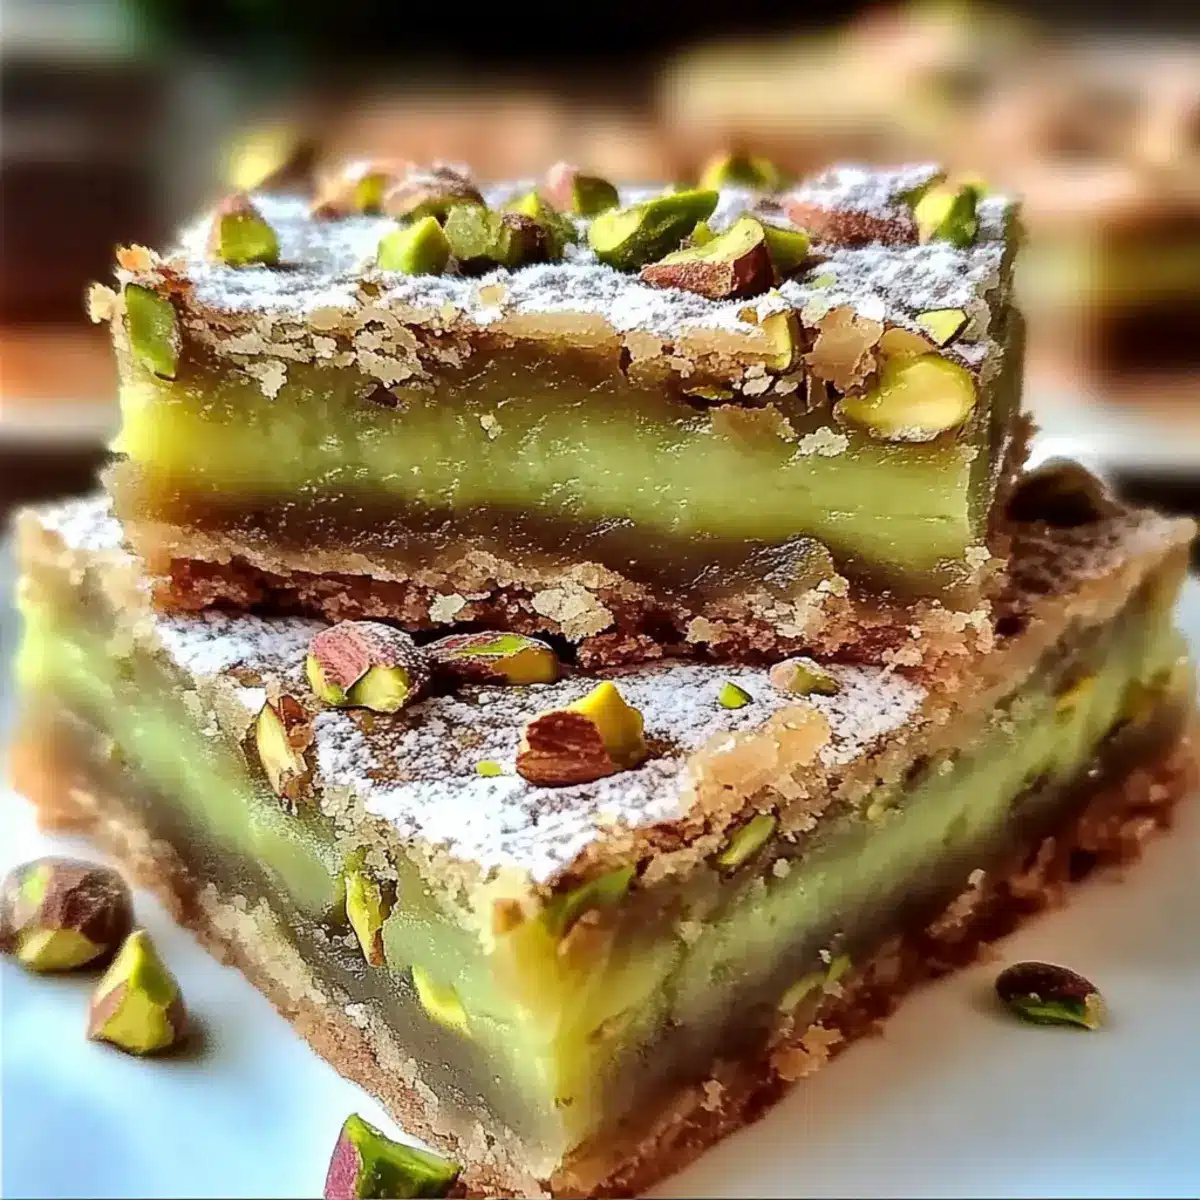
Have you ever craved a treat that’s both chewy and crunchy, comforting and exciting? Welcome to the world of Pistachio Dream Cookie Bars—a delightful intersection of cookie love and dessert indulgence that’ll leave your taste buds twirling. With the vibrant green crunch of pistachios and a subtly sweet base, these bars are a feast for the eyes and the palate. Perfect for sharing at gatherings or treating yourself after a long day, they boast quick prep time and irresistible flavors, making them an instant favorite for both the sweet-toothed and the health-conscious. Plus, there’s a gluten-free option available! So, who’s ready to discover how to create these delectable delights in their own kitchen?
Why are Pistachio Dream Cookie Bars irresistible?
Soft, Chewy Texture: These bars provide the ultimate chewy experience that feels like a warm hug in every bite.
Nutty Flavor Burst: The vibrant pistachios deliver a nutty flavor that elevates the sweetness, creating a balanced treat perfect for any dessert lover.
Eye-Catching Presentation: With their bright green pistachios, they are not just delicious but also a stunning centerpiece for any gathering.
Quick & Easy: Whip them up in no time! This simple recipe ensures you can satisfy your cravings without spending hours in the kitchen.
Versatile Enjoyment: Serve them warm with a scoop of ice cream or try adding a drizzle of chocolate sauce for an extra indulgent treat, just like my delightful Homemade Granola Bars!
Crowd-Pleaser: Whether for a party or a cozy night in, these cookie bars are sure to impress family and friends alike.
Pistachio Dream Cookie Bars Ingredients
Discover the magic behind these delightful bars!
For the Base
• All-Purpose Flour – Forms the foundation of the bars; substitute with gluten-free flour blend for gluten-free Pistachio Dream Cookie Bars.
• Baking Powder – Ensures a light, fluffy texture.
• Salt – Enhances the sweetness and balances flavors.
• Unsalted Butter – Provides richness and moisture; make sure it’s softened for easy mixing.
• Brown Sugar – Adds caramel-like sweetness that enhances flavor.
• Granulated Sugar – Balances sweetness and contributes to the texture.
• Eggs – Key for binding ingredients together and providing structure.
• Vanilla Extract – Infuses warmth and depth of flavor into the mixture.
For the Goodies
• Chopped Pistachios – The star ingredient that bursts with nutty flavor and delightful crunch.
• White Chocolate Chips (optional) – Adds extra sweetness and a creamy contrast.
Enjoy creating these Pistachio Dream Cookie Bars that will have everyone coming back for seconds!
Step‑by‑Step Instructions for Pistachio Dream Cookie Bars
Step 1: Preheat and Prepare
Begin by preheating your oven to 350°F (175°C). While the oven heats, prepare an 8-inch square baking dish by lining it with parchment paper, allowing some overhang for easy removal later. This will ensure your Pistachio Dream Cookie Bars come out smoothly and maintain their wonderfully chewy texture.
Step 2: Mix Dry Ingredients
In a medium bowl, whisk together 1 cup of all-purpose flour, 1 teaspoon of baking powder, and a pinch of salt. This blend will create the foundation of your cookie bars. Set this bowl aside while you focus on the wet ingredients, as having everything organized will make the process much smoother.
Step 3: Cream the Butters and Sugars
In a large mixing bowl, combine ½ cup of softened unsalted butter, ½ cup of packed brown sugar, and ¼ cup of granulated sugar. Using an electric mixer, beat these ingredients together on medium speed for about 2-3 minutes until the mixture is light and fluffy. This is crucial for developing the rich flavor of your Pistachio Dream Cookie Bars.
Step 4: Add Eggs and Vanilla
Crack in 2 large eggs and pour in 1 teaspoon of vanilla extract into the butter-sugar mixture. Mix on low speed until everything is well combined and there are no streaks. The mixture should be smooth and creamy, ready to envelop the dry ingredients for those delicious, chewy bars.
Step 5: Combine Wet and Dry Ingredients
Gradually add the dry ingredients into the wet mixture, mixing until just combined. Be careful not to overmix as you want your Pistachio Dream Cookie Bars to retain a perfect chewy texture. You should see a soft and slightly sticky dough forming, inviting you to fold in those delightful add-ins.
Step 6: Fold in the Goodies
Gently fold in ¾ cup of chopped pistachios and ½ cup of white chocolate chips, if using. Use a spatula to incorporate them evenly into the dough, ensuring every bite of your bars will be bursting with nutty crunch and sweet creaminess. The vibrant green from the pistachios will add a beautiful touch to your mixture.
Step 7: Spread and Smooth
Pour the cookie dough into the prepared baking dish, using a spatula to spread it evenly. Smooth the top to ensure uniform thickness—this will help your Pistachio Dream Cookie Bars bake evenly. It should look inviting, with hints of green peeking through the mix!
Step 8: Bake to Perfection
Place the baking dish in your preheated oven and bake for 25-30 minutes. Keep an eye on them; they’re ready when the edges are golden brown and a toothpick inserted in the center comes out with a few moist crumbs. This gives your bars a deliciously chewy texture with a slight crisp!
Step 9: Cool and Cut
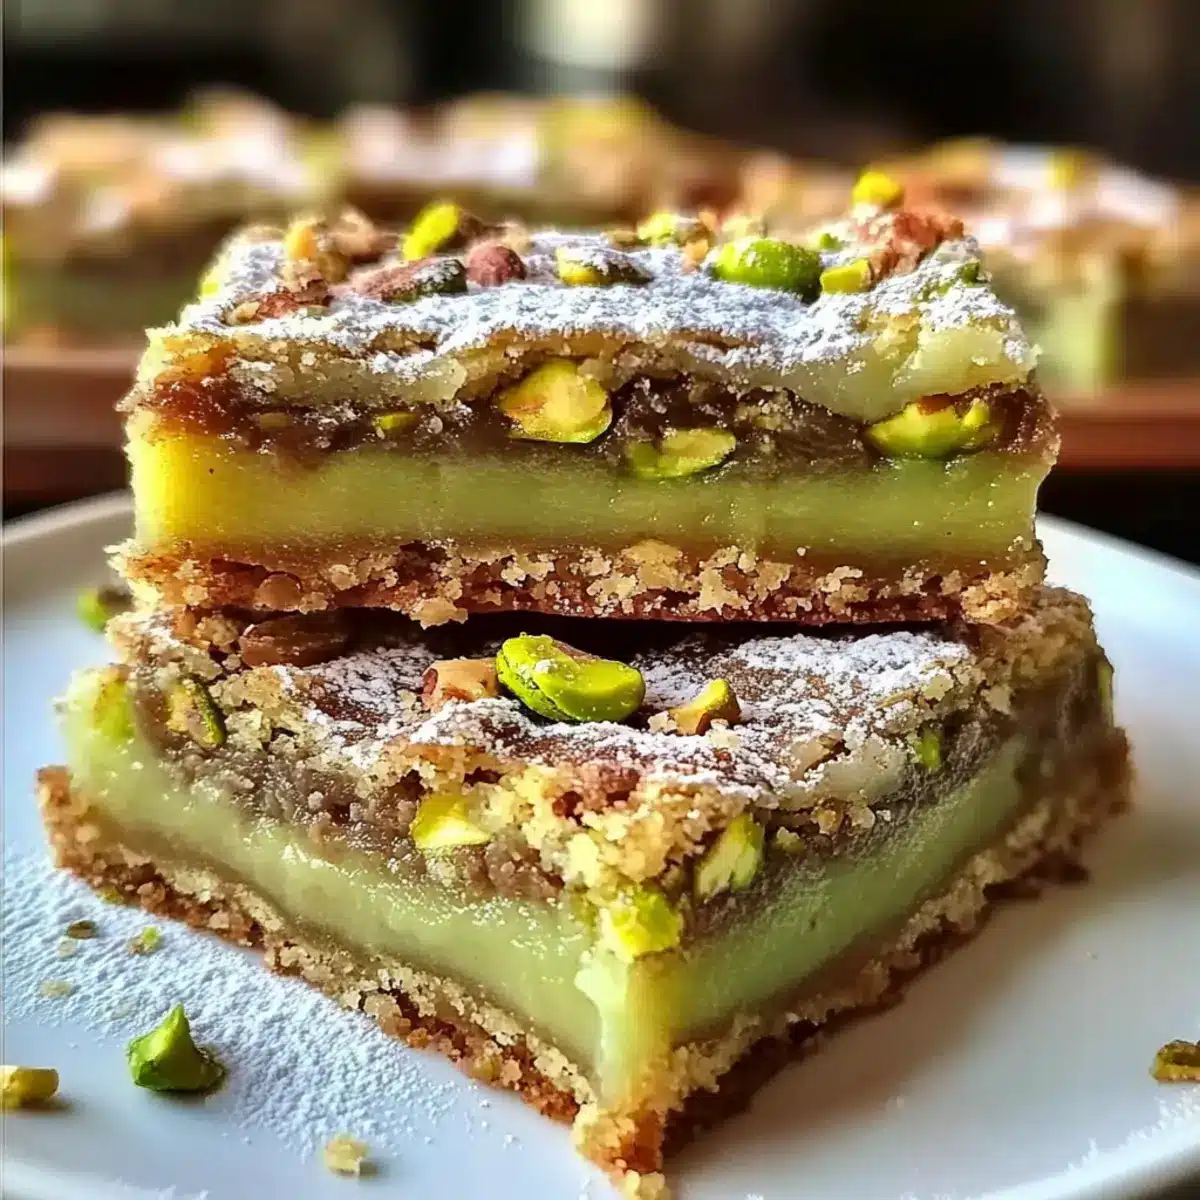
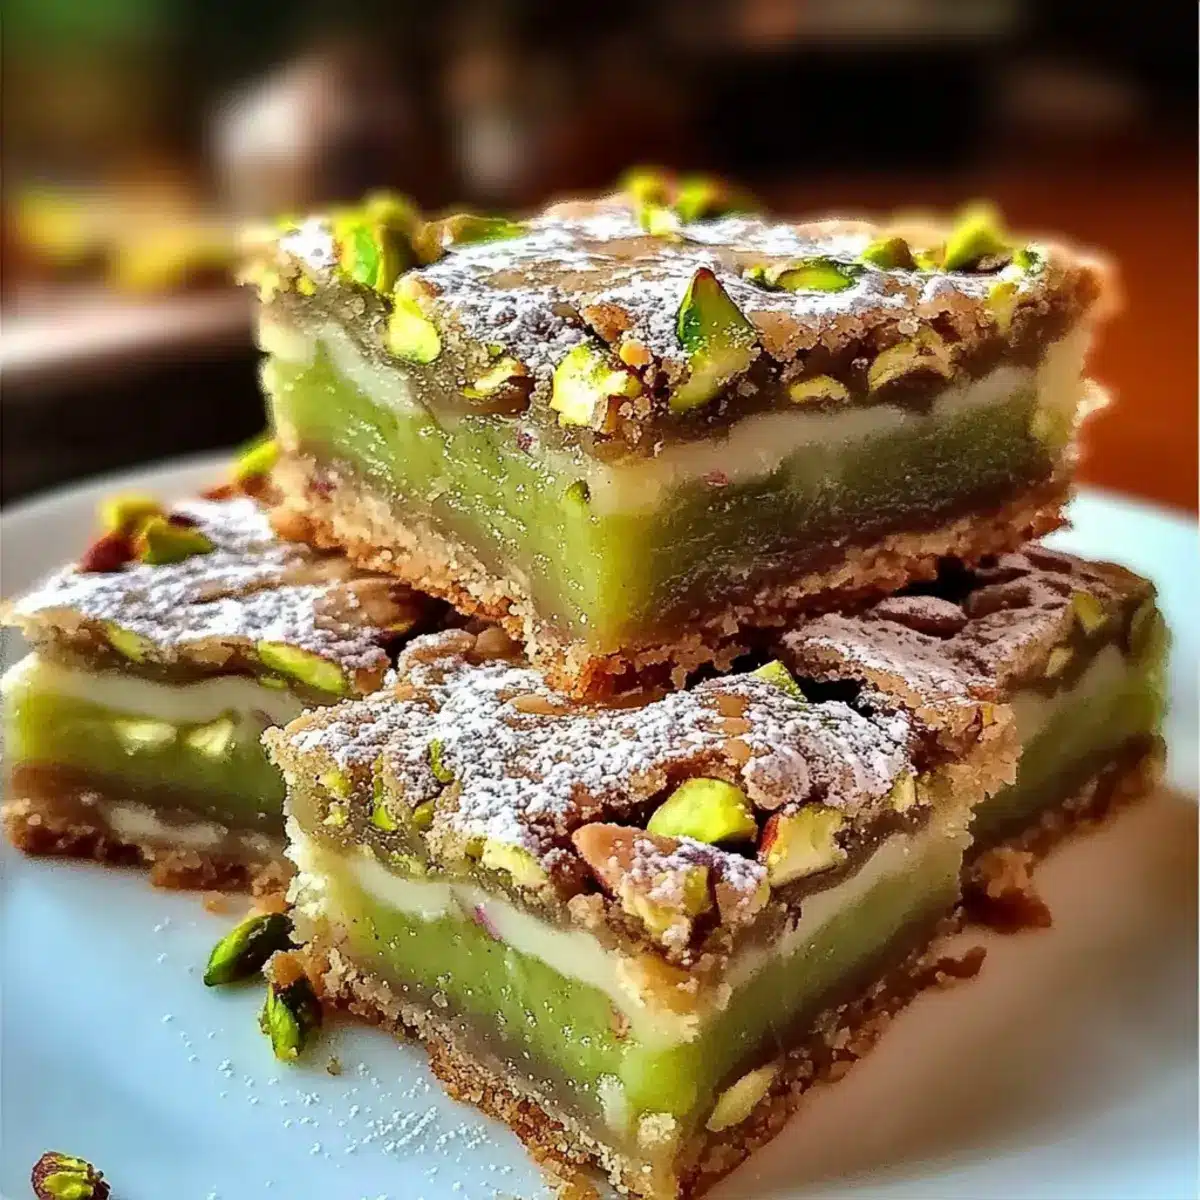
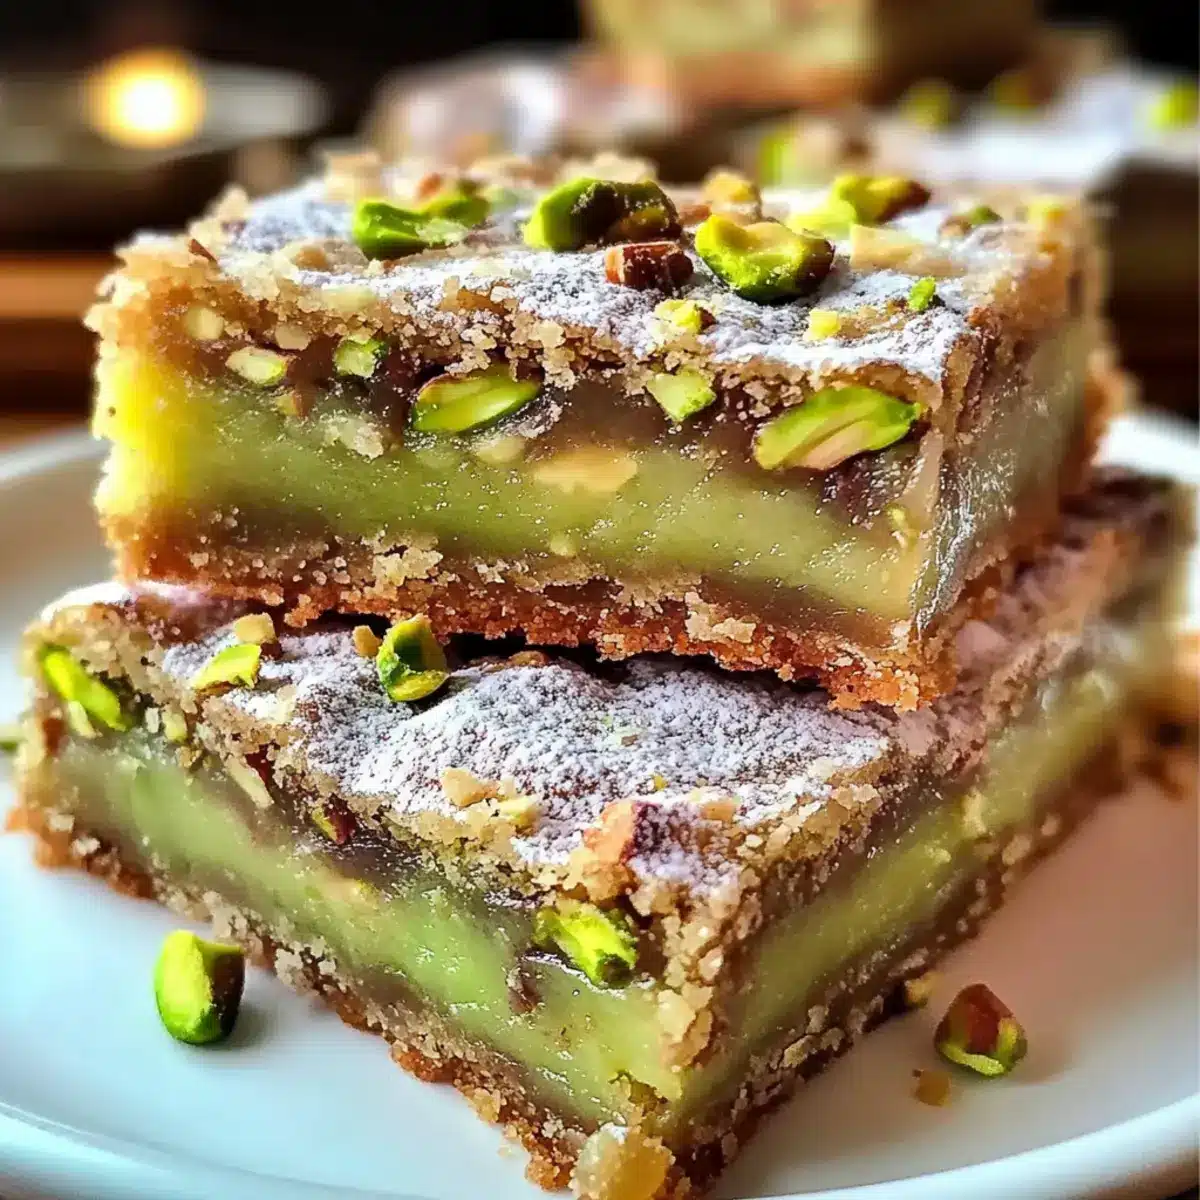
Once baked, remove the dish from the oven and allow it to cool in the pan for about 10 minutes. Then, lift the bars out using the parchment paper overhang. After cooling completely on a wire rack, use a sharp knife to cut them into squares or bars, revealing the beautiful layers of pistachio goodness.
Step 10: Serve and Savor
Now it’s time to enjoy your Pistachio Dream Cookie Bars! You can serve them as they are or warm them up for an extra treat. Try pairing these bars with a scoop of vanilla ice cream for an indulgent dessert experience that everyone will love!
Make Ahead Options
These Pistachio Dream Cookie Bars are perfect for meal prep, allowing you to delight in their chewy goodness whenever you want! You can prepare the cookie dough up to 24 hours in advance. Simply mix all your ingredients together, then cover the bowl with plastic wrap and refrigerate. This not only saves time but also enhances the flavors, making them even tastier when baked. When you’re ready to enjoy them, just spread the chilled dough into your prepared baking dish and bake as directed. To maintain their quality, store any leftovers in an airtight container at room temperature for up to 3 days, or refrigerate if you want them to last longer!
Pistachio Dream Cookie Bars Variations
Feel free to get creative and personalize your Pistachio Dream Cookie Bars with these delightful ideas!
-
Nutty Swaps: Replace chopped pistachios with chopped almonds or walnuts for a different nutty flavor. Each nut brings its own character to the party!
-
Chocolate Delight: Add ½ cup of dark or milk chocolate chips to the batter for a richer sweetness. The chocolate complements the pistachios beautifully.
-
Gluten-Free Option: Use a gluten-free flour blend in place of all-purpose flour for everyone to enjoy these delectable treats without worry.
-
Coconut Twist: Add ½ cup of shredded coconut to the mix for a tropical flair that’s an exciting contrast to the nuttiness.
-
Spiced Up: Incorporate a teaspoon of cinnamon or a pinch of nutmeg to the dry ingredients for a warm, spiced finish that enhances the flavor profile.
-
Dairy-Free Version: Substitute unsalted butter with coconut oil and use a plant-based egg alternative to make these cookie bars dairy-free!
-
Fruit Fusion: Mix in ⅓ cup of dried cranberries or cherries for a tangy burst of flavor. This fruity addition balances the sweetness perfectly!
-
Salted Caramel Drizzle: Drizzle your cooled bars with warm salted caramel for an extra indulgent touch at your next gathering or cozy night in, reminiscent of my fantastic Pumpkin Pie Cookies.
Let your creativity flow, and enjoy experimenting with flavors and textures in these delightful cookie bars!
How to Store and Freeze Pistachio Dream Cookie Bars
Room Temperature: Keep Pistachio Dream Cookie Bars in an airtight container at room temperature for up to 3 days to maintain their chewy texture.
Fridge: For longer freshness, store in the fridge where they can last for up to a week; just be sure to seal them tightly to avoid drying out.
Freezer: Freeze your cookie bars by cutting them into squares, wrapping each one in plastic wrap, and placing them in a freezer-safe bag for up to three months.
Reheating: To enjoy a warm treat, simply thaw and warm them in the microwave for 10-15 seconds before serving.
Expert Tips for the Best Pistachio Dream Cookie Bars
-
Mind the Bake Time: Keep an eye on your bars while baking. Overbaking can lead to dry Pistachio Dream Cookie Bars, ruining their delightful chewiness.
-
Butter Softness Matters: Always use softened unsalted butter for the best mixing results. This helps create that light and fluffy texture we love in cookie bars.
-
No Overmixing: When combining wet and dry ingredients, mix just until combined. Overmixing can toughen the dough, affecting the soft chewiness of your bars.
-
Egg Beating Technique: Beat the eggs until they reach a pale yellow color before adding to the butter mixture. This trick enhances puffiness in your Pistachio Dream Cookie Bars.
-
Nuts Versatility: Feel free to swap out pistachios for other nuts like almonds or walnuts if you’re looking to personalize your bars while still keeping that nutty goodness.
What to Serve with Pistachio Dream Cookie Bars
Elevate your indulgent experience with delightful pairings that accentuate the flavors of your Pistachio Dream Cookie Bars.
-
Creamy Vanilla Ice Cream: A scoop of vanilla ice cream adds a refreshing contrast to the chewy bars, creating a delightful balance of flavors. The cold creaminess melts beautifully against the warm cookie bars.
-
Chocolate Sauce Drizzle: A drizzle of rich chocolate sauce enhances the sweetness and adds a luxurious touch, making every bite feel extra special. The chocolate’s richness complements the nutty flavor perfectly.
-
Coffee or Espresso: The bold flavors of coffee provide an excellent counterpoint to the sweetness of the bars, making it an ideal pairing for a relaxing afternoon treat. The warmth of the beverage awakens the nutty notes in the Bars.
-
Chopped Fresh Fruit: A side of fresh berries or sliced peaches adds a burst of freshness, balancing out the dessert’s sweetness with their natural acidity. Consider a fruit salad that celebrates the season!
-
Homemade Whipped Cream: Light and airy whipped cream puts a delightful spin on these bars, adding a creamy texture that contrasts with the chewiness. A hint of vanilla can elevate this simple topping further.
-
Mint Tea: A cup of refreshing mint tea accentuates the richness of the cookie bars while adding a soothing element to the experience. Its lightness encourages a second helping without feeling too heavy.
Indulge in these pairings, and let your taste buds dance with joy!
Pistachio Dream Cookie Bars Recipe FAQs
What type of flour should I use for Pistachio Dream Cookie Bars?
For the best results, use all-purpose flour as the base for your Pistachio Dream Cookie Bars. However, if you prefer a gluten-free option, simply substitute with a gluten-free flour blend that’s designed for baking. This will keep the chewy consistency intact while accommodating dietary needs.
How should I store leftover Pistachio Dream Cookie Bars?
To keep your delicious bars fresh, store them in an airtight container at room temperature for up to 3 days. If you’d like them to last longer, place them in the refrigerator where they can stay fresh for up to a week. Just be sure to seal them well to prevent drying out!
Can I freeze Pistachio Dream Cookie Bars?
Absolutely! To freeze your cookie bars, first cut them into squares. Wrap each square individually in plastic wrap, then place them in a freezer-safe bag. They can be stored in the freezer for up to 3 months. When you’re ready to enjoy one, just thaw and warm it slightly in the microwave for a delightful treat!
What if my Pistachio Dream Cookie Bars turn out dry?
If you find yourself in the unfortunate situation of having dry cookie bars, it could be that they were overbaked. Always keep a close eye on them towards the end of the baking time. They should be golden brown around the edges but still soft in the center when taken out of the oven. If they are overbaked, next time consider lowering the temperature slightly or shortening the baking time to maintain that chewy texture.
Are Pistachio Dream Cookie Bars safe for nut allergies?
Since the primary ingredient is chopped pistachios, these bars are not safe for anyone with nut allergies. If you need a nut-free alternative, consider making a recipe substitution with ingredients like seeds (pumpkin or sunflower) or dried fruits, although this will significantly change the flavor. Always check the labels of all ingredients to ensure no allergens are present before preparing them for any guests.
Pistachio Dream Cookie Bars Soft, Chewy, and Irresistibly Nutty
Ingredients
Equipment
Method
- Preheat your oven to 350°F (175°C) and line an 8-inch square baking dish with parchment paper.
- In a medium bowl, whisk together the flour, baking powder, and salt. Set aside.
- In a large bowl, cream together the softened butter, brown sugar, and granulated sugar using an electric mixer until light and fluffy.
- Add the eggs and vanilla extract to the butter-sugar mixture and mix until well combined.
- Gradually combine the dry ingredients with the wet mixture, mixing until just combined.
- Fold in the chopped pistachios and white chocolate chips, if using.
- Spread the dough evenly into the prepared baking dish.
- Bake for 25-30 minutes or until the edges are golden brown. A toothpick should come out with a few moist crumbs.
- Allow the bars to cool in the pan for about 10 minutes, then lift them out using the parchment overhang to cool completely.
- Cut into squares and serve. Enjoy your Pistachio Dream Cookie Bars!
Leave a Reply