
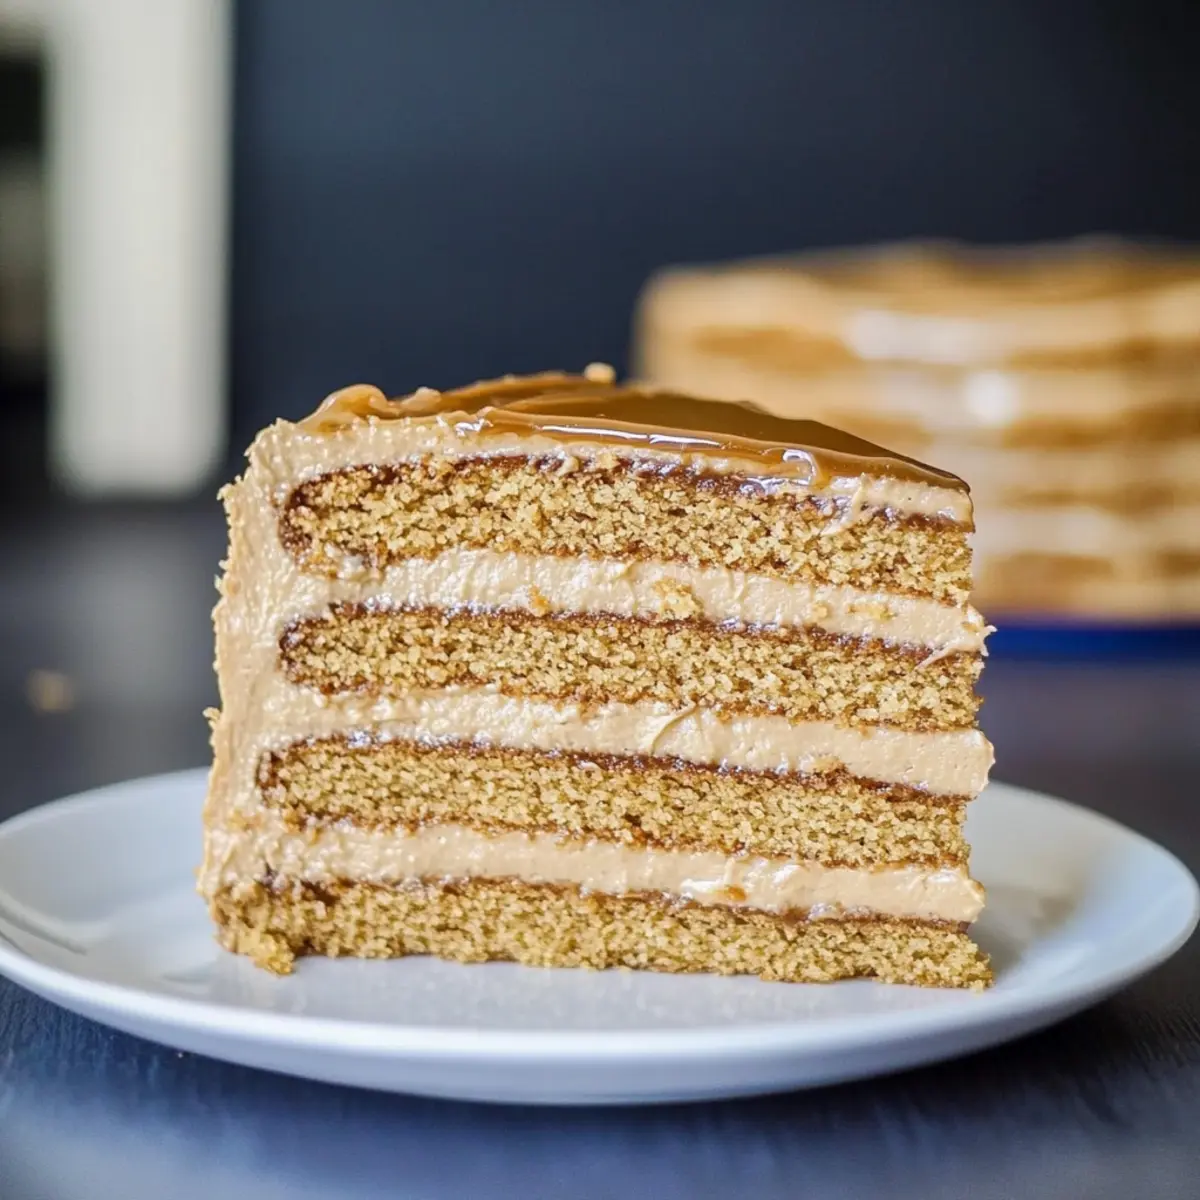
As I sifted through my kitchen drawers in search of the perfect recipes to elevate our holiday gatherings, a gem glimmered from my collection: Russian Honey Cake, or Medovik. This decadent dessert is more than just a feast for the eyes; it boasts layers of crispy honey-infused cake enveloped in heavenly dulce de leche frosting. With each bite, you’re welcomed by a delightful mix of textures that feels like a warm hug on a plate. Not only is this show-stopping cake a crowd-pleaser perfect for special occasions, but it also allows you to impress family and friends with your baking skills, all while offering a comforting taste of tradition. Ready to dive into the world of homemade sweetness? Let’s create a dessert that will undoubtedly be the star of your festive table!
Why Is Russian Honey Cake a Must-Try?
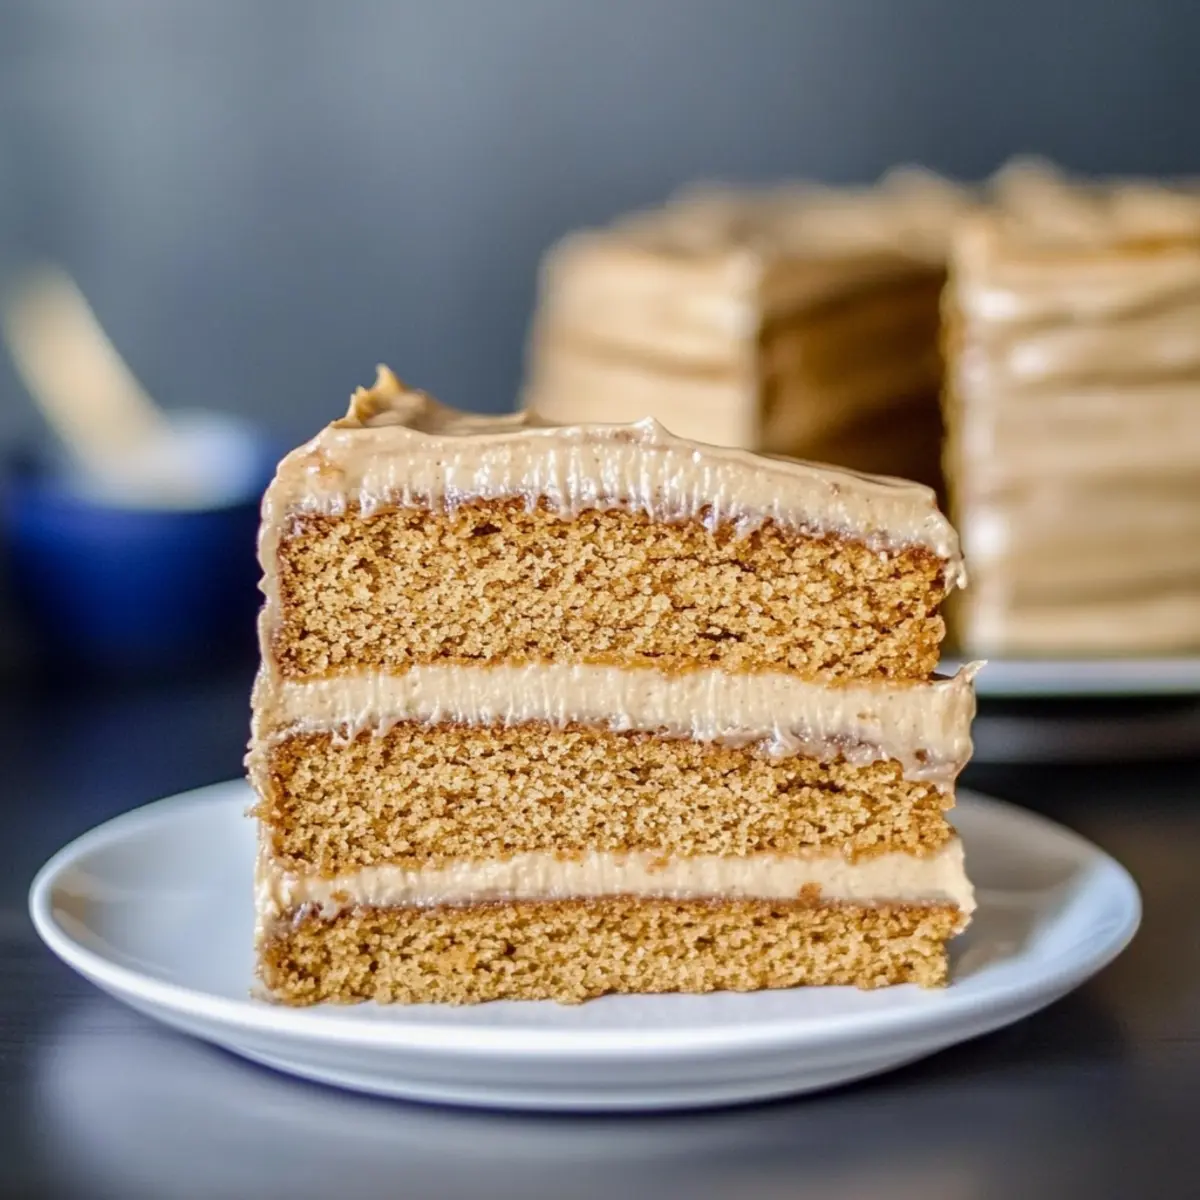
Decadent, this Russian Honey Cake is a labor of love that yields stunning results. Layered perfection showcases a delightful union of crispy cake and rich frosting, creating an impressive dessert. Perfect for gatherings, it’s bound to be a showstopper at your next celebration. Flexibility in flavors allows you to customize with seasonal fruits or nuts for a unique twist. Plus, make-ahead friendly—prepare layers in advance and assemble when you’re ready, allowing you to enjoy the festivities without stress. If you’re looking for more delightful desserts, check out my recipe for Moist Carrot Cake that pairs perfectly with this cake!
Russian Honey Cake Ingredients
Indulging in the creation of a Russian Honey Cake is as rewarding as it is delicious!
-
For the Cake Layers
-
Unsalted Butter – Provides richness and moisture; use the best quality for optimal flavor.
-
Honey – Crucial for an authentic Medovik, it adds natural sweetness; you can substitute with agave syrup if needed.
-
Sugar – Essential for a balanced sweetness and contributes to that perfect meringue-like texture.
-
Eggs – Binds the ingredients and gives structure; large eggs at room temperature work best.
-
Baking Soda – Helps the layers rise; always check for freshness.
-
Vanilla Extract – Enhances the flavors; opt for pure extract for the best taste.
-
All-Purpose Flour – Forms the cake’s essential structure; avoid using cake flour for the desired texture.
-
For the Frosting
-
Cream Cheese – Creates a rich frosting base that sticks perfectly to the cake layers.
-
Heavy Whipping Cream – Whipped to stiff peaks for frosting; coconut cream can be used for a dairy-free option.
-
Dulce de Leche – Adds caramel notes and sweetness; feel free to use homemade or store-bought.
By gathering these ingredients for your Russian Honey Cake, you’re on your way to creating a delightful and festive centerpiece that will leave your guests amazed! Enjoy the baking journey!
Step‑by‑Step Instructions for Russian Honey Cake
Step 1: Prepare Steam Bath
In a large pot, bring water to a boil and place a heat-safe bowl on top. Add unsalted butter, honey, and sugar to the bowl, stirring gently until the mixture becomes smooth and glossy, which should take about 5-7 minutes. This steam bath method ensures that your ingredients melt evenly, creating a rich base for your Russian Honey Cake.
Step 2: Mix Egg Batter
In a separate bowl, whisk together eggs and baking soda until smooth and frothy. Gradually incorporate the honey mixture while continuously stirring. Keep this on low heat for about 30-40 minutes, allowing the batter to thicken and take on a deep golden color, which signals it’s ready for the next step.
Step 3: Combine & Rest
Once your batter has thickened, remove it from the heat and stir in pure vanilla extract. Let the mixture cool for about 10 minutes, allowing it to reach a manageable temperature. Gradually fold in all-purpose flour until a slightly sticky dough forms. This dough will become the layers of your beautifully constructed Russian Honey Cake.
Step 4: Shape & Bake Layers
Divide the dough into 12-14 equal pieces and dust your work surface with flour to prevent sticking. Roll each piece out thinly, about 1/8-inch thick, ensuring an even layer. Preheat your oven to 350°F (175°C) and bake the layers on lined baking sheets for 5-7 minutes, or until the edges turn golden brown. While still warm, cut the layers into circles for the ultimate presentation.
Step 5: Prepare the Frosting
In a mixing bowl, beat together cream cheese, unsalted butter, and dulce de leche until the mixture is smooth and creamy. Avoid overmixing, as this will maintain the luscious texture of your frosting. For added lightness, gently fold in whipped cream until well-combined, which will make your frosting soft and airy, perfect for your Russian Honey Cake.
Step 6: Assemble
Start stacking your baked layers with a generous amount of frosting in between each one, ensuring even coverage. Once all layers are stacked, frost the top and sides of the cake beautifully with the remaining frosting. Consider decorating the top with reserved cake crumbs or your favorite nuts for an extra touch.
Step 7: Set & Serve
Transfer your assembled Russian Honey Cake to the refrigerator and let it chill for at least 6 hours or overnight if possible. This resting time allows the flavors to meld beautifully! When ready to serve, take it out and let it sit at room temperature for about 30 minutes before slicing into this decadent creation.

Expert Tips for Russian Honey Cake
-
Flour Liberally: Make sure to flour your surfaces well to prevent sticking when rolling out the dough; a dusting can save you a lot of frustration!
-
Chill the Dough: If your dough becomes too sticky while working, don’t hesitate to refrigerate it for 30 minutes. This will make it much easier to roll out and shape.
-
Avoid Overmixing: When preparing the frosting, be careful not to overmix once you’ve added the whipped cream. This helps keep your frosting creamy and prevents it from becoming grainy.
-
Serve at Room Temperature: For the best flavor, allow your assembled Russian Honey Cake to sit at room temperature for about 30 minutes before serving. It really brings out the deliciousness!
-
Make-Ahead Magic: The cake layers can be prepared up to 5 days in advance, stored in the refrigerator, or frozen for up to 1 month. This makes it a stress-free option for any festive occasion!
Russian Honey Cake Variations & Substitutions
Feel free to unleash your creativity while making this scrumptious Russian Honey Cake; each twist can elevate the flavor and texture to new heights!
-
Dairy-Free: Substitute heavy whipping cream with coconut cream for a luscious, non-dairy frosting that remains decadent. Coconut flavor subtly enhances the sweetness too!
-
Flavor Infusions: Add chocolate or coffee to your frosting for an unexpected gourmet twist, offering a rich, sophisticated taste that pairs beautifully with the honey layers.
-
Nutty Crunch: Incorporate crushed walnuts or hazelnuts as a filling or topping for extra textural contrast. The earthy flavors of the nuts complement the sweetness perfectly!
-
Fruit Finesse: Layer fresh berries or fruit preserves between the cake layers for a tangy burst that balances the richness of the dulce de leche. Think strawberries, raspberries, or even apricot preserves!
-
Spiced Layers: Spice up the cake batter by adding a dash of cinnamon or nutmeg, delivering a warm, inviting aroma that gives the cake a cozy, festive vibe.
-
Alternative Sweeteners: Swap out the honey for maple syrup or agave syrup if you’re looking for a different sweetness level. Just keep in mind the flavors will change slightly.
-
Reduced Sugar Option: To lighten the sweetness without sacrificing flavor, reduce the sugar by a quarter while maintaining the honey’s richness—just be prepared for a less sweet cake!
-
Unexpected Zest: Zest some lemon or orange into the frosting or cake batter to awaken your dessert with bright citrus notes, making each bite feel refreshingly vibrant.
Whether you’re celebrating special moments or simply indulging for yourself, these variations will ensure your Russian Honey Cake is anything but ordinary! If you’re eager for more delightful options, consider my recipe for Gooey Butter Pecan Cake that’s equally enticing!
How to Store and Freeze Russian Honey Cake
-
Fridge: Store leftover Russian Honey Cake in an airtight container for up to 3 days. The flavors meld beautifully over time, making it taste even better after a day!
-
Freezer: For longer storage, wrap individual cake layers tightly in plastic wrap and place them in a freezer bag. They can be frozen for up to 1 month. Thaw in the fridge before frosting.
-
Reheating: If desired, let the assembled cake sit at room temperature for about 30 minutes before serving. This will enhance the flavors and texture for a delightful experience.
-
Make-Ahead: Bake cake layers up to 5 days in advance and keep them refrigerated until you’re ready to assemble. This helps reduce stress on your event day!
What to Serve with Decadent Russian Honey Cake?
Indulging in a slice of this delightful cake opens the doorway to creating a stunning meal that tantalizes all senses.
-
Fresh Berries: The tartness of fresh berries like raspberries or strawberries provides a vibrant contrast to the luscious sweetness of the cake.
-
Whipped Cream: Light and airy, whipped cream adds a soft, velvety touch that enhances the cake’s rich layers without overpowering them. A dollop on the side is a perfect companion!
-
Earl Grey Tea: The fragrant notes of bergamot in Earl Grey tea complement the honey flavors, creating a delightful pairing that warms the heart.
-
Espresso Pairing: The bold richness of a well-brewed espresso cuts through the cake’s sweetness, offering a perfect coffee contrast.
-
Chocolate Truffles: Luxurious chocolate truffles provide a depth of flavor that resonates beautifully with the honey and dulce de leche, creating a layered dessert experience.
-
Vanilla Ice Cream: Creamy vanilla ice cream served alongside warm slices makes for an indulgent treat, balancing the cake’s textures and temperatures harmoniously.
-
Caramel Sauce Drizzle: A drizzle of homemade caramel sauce over a slice elevates the dessert, enhancing its sweetness while adding a beautiful glossy finish.
With these offerings beside your Russian Honey Cake, you’ll create an unforgettable feast that guests will be talking about long after the last bite.
Make Ahead Options
These Russian Honey Cake layers are perfect for meal prep enthusiasts looking to save time! You can prepare the individual cake layers up to 5 days in advance, allowing you to freeze them for freshness or refrigerate them in an airtight container. The frosting can be made up to 3 days ahead; simply store it in a sealed container in the refrigerator to maintain its creamy texture. When you’re ready to impress your guests, assemble the layers with frosting in between and refrigerate overnight for the best flavor integration. Just remember to allow the cake to come to room temperature for about 30 minutes before serving to ensure the delightful textures and flavors shine through!
Russian Honey Cake Recipe FAQs
What type of honey should I use for the Russian Honey Cake?
Absolutely! For the best flavor, use high-quality, pure honey. A wildflower or clover honey works wonderfully, providing that distinct and authentic taste essential for Medovik. If you’re in a pinch, you can substitute with agave syrup, but the flavor will differ greatly, so keep that in mind!
How should I store leftover Russian Honey Cake?
You can store leftover Russian Honey Cake in an airtight container in the refrigerator for up to 3 days. The cake actually tastes better after resting, allowing all those delightful flavors to meld. Just remember to ensure it’s well-covered so it doesn’t absorb any odors from the fridge.
Can I freeze Russian Honey Cake?
Definitely! To freeze, wrap each individual cake layer tightly in plastic wrap and place them in a freezer-safe bag. They can be successfully frozen for up to 1 month. When you’re ready to enjoy, simply thaw them in the refrigerator overnight and proceed with frosting the layers.
What should I do if my cake layers are too sticky to roll out?
Very! If you find your dough sticking to surfaces while rolling, don’t worry. I recommend refrigerating the dough for about 30 minutes. This chilling time will help firm it up and make it much easier to work with without too much flour. Just be sure to flour your surface liberally to prevent sticking.
Is this Russian Honey Cake suitable for people with nut allergies?
Yes, it is! The traditional recipe doesn’t include nuts; however, if you’re adding nuts for decoration or inside the layers, you may want to consider your guests’ dietary restrictions. You can easily make this cake nut-free by omitting any nut elements and perhaps using seeds for decoration instead, if desired. Always double-check your ingredients to ensure they are allergy-friendly.
How long do the cake layers last if I make them ahead of time?
For sure! You can prepare the cake layers up to 5 days in advance. Just store them in the refrigerator, tightly wrapped to keep them fresh until it’s time to assemble your decadent Russian Honey Cake. This make-ahead option takes the stress out of preparations and allows you to enjoy the celebration!
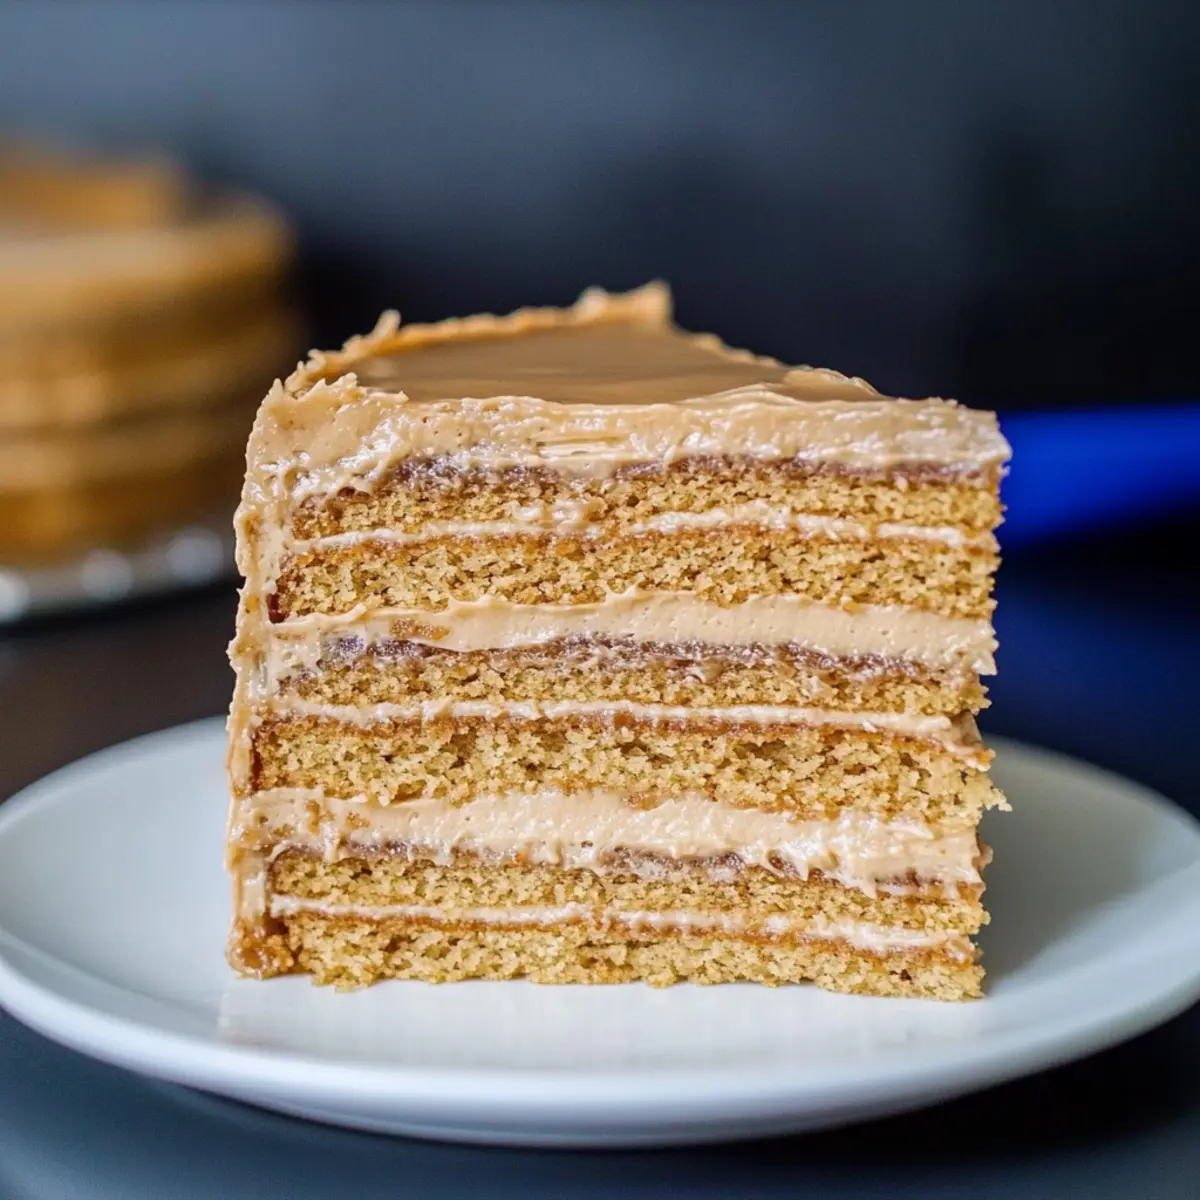
Decadent Russian Honey Cake That Will Wow Your Guests
Ingredients
Equipment
Method
- Prepare Steam Bath: In a pot, bring water to a boil and place a heat-safe bowl on top. Add unsalted butter, honey, and sugar, stirring until smooth, about 5-7 minutes.
- Mix Egg Batter: Whisk eggs and baking soda in a separate bowl until smooth. Gradually incorporate honey mixture, cooking on low heat for 30-40 minutes.
- Combine & Rest: Stir in vanilla extract, then fold in all-purpose flour until a sticky dough forms. Let cool for about 10 minutes.
- Shape & Bake Layers: Divide dough into 12-14 pieces, roll thinly, and bake at 350°F for 5-7 minutes, cutting into circles.
- Prepare the Frosting: Beat cream cheese, unsalted butter, and dulce de leche until smooth. Fold in whipped cream gently.
- Assemble: Stack baked layers with frosting in between, frosted on top and sides. Decorate as desired.
- Set & Serve: Chill in the refrigerator for at least 6 hours. Let sit at room temperature for 30 minutes before serving.
Leave a Reply